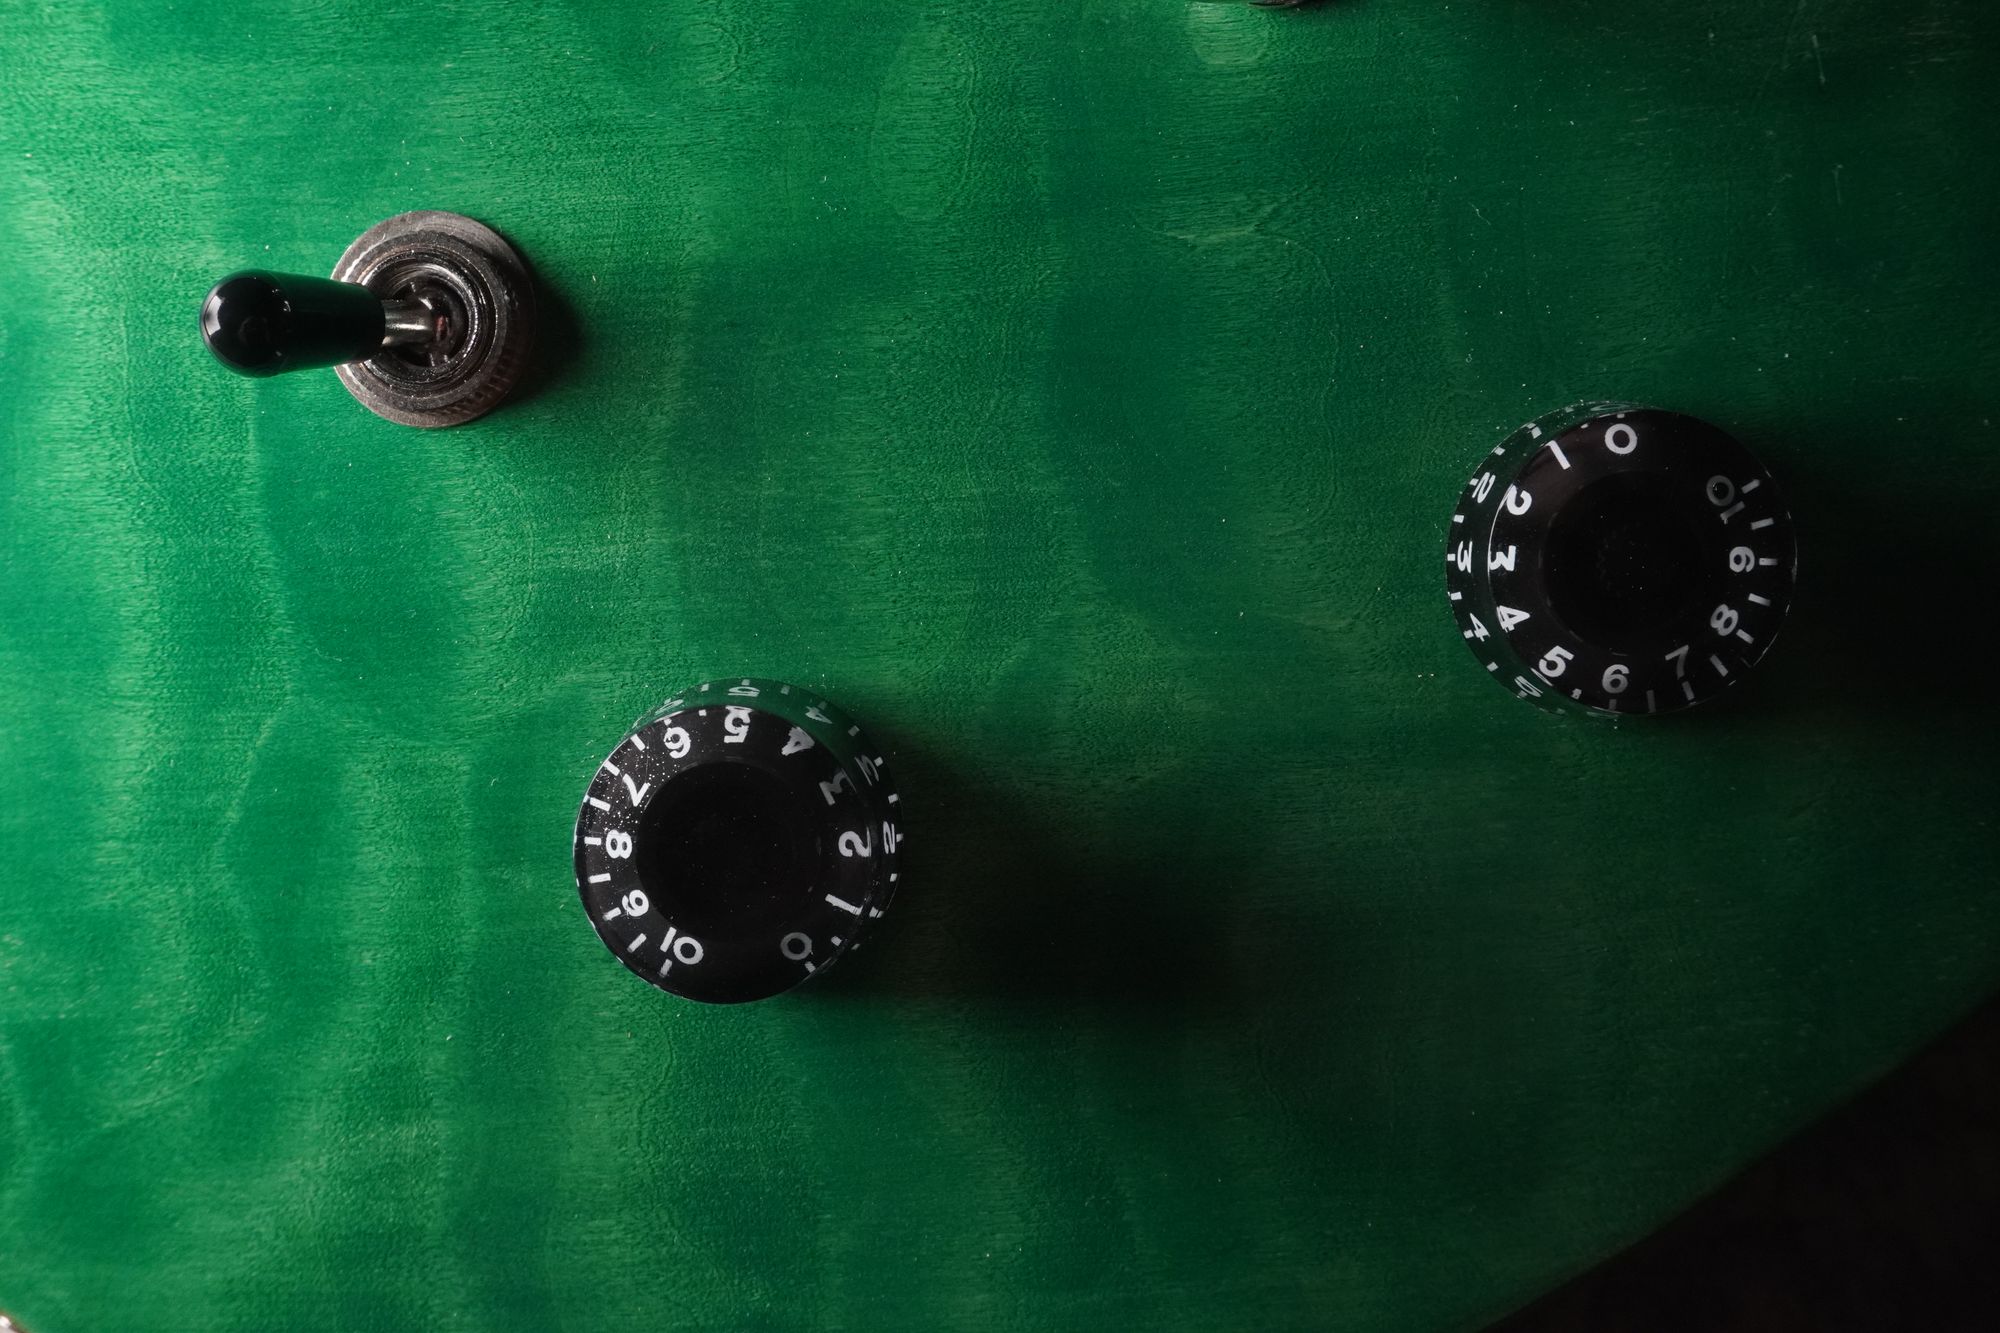
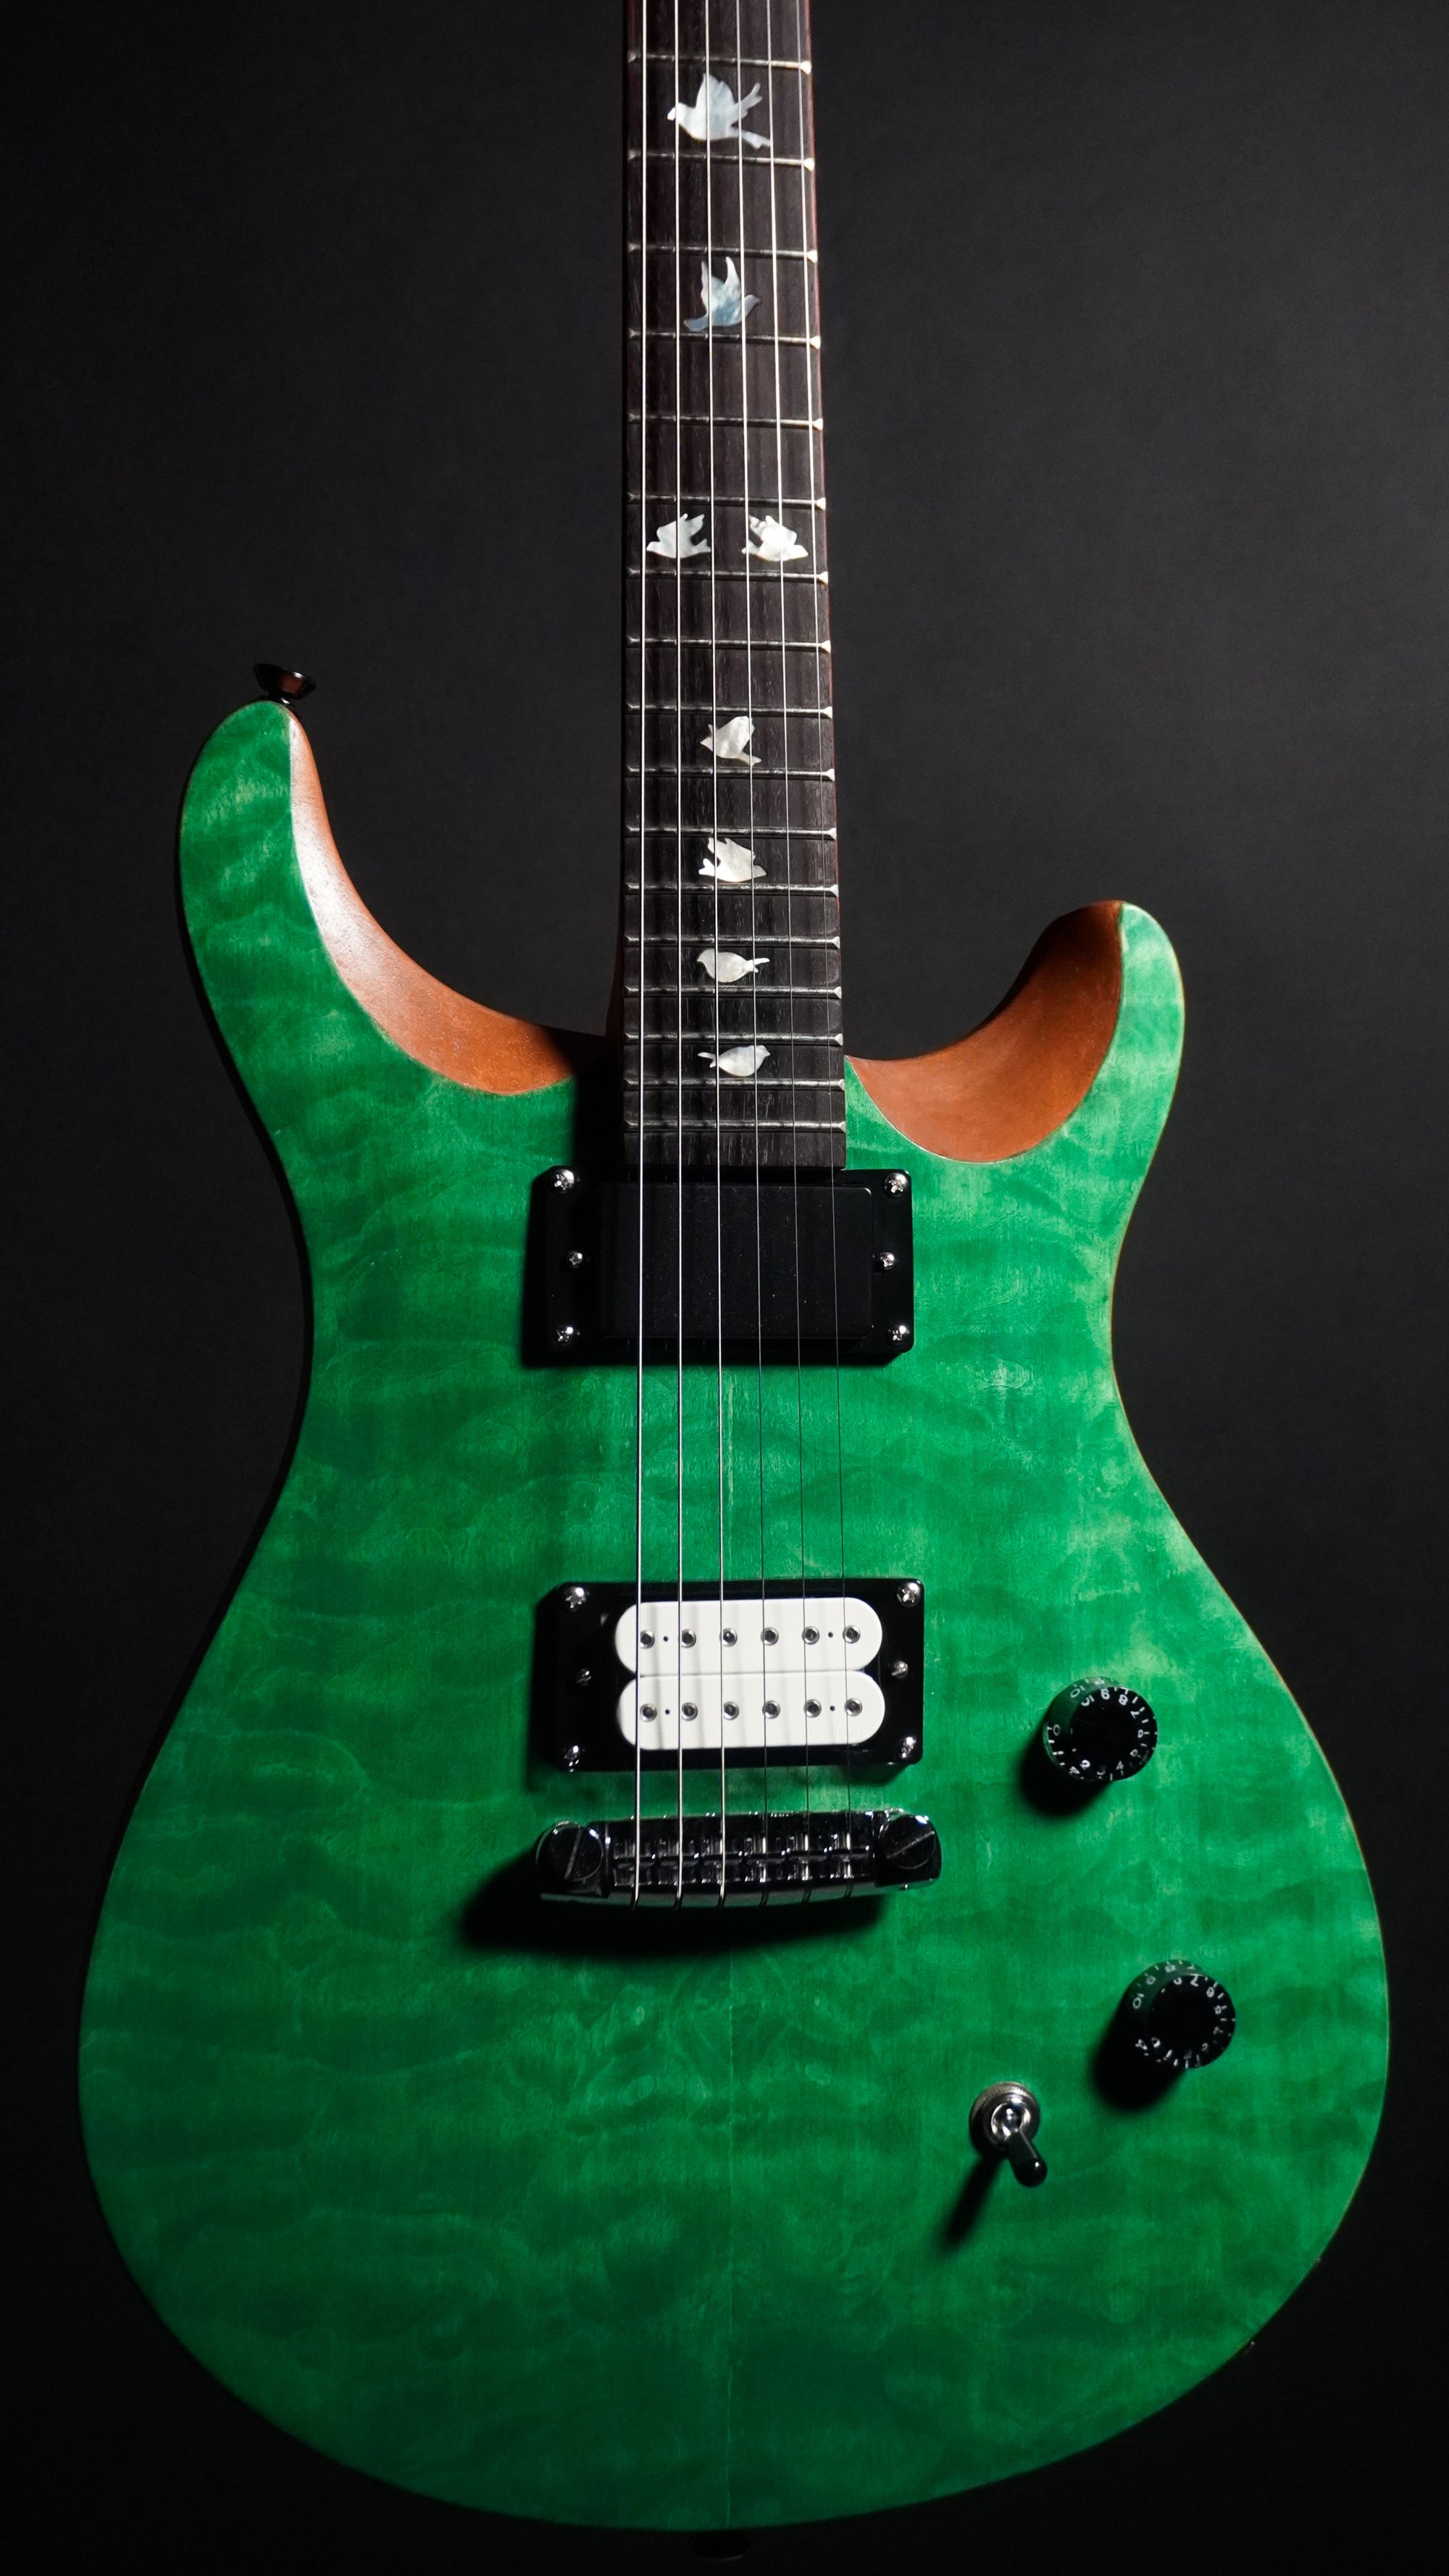
3rd DIY Guitar | 2022 | PRS

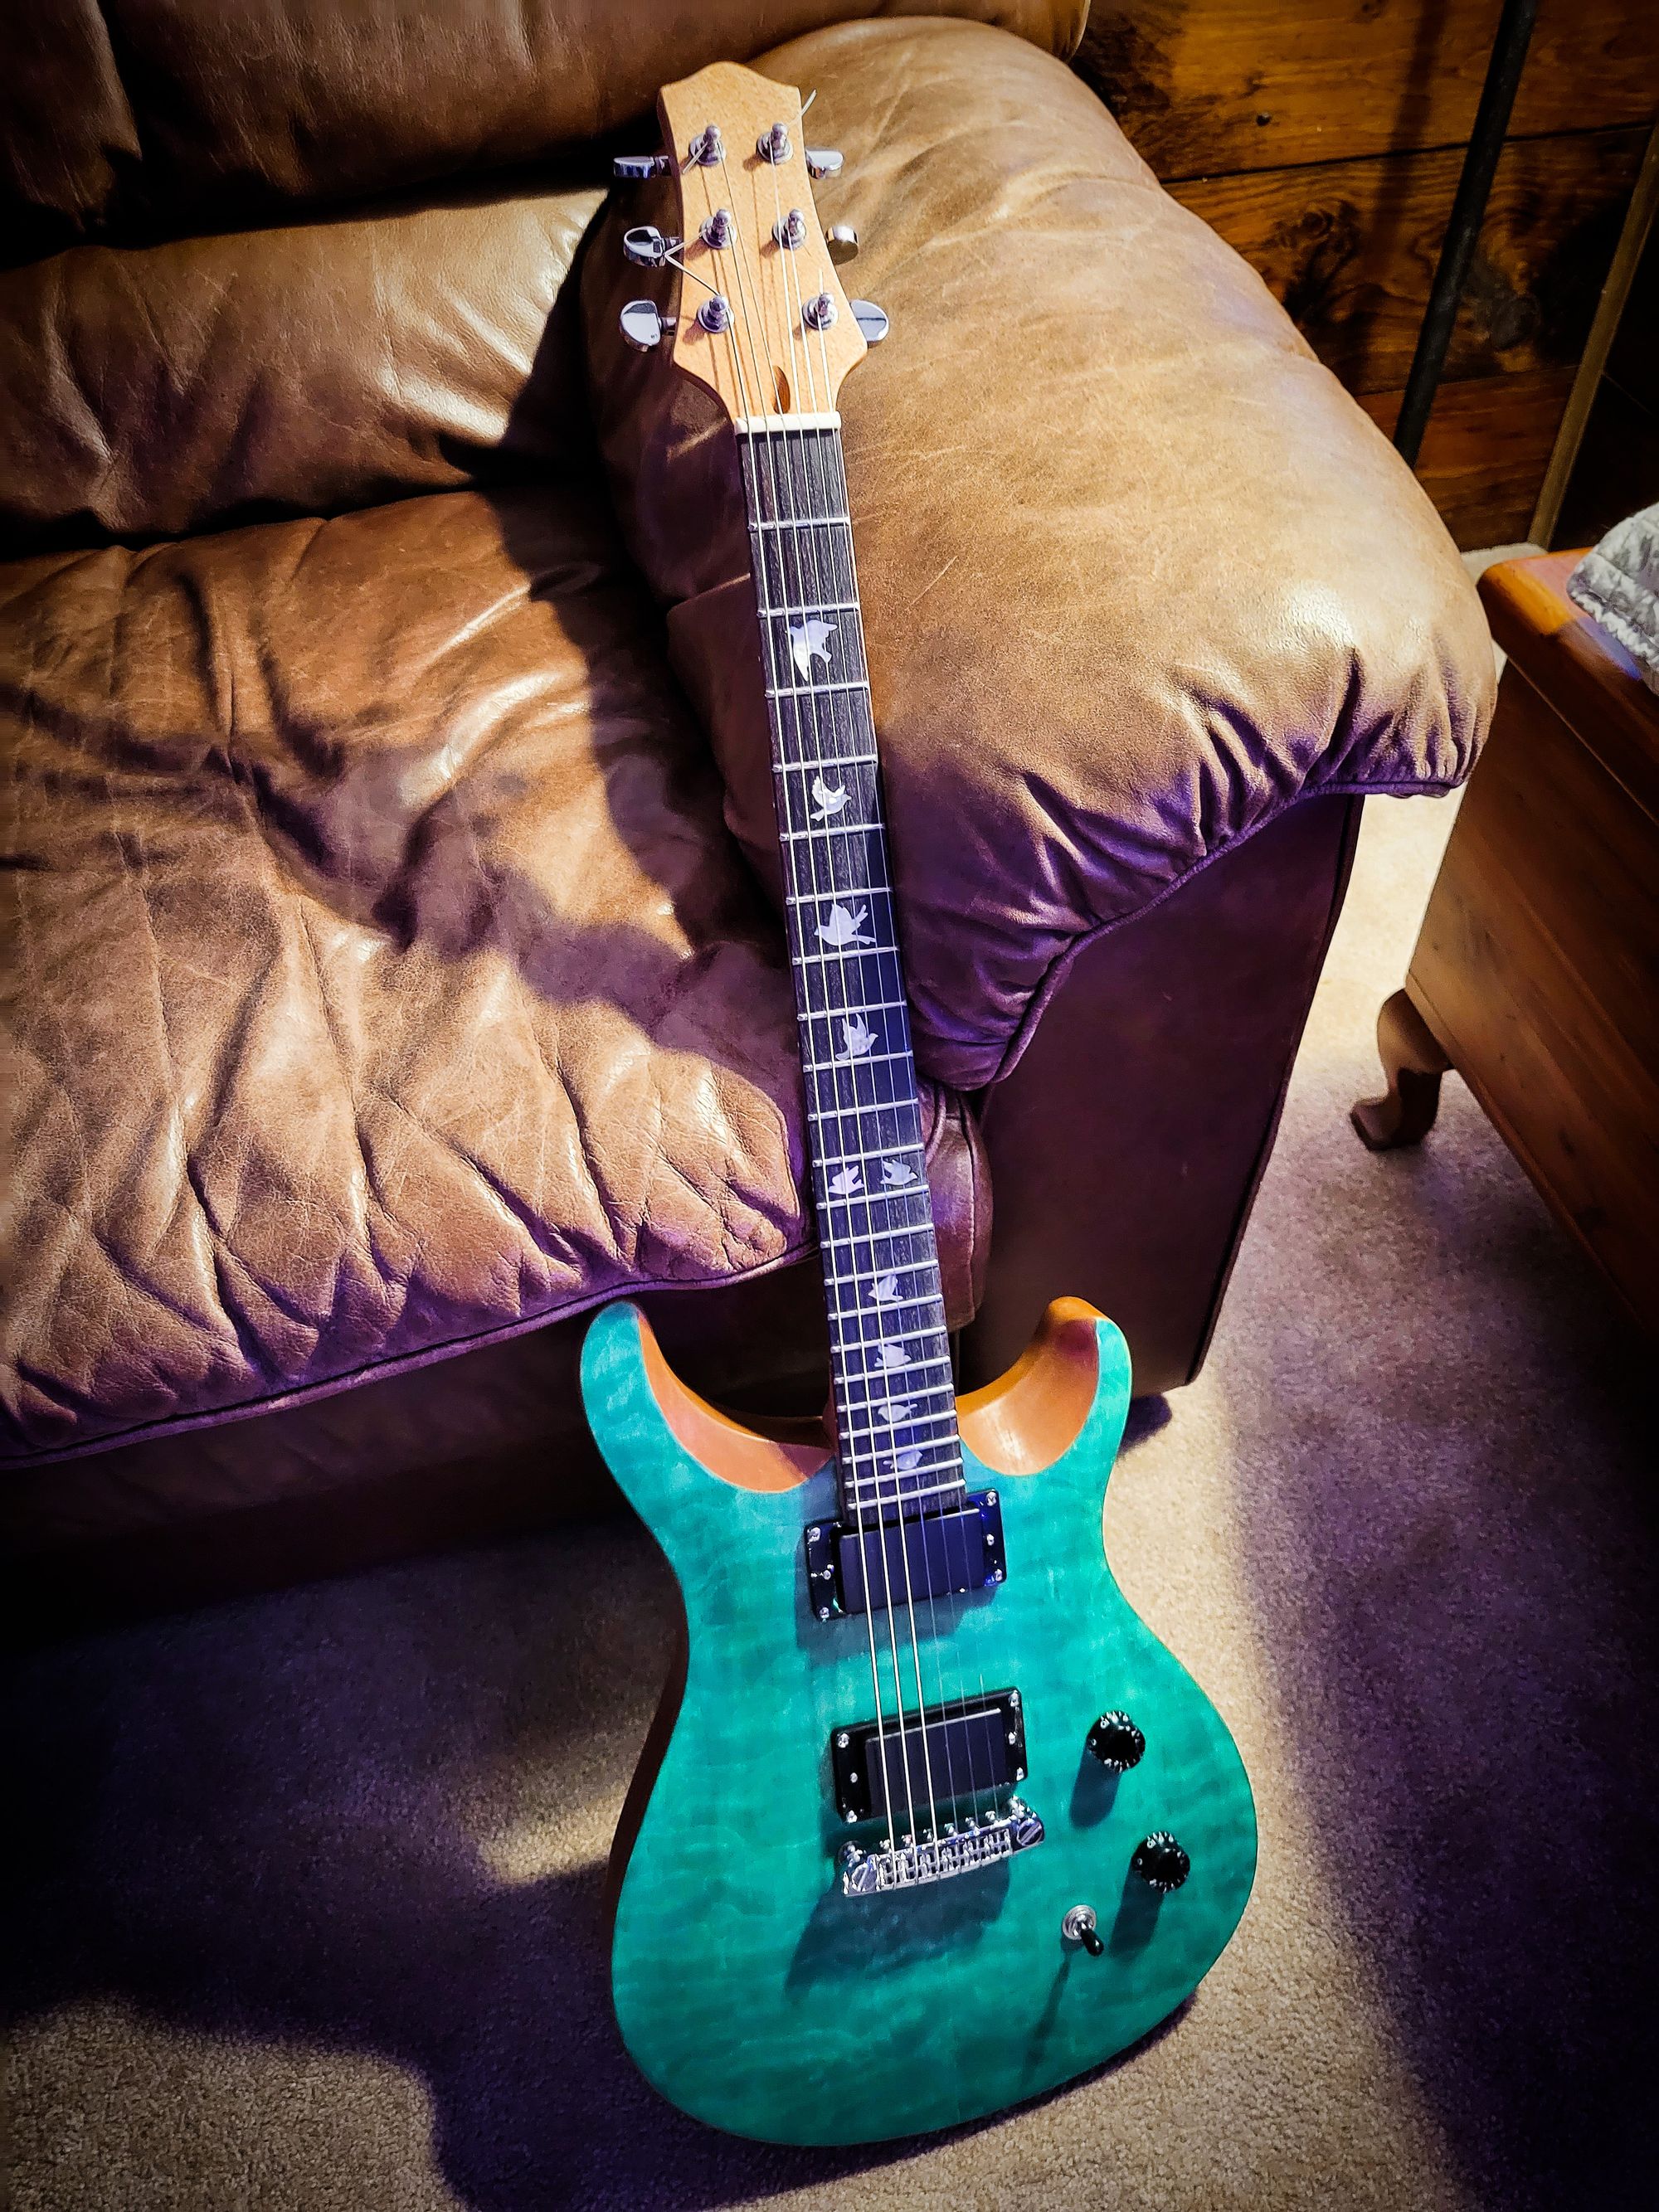
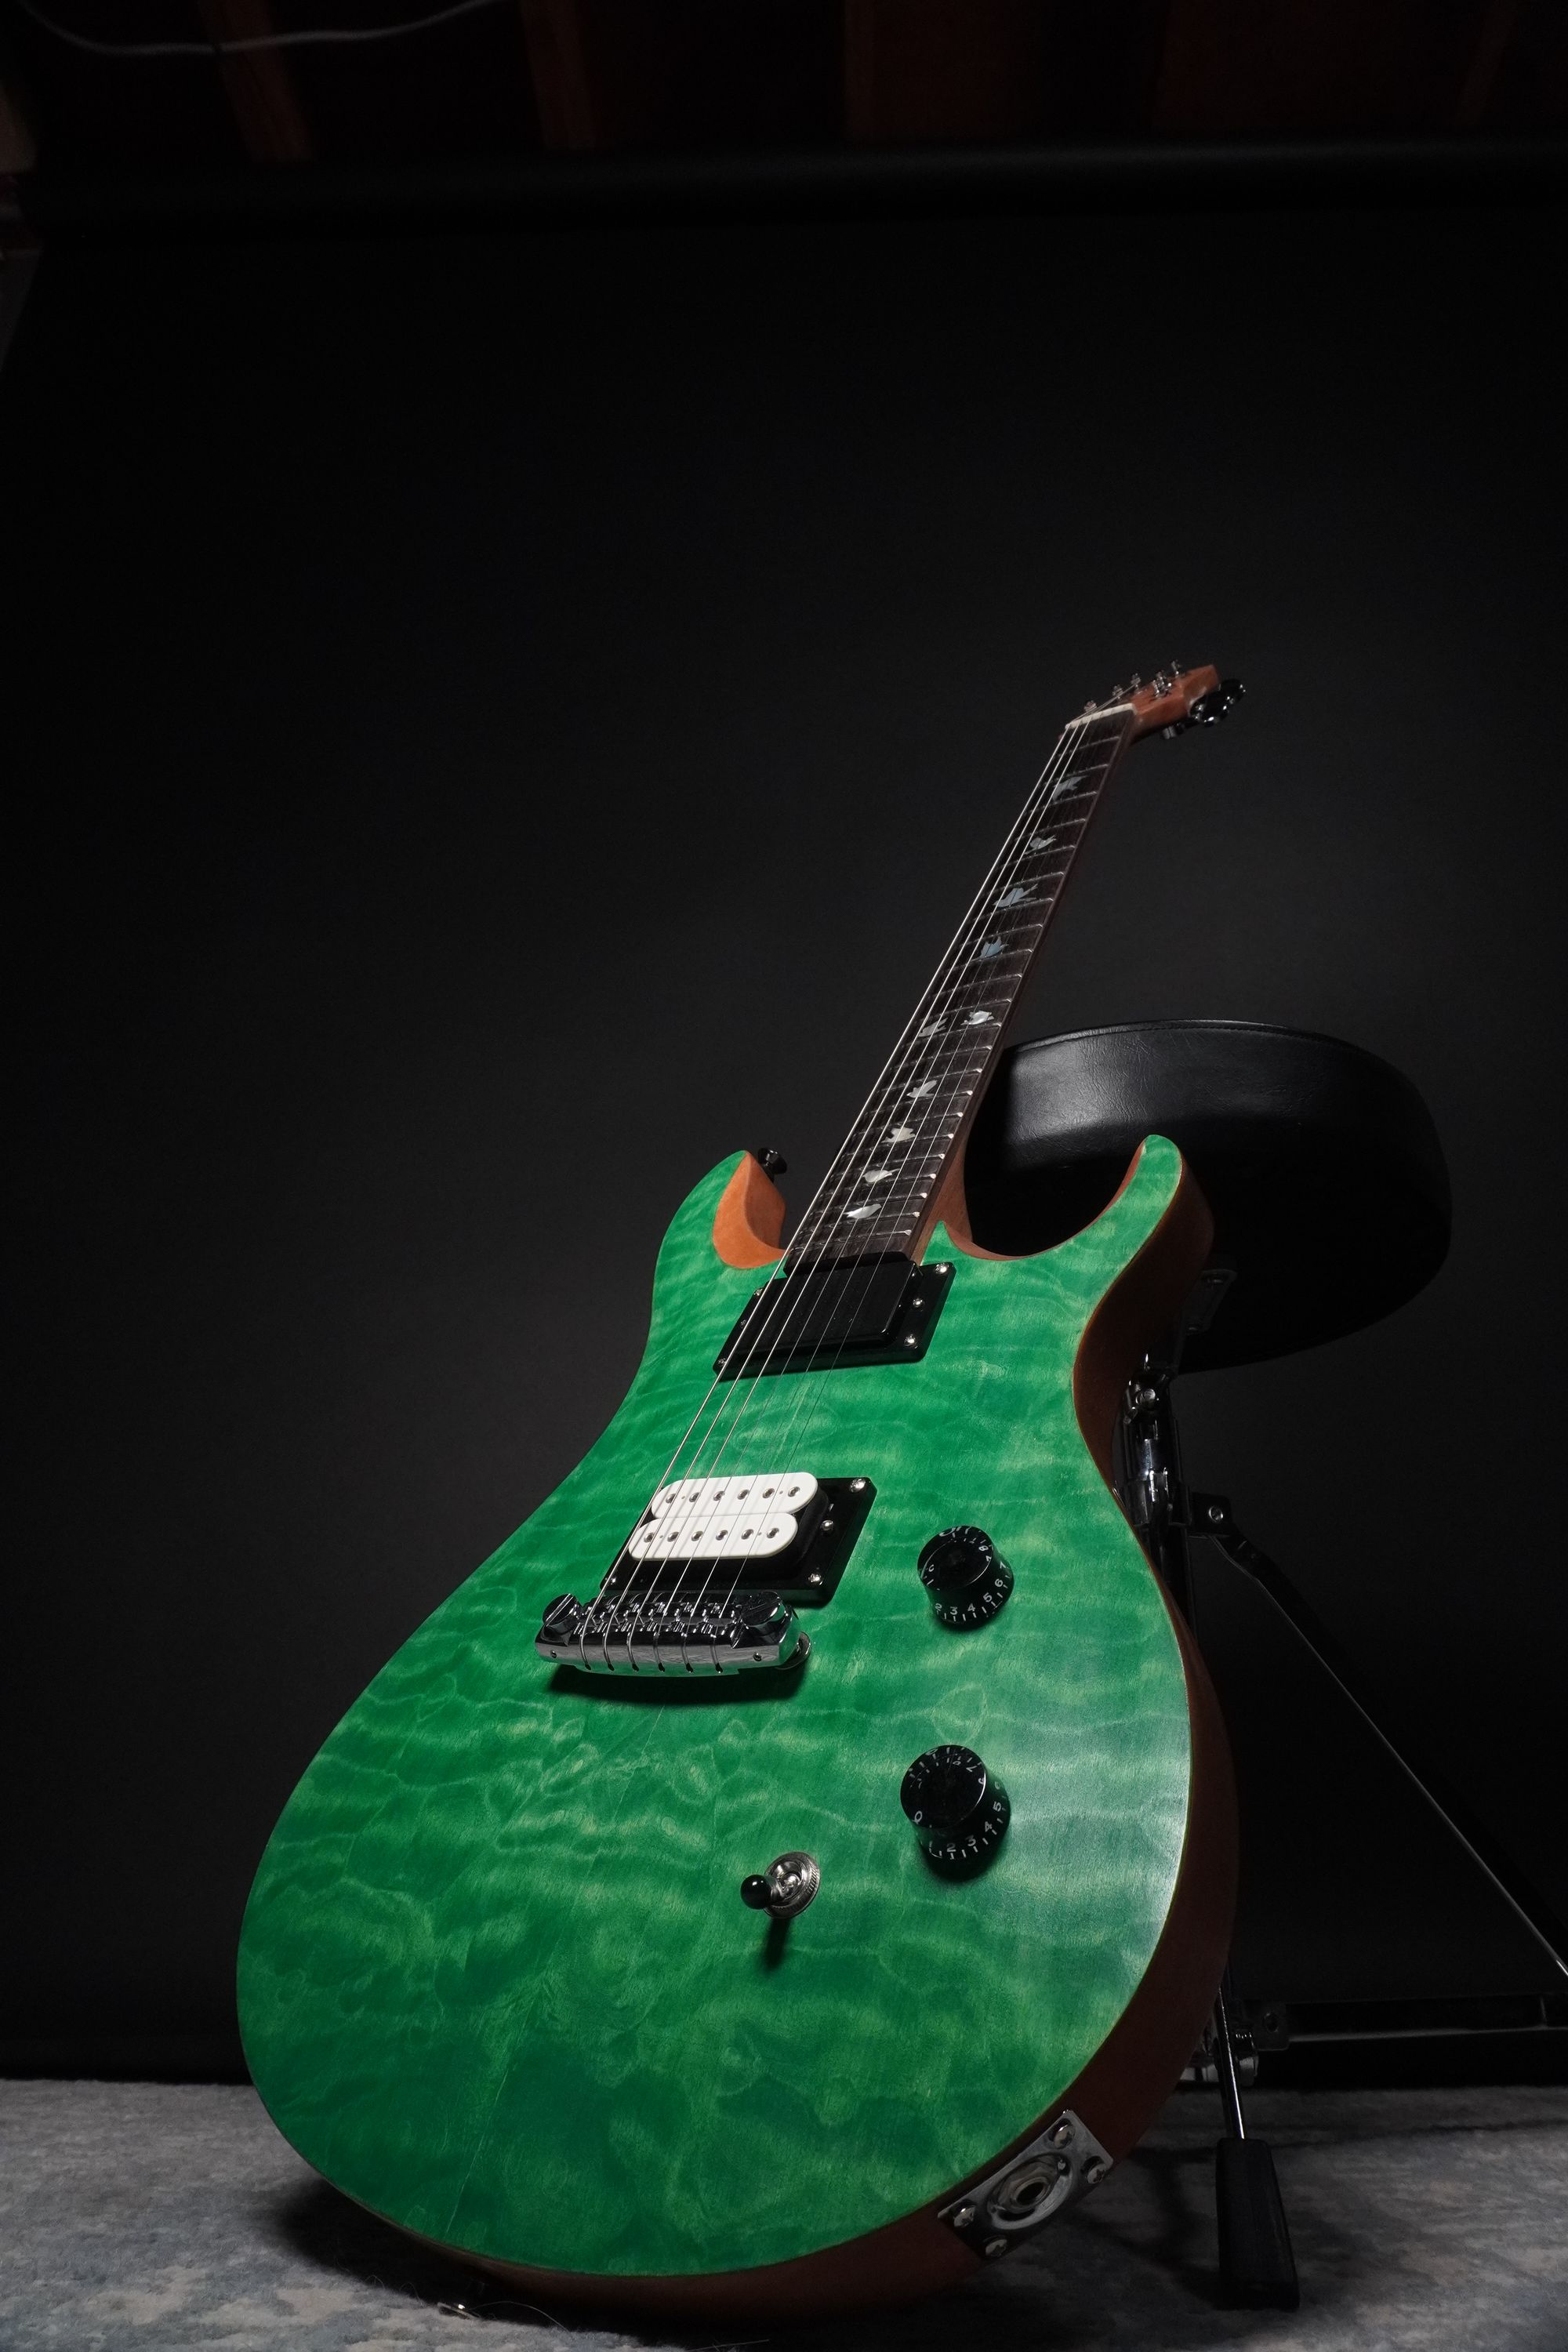
The 3rd guitar I’ve built is a DIY kit modeled after a Paul Reed Smith. I chose to build this as a final project for my acoustic physics course. The assignment was to build a musical instrument and demonstrate the physics of how it works. I figured since I'd already built two, I might as well build another! I'll be explaining the building process and some of how strings work.
Part 1
The Build (a simple explanation)
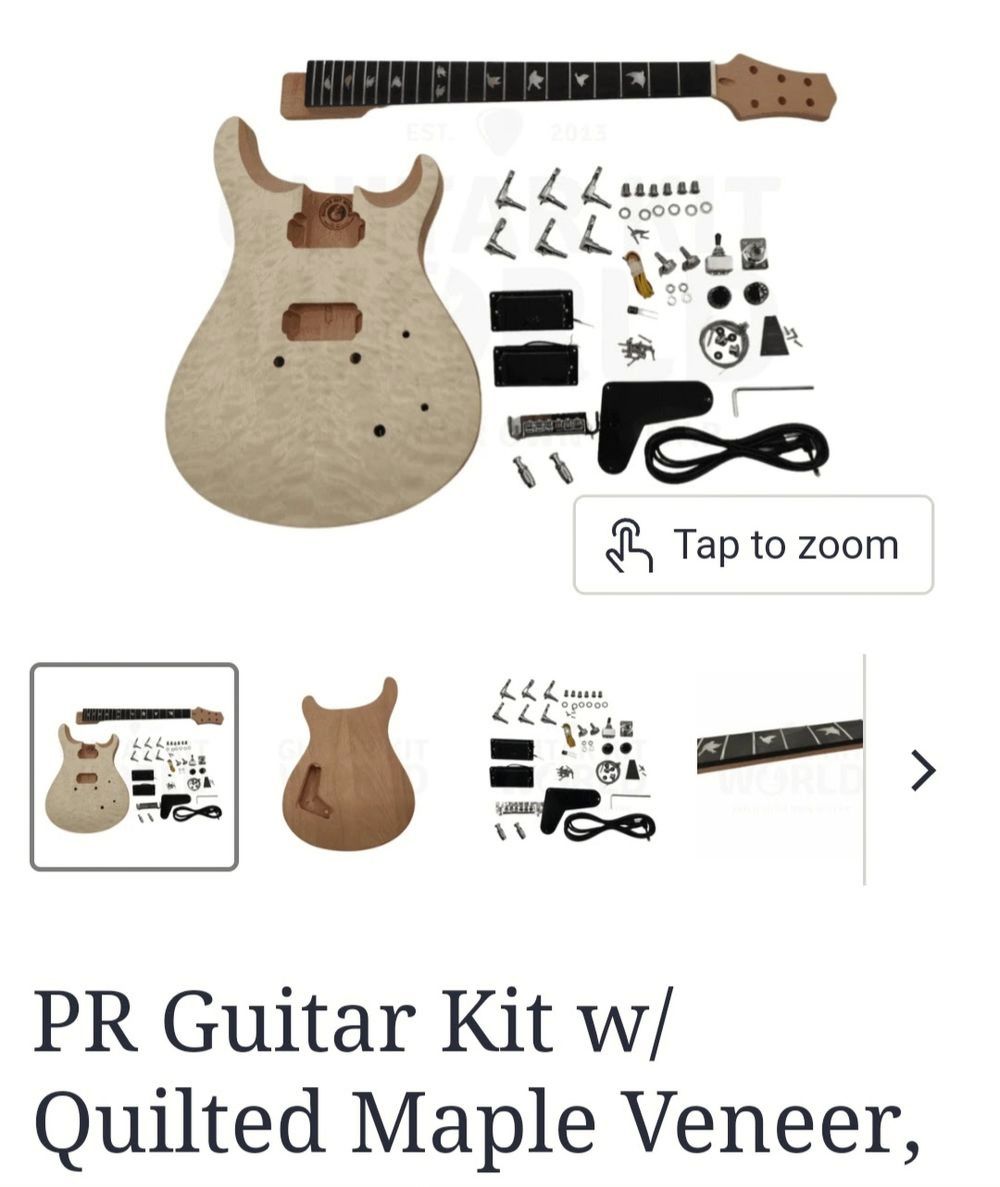
This was a pretty simple project with the previous knowledge acquired. The majority of the steps are the same as what's listed in my first DIY guitar post. The main differences are the inset neck and wiring.
The total cost came to around 350-400 dollars. This includes the kit, shipping, stain, and epoxy. Strings were extra, and I generally go with D'Addario NYXL round wound strings. This does not include the pickup added later.
The Neck
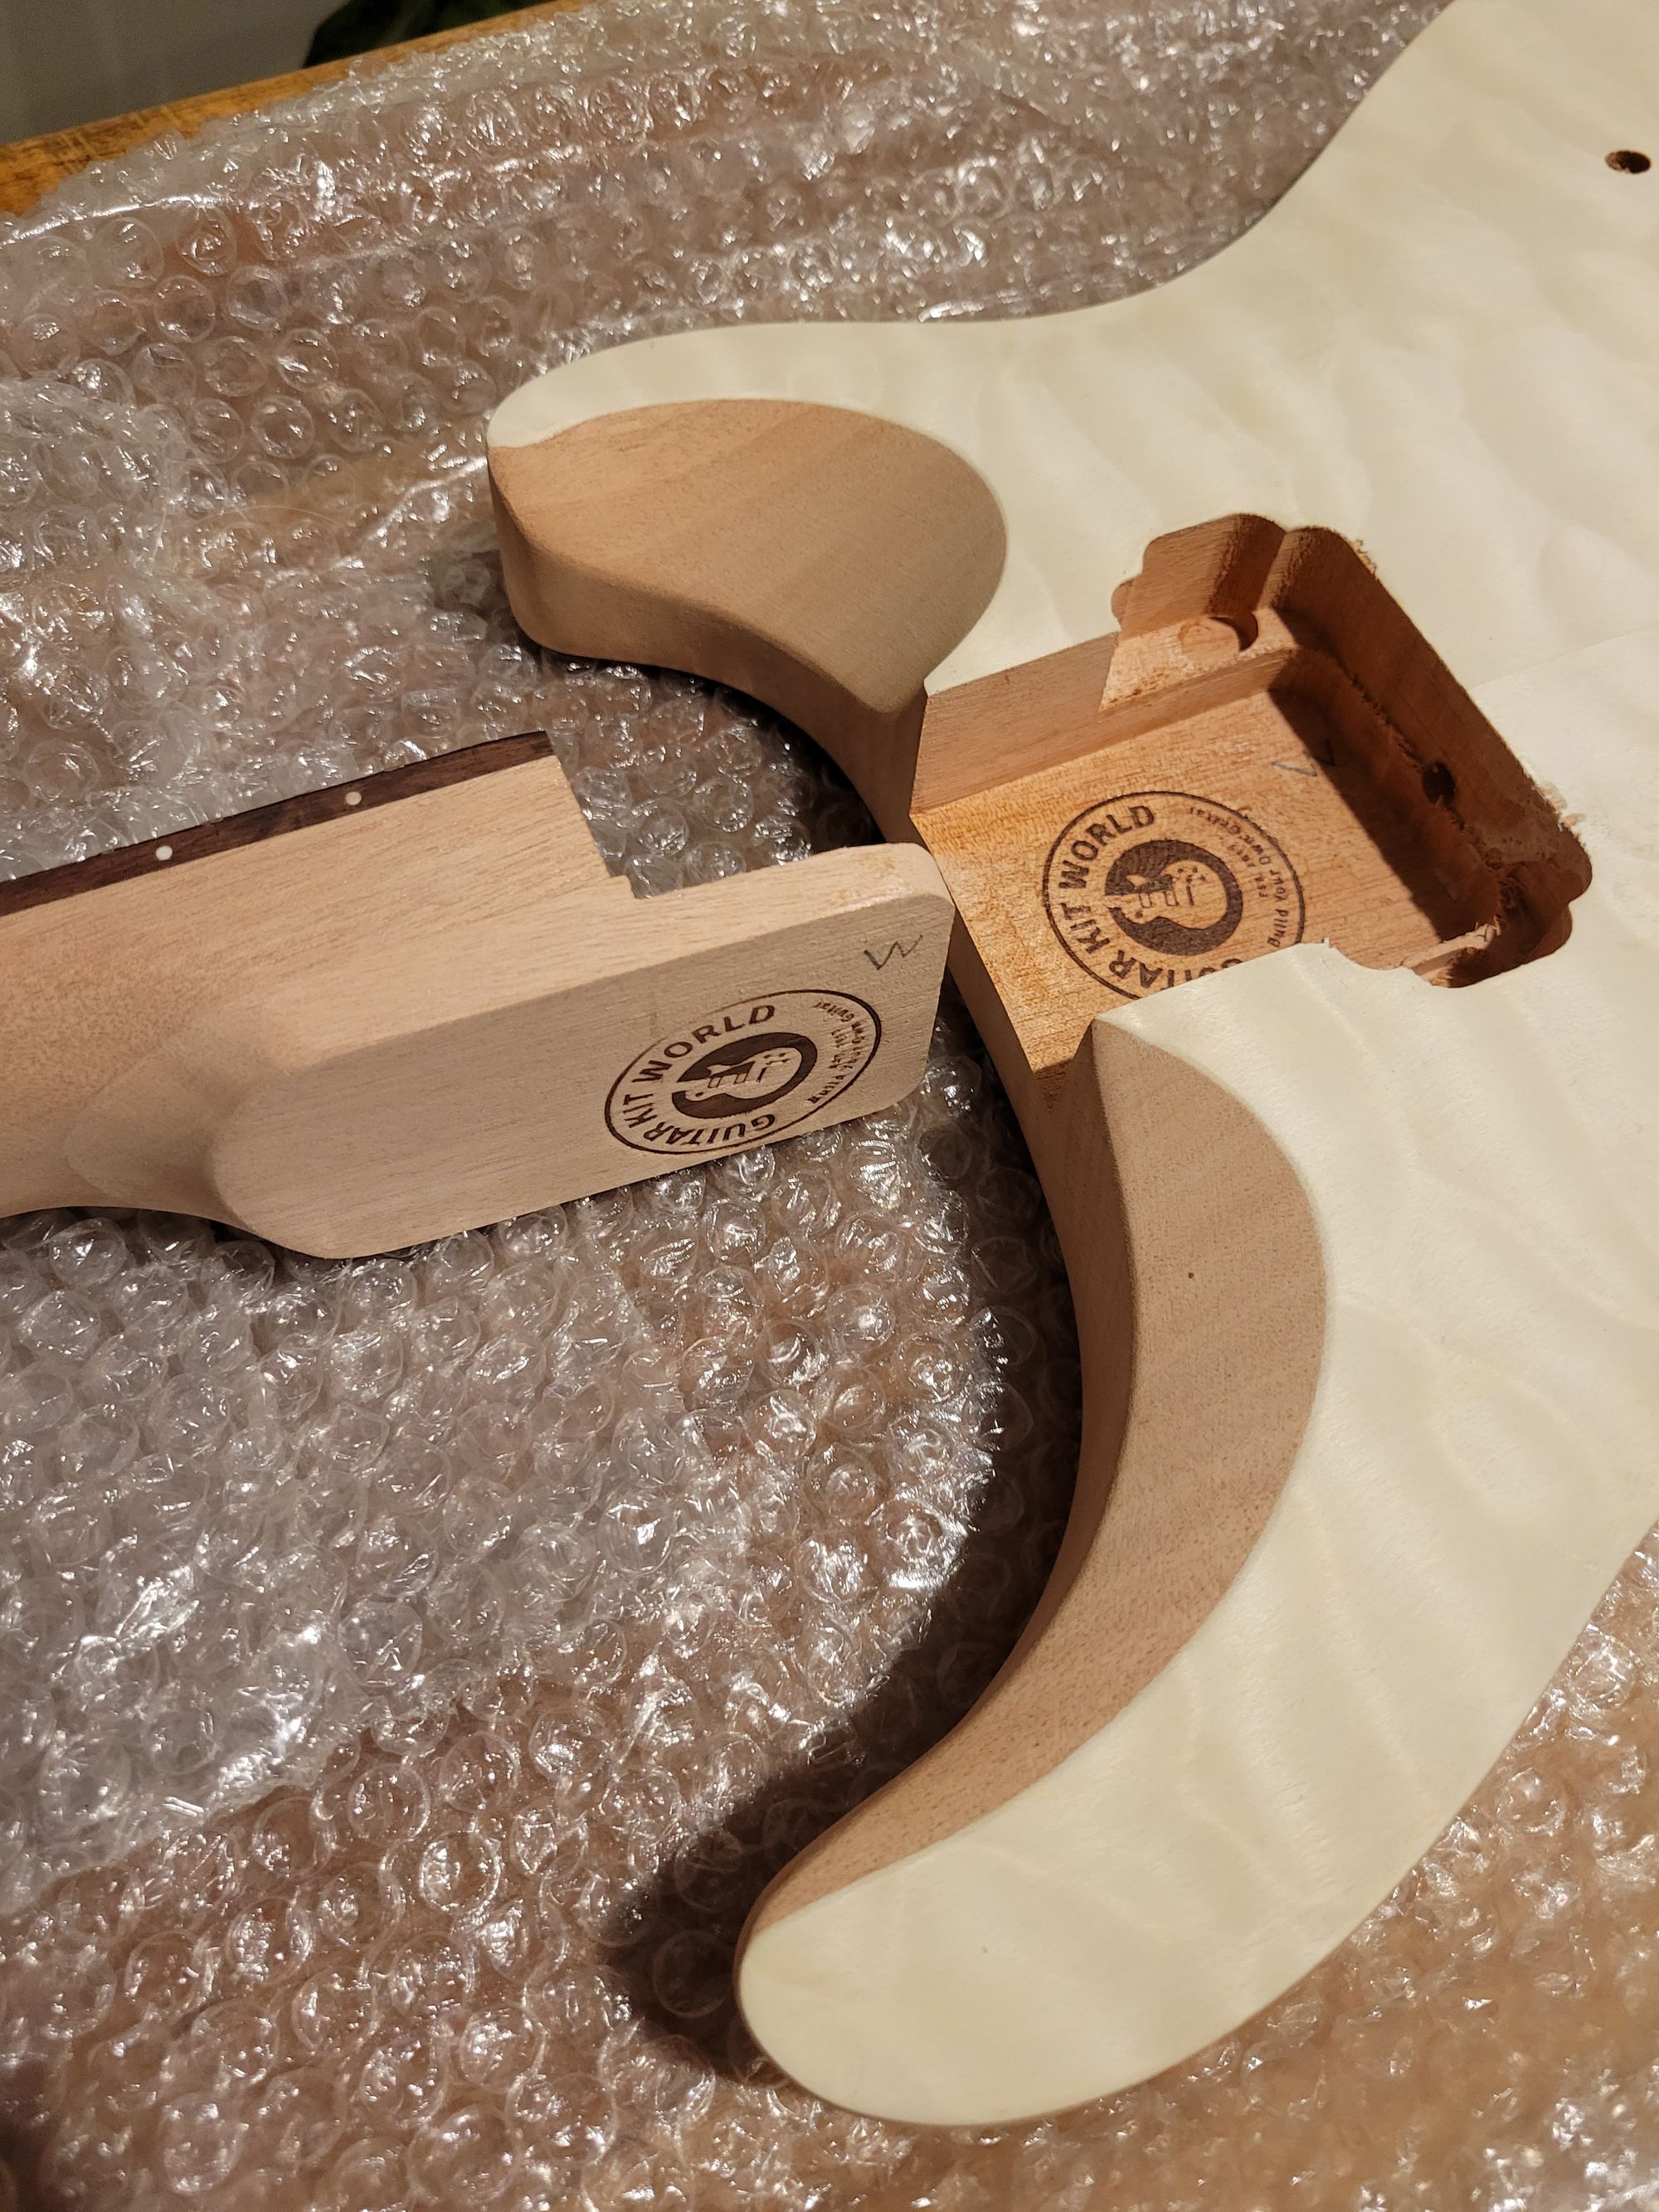
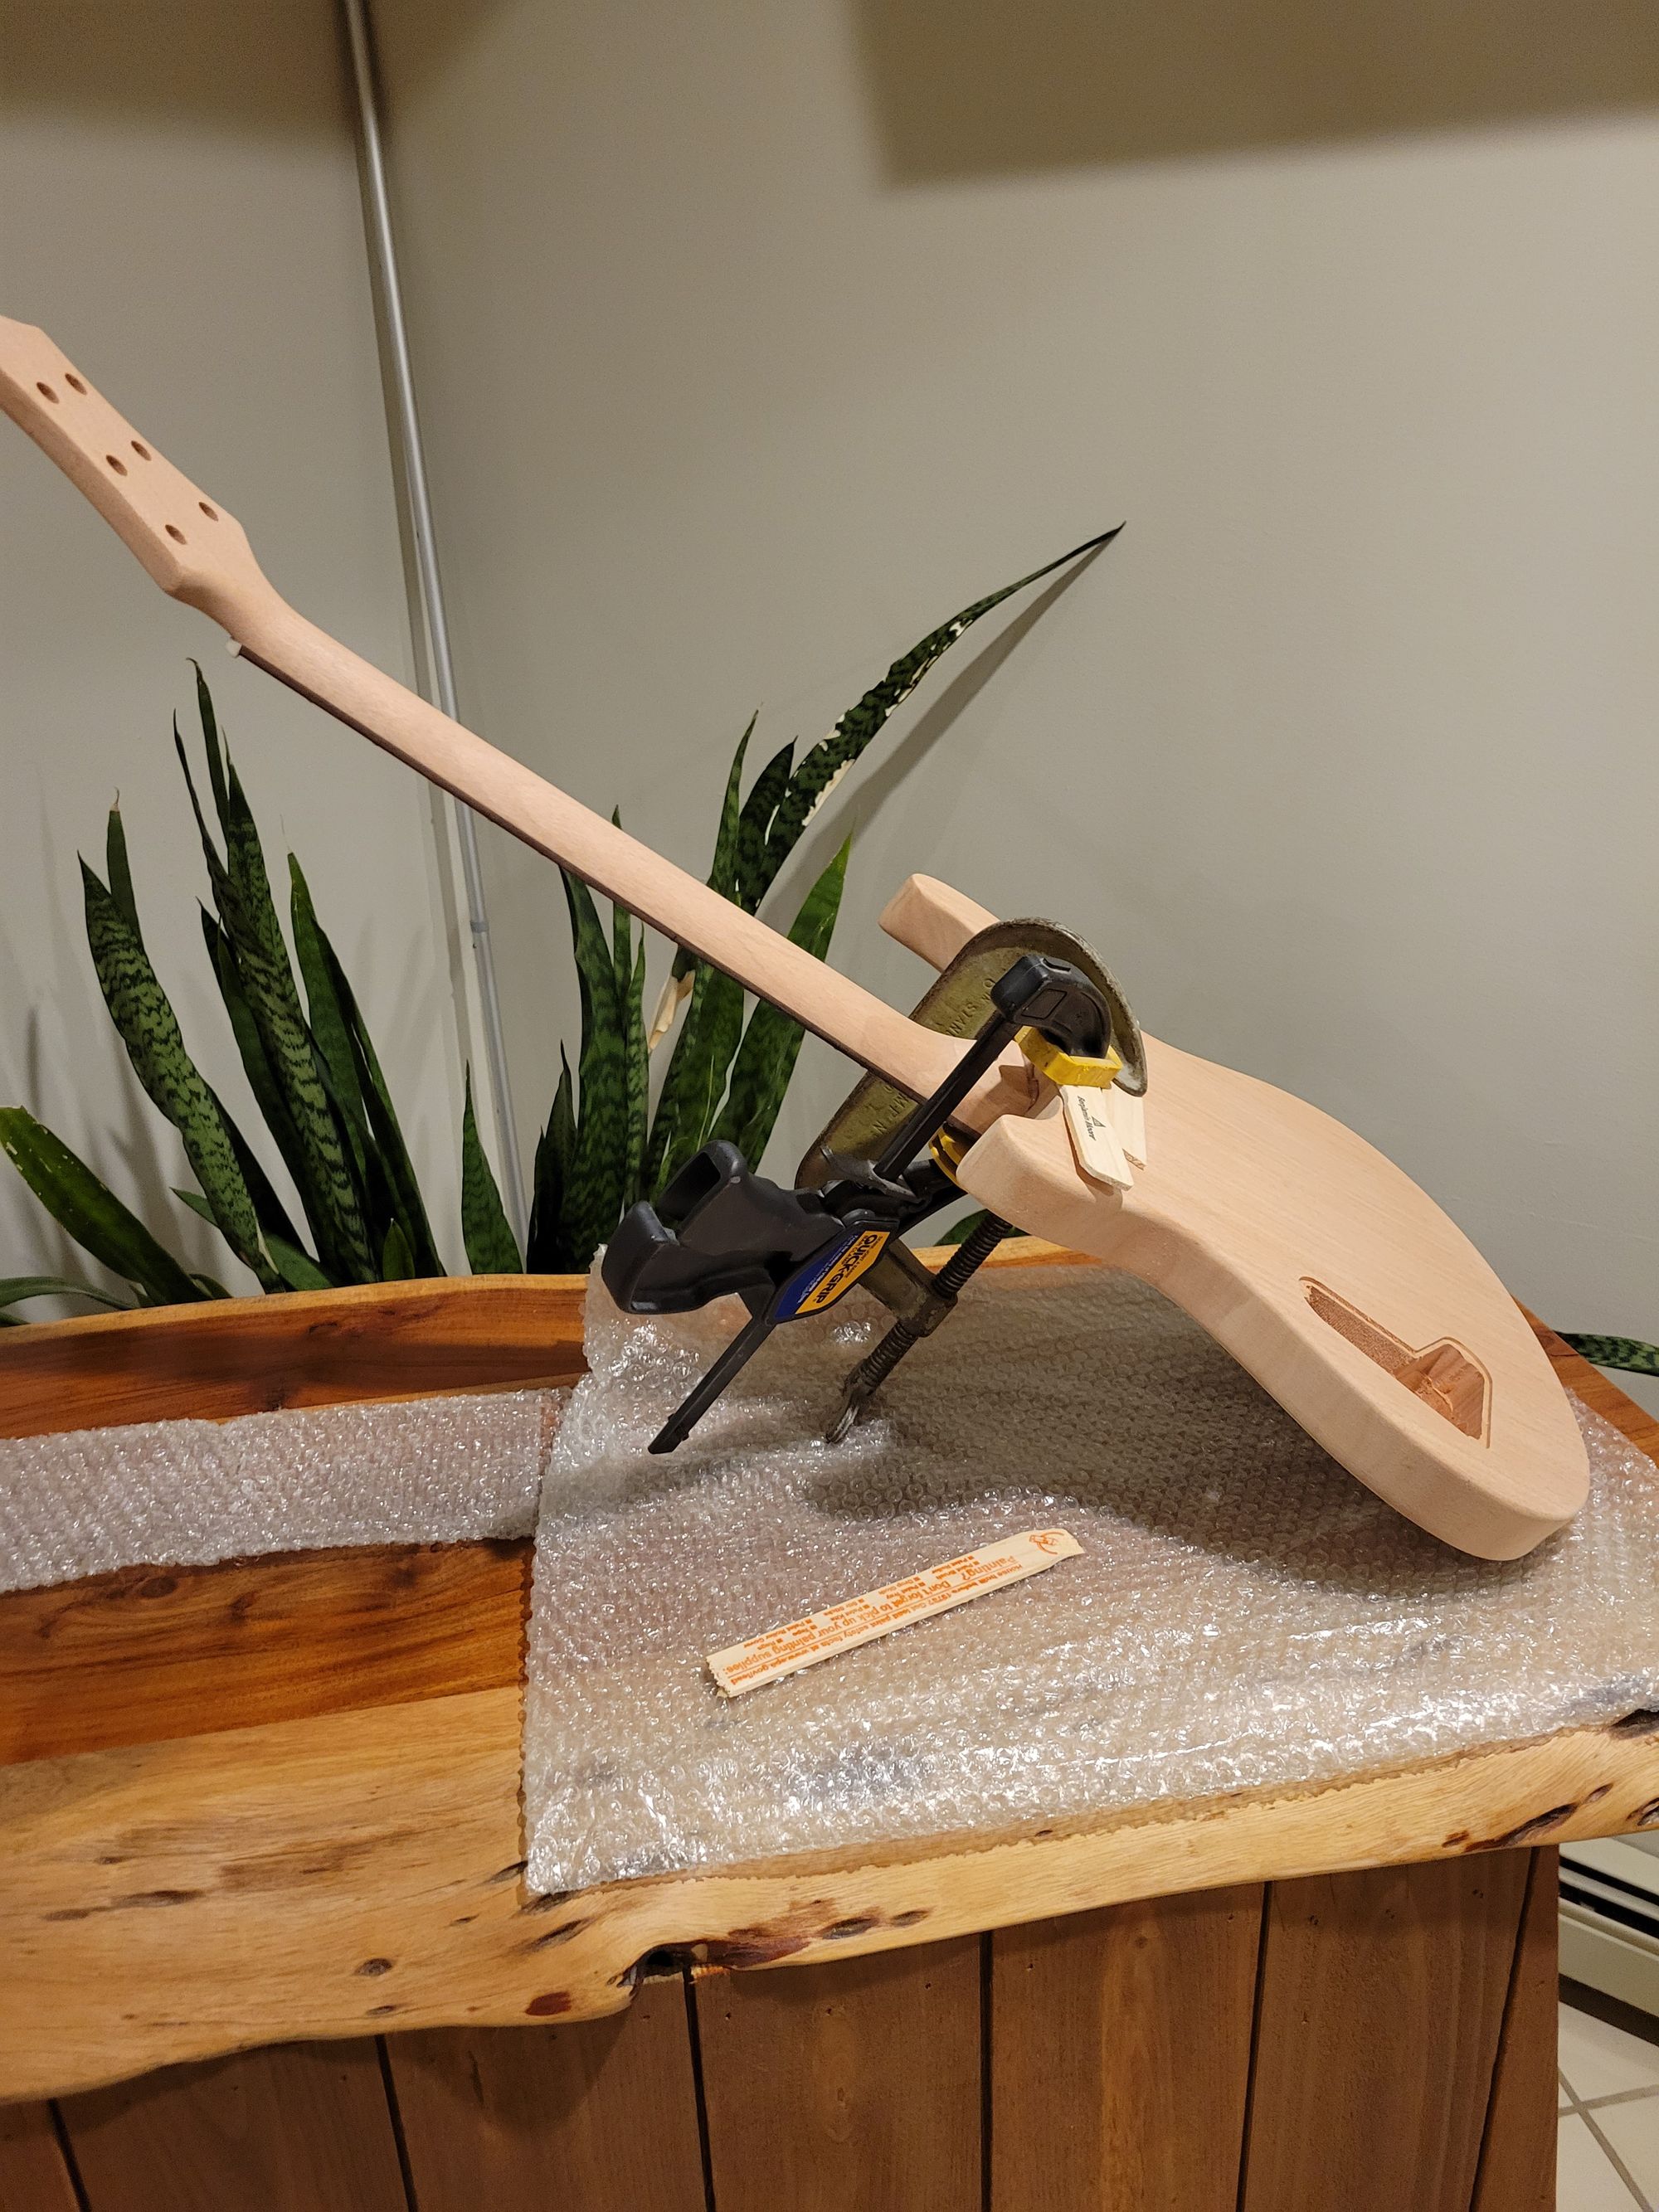
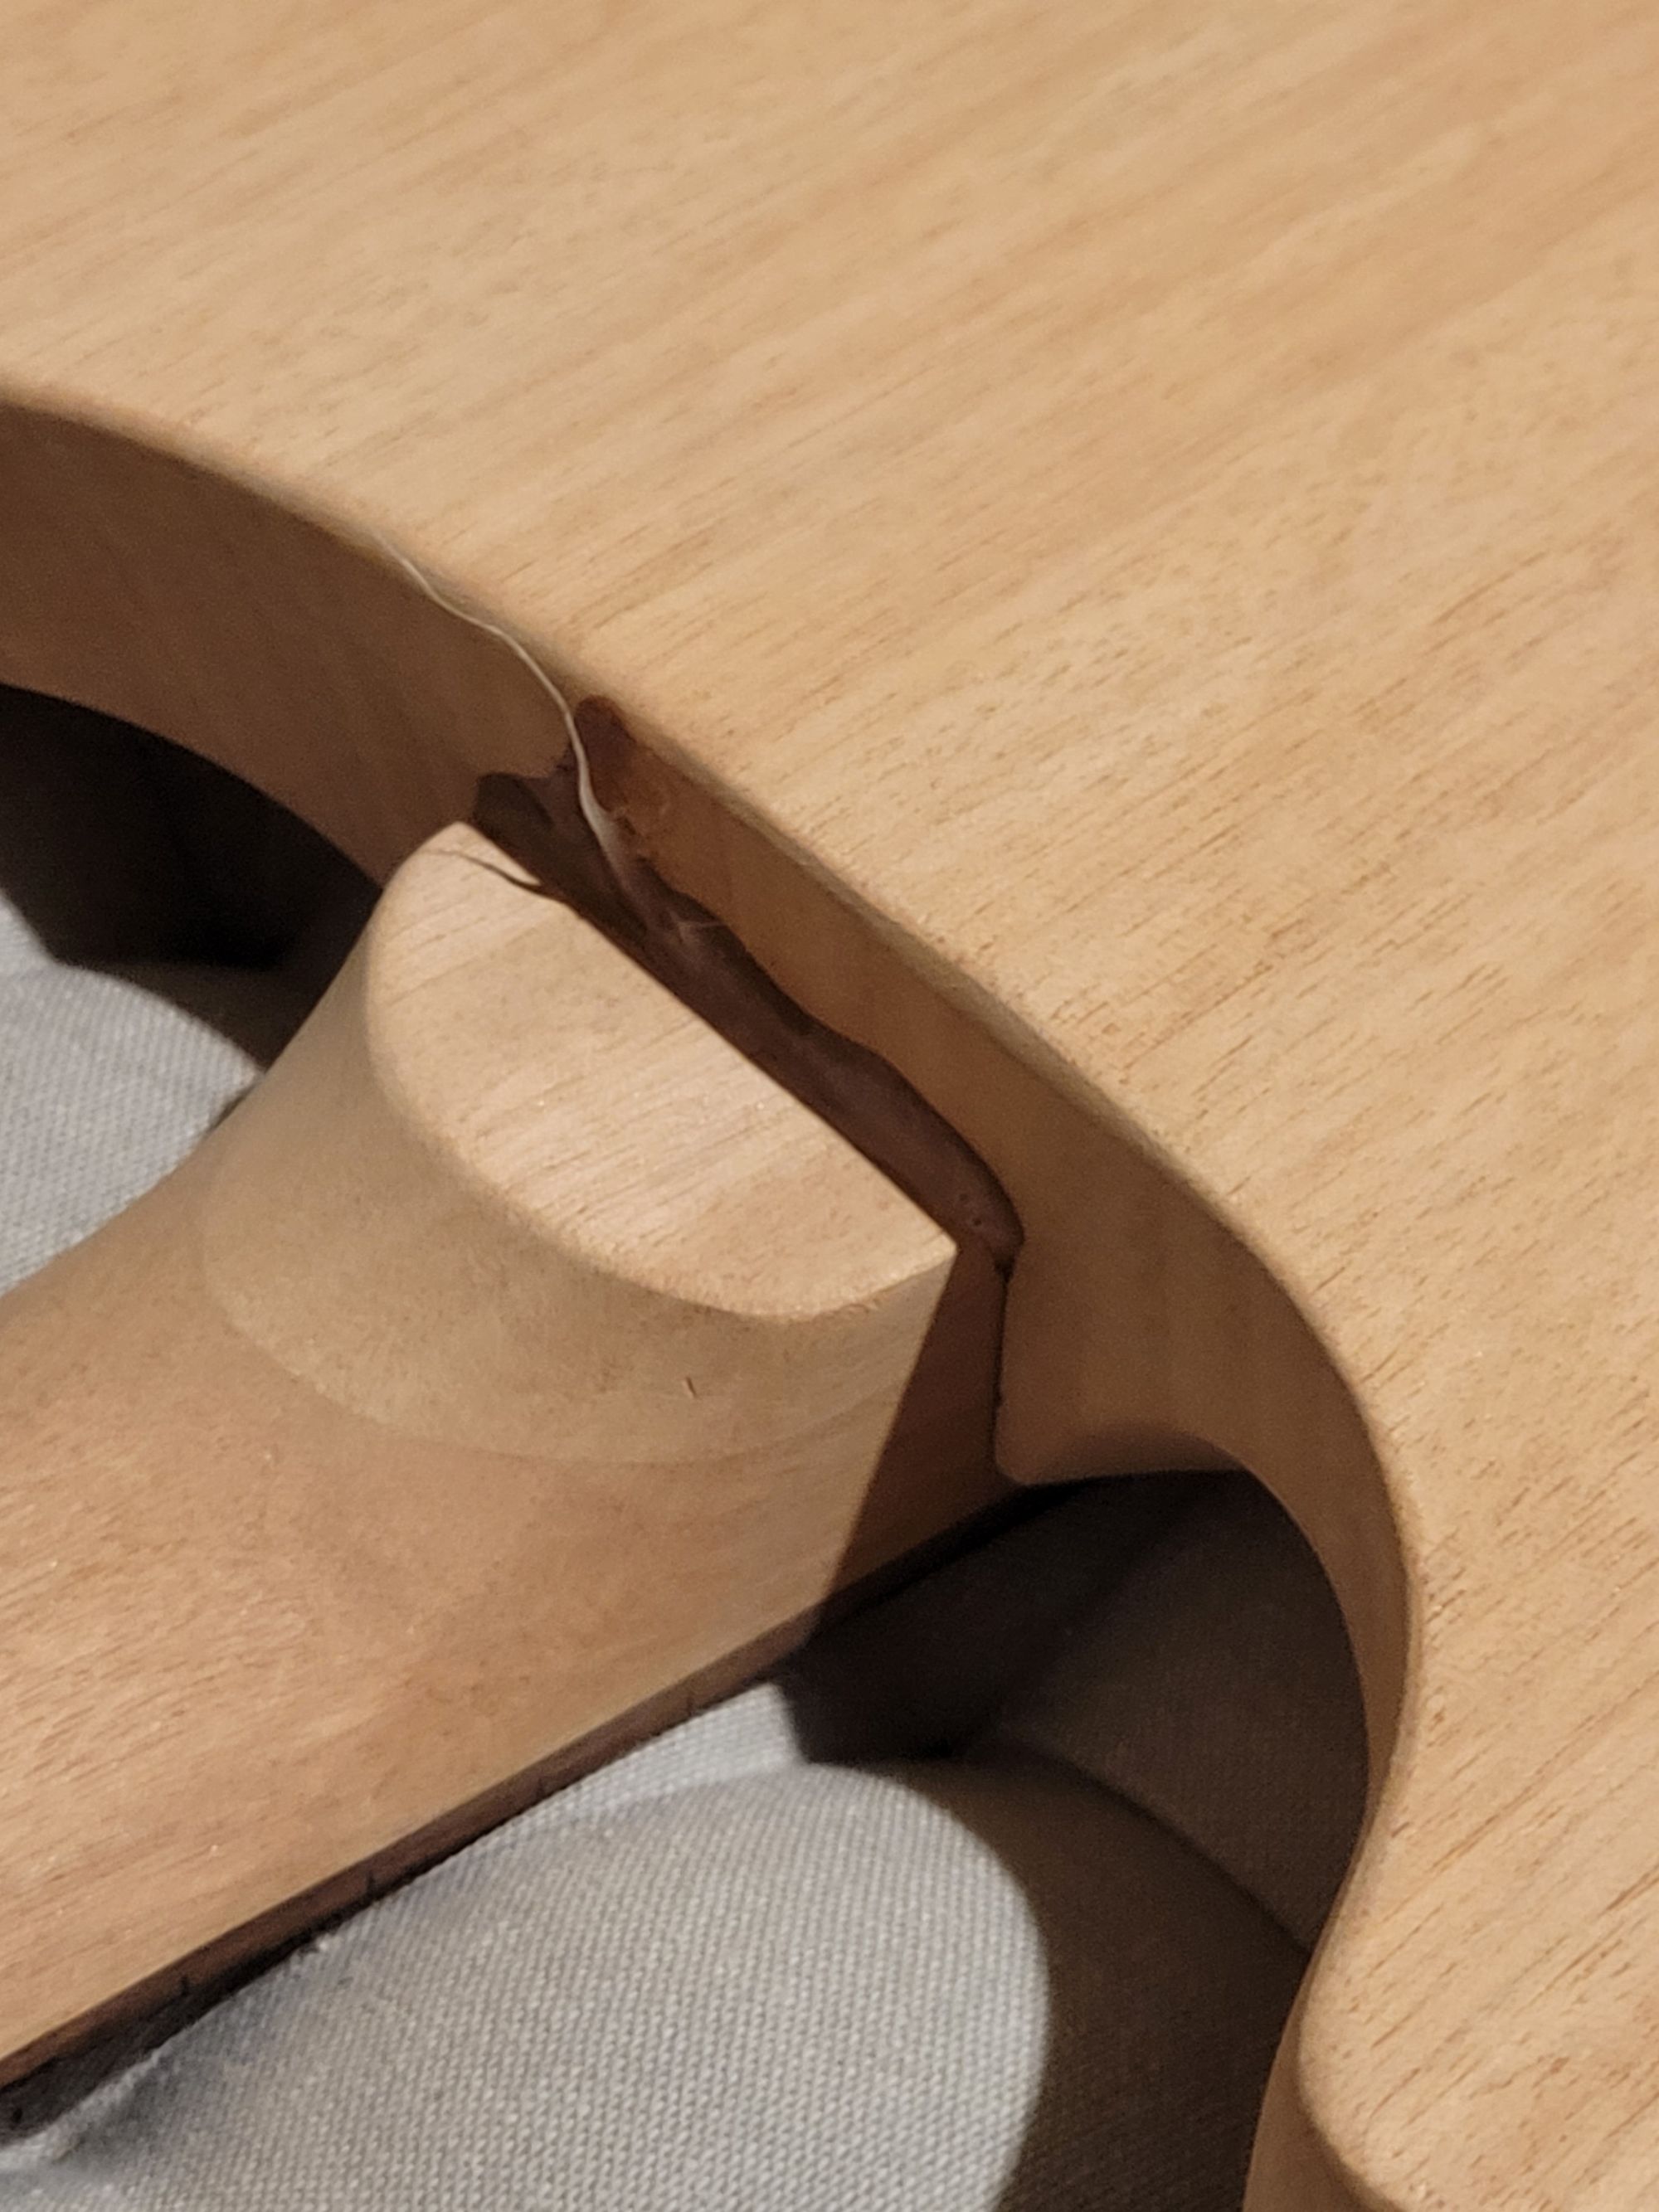
The neck was a set joint type verses my previous experience with bolt on. This is where instead of using screws to mount the neck to the body, you glue it in place. The resulting extension of the neck wood sits underneath the neck pickup cavity.
While this was not a very difficult step, my main worry was that the neck would not hold and snap due to string tension. To combat this and build confidence in the structural integrity, I used a two part epoxy resin for a strong fit.
Stain
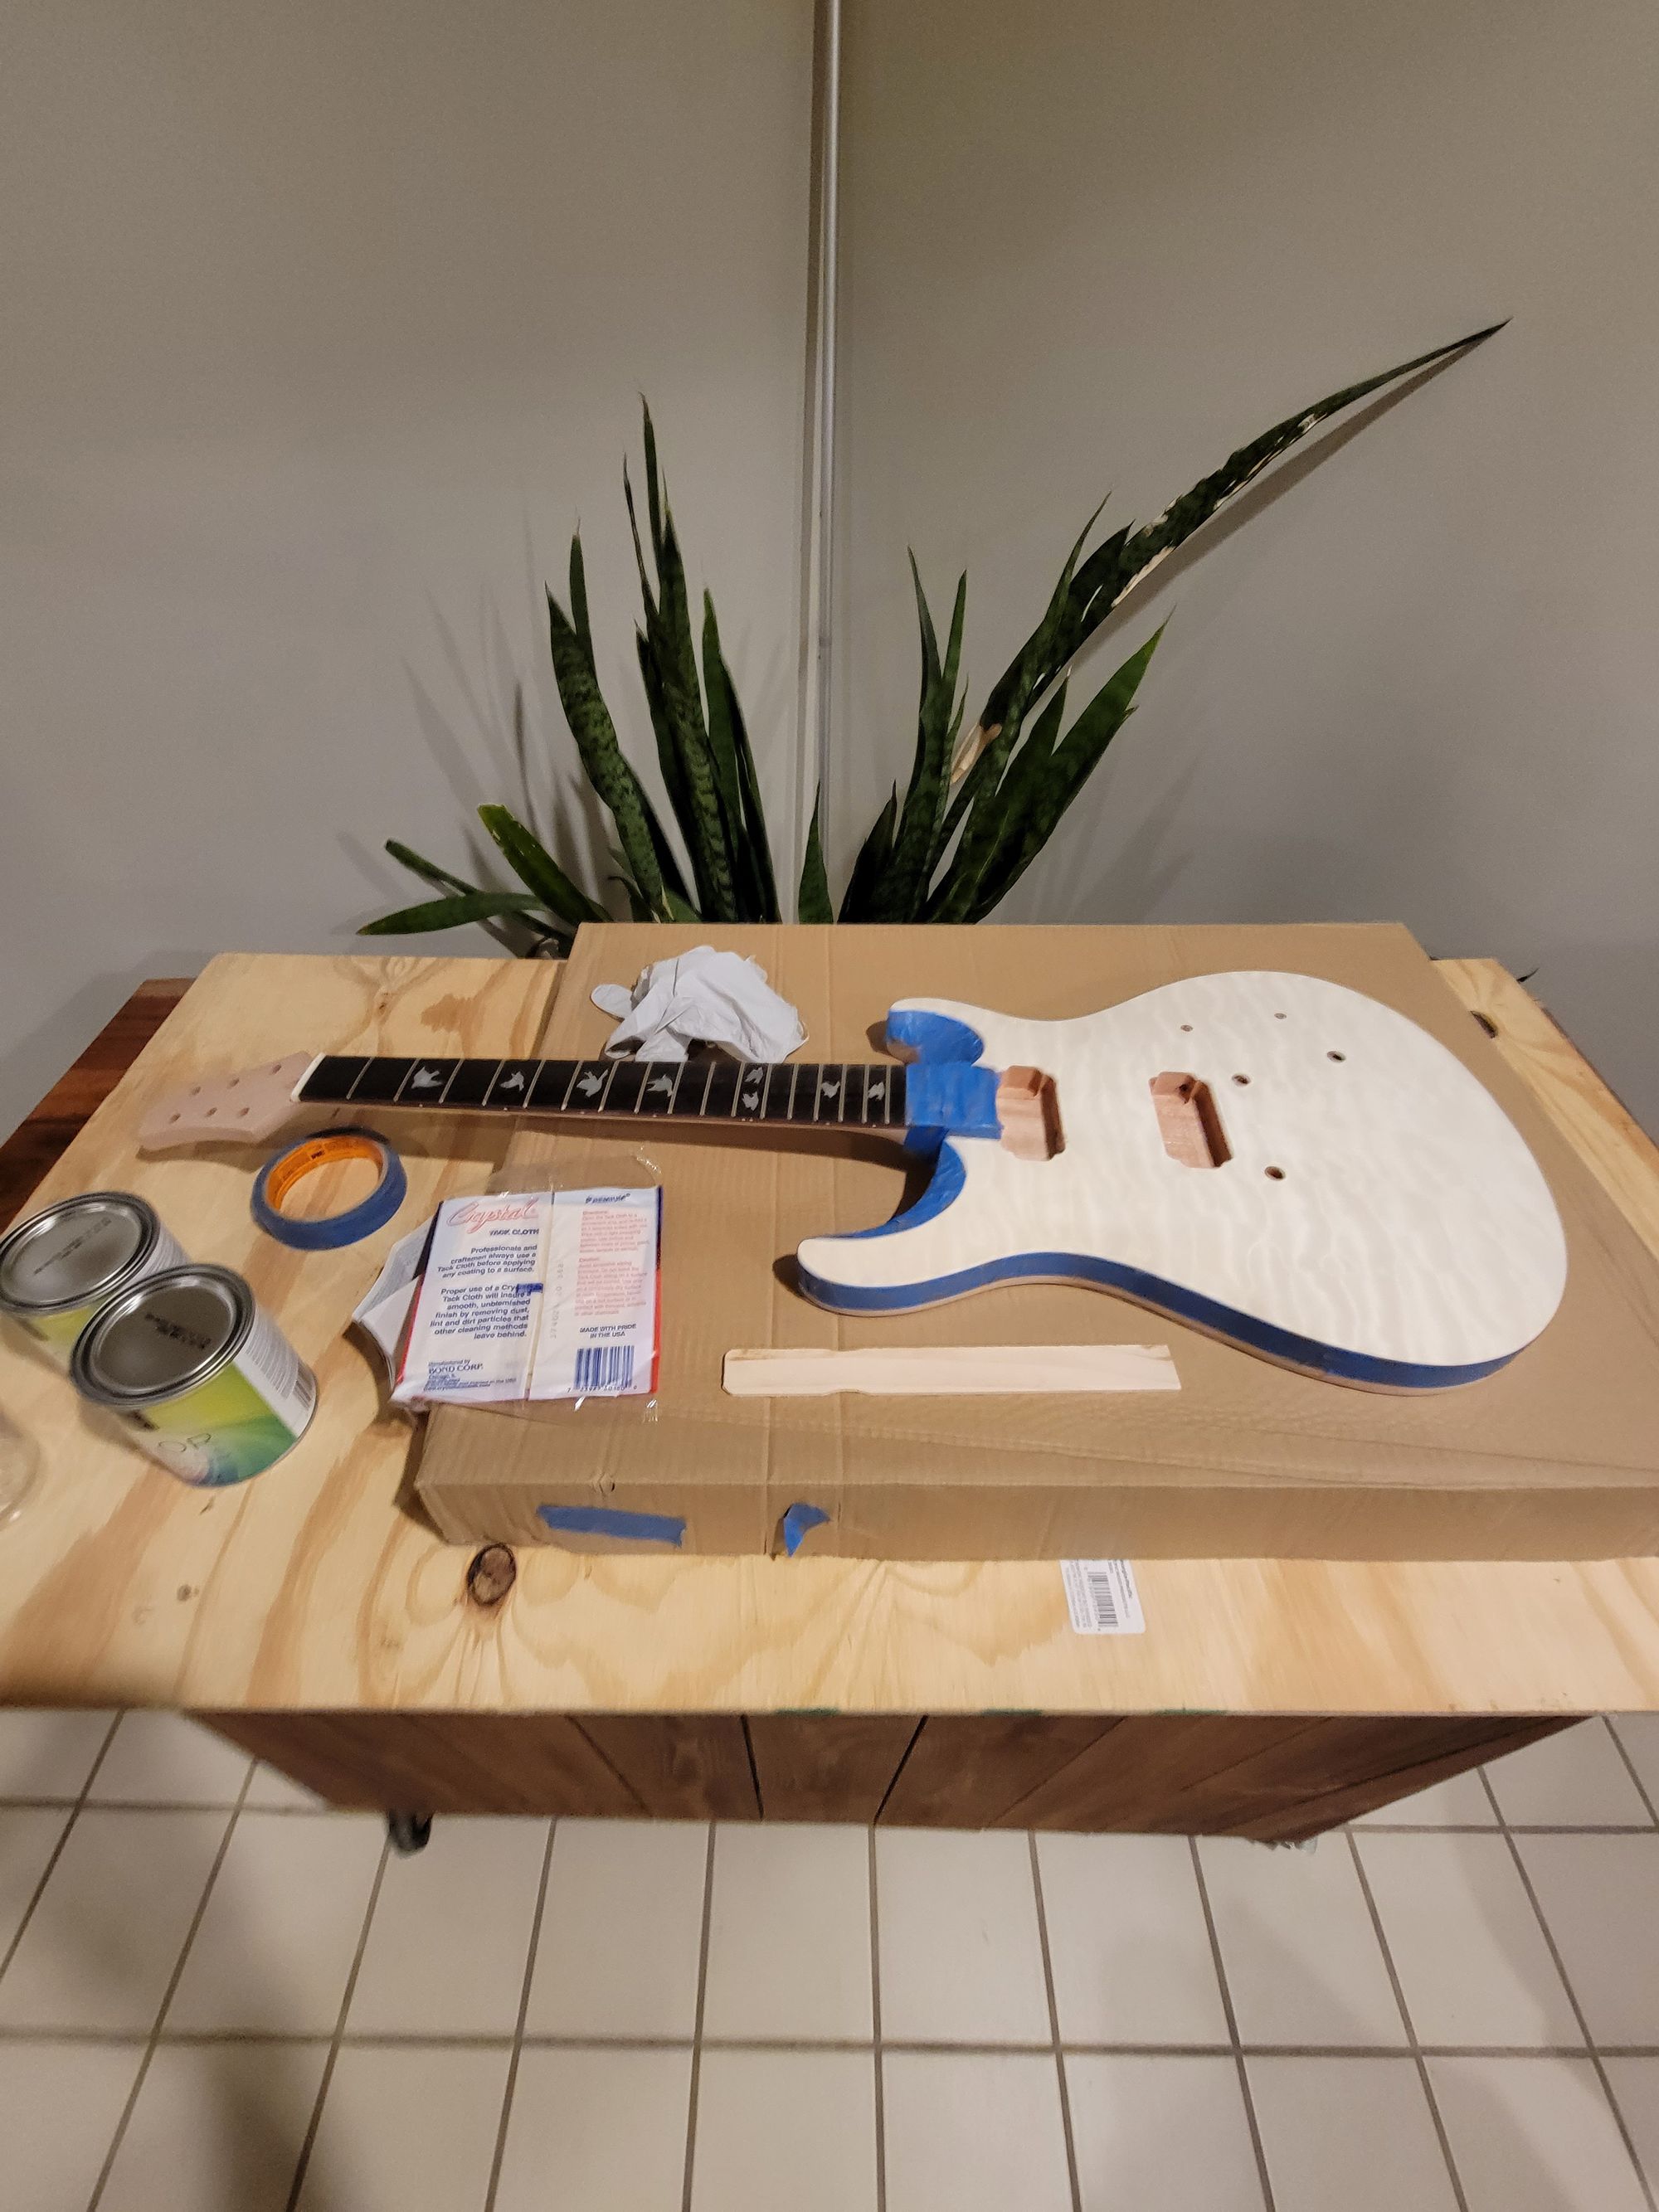
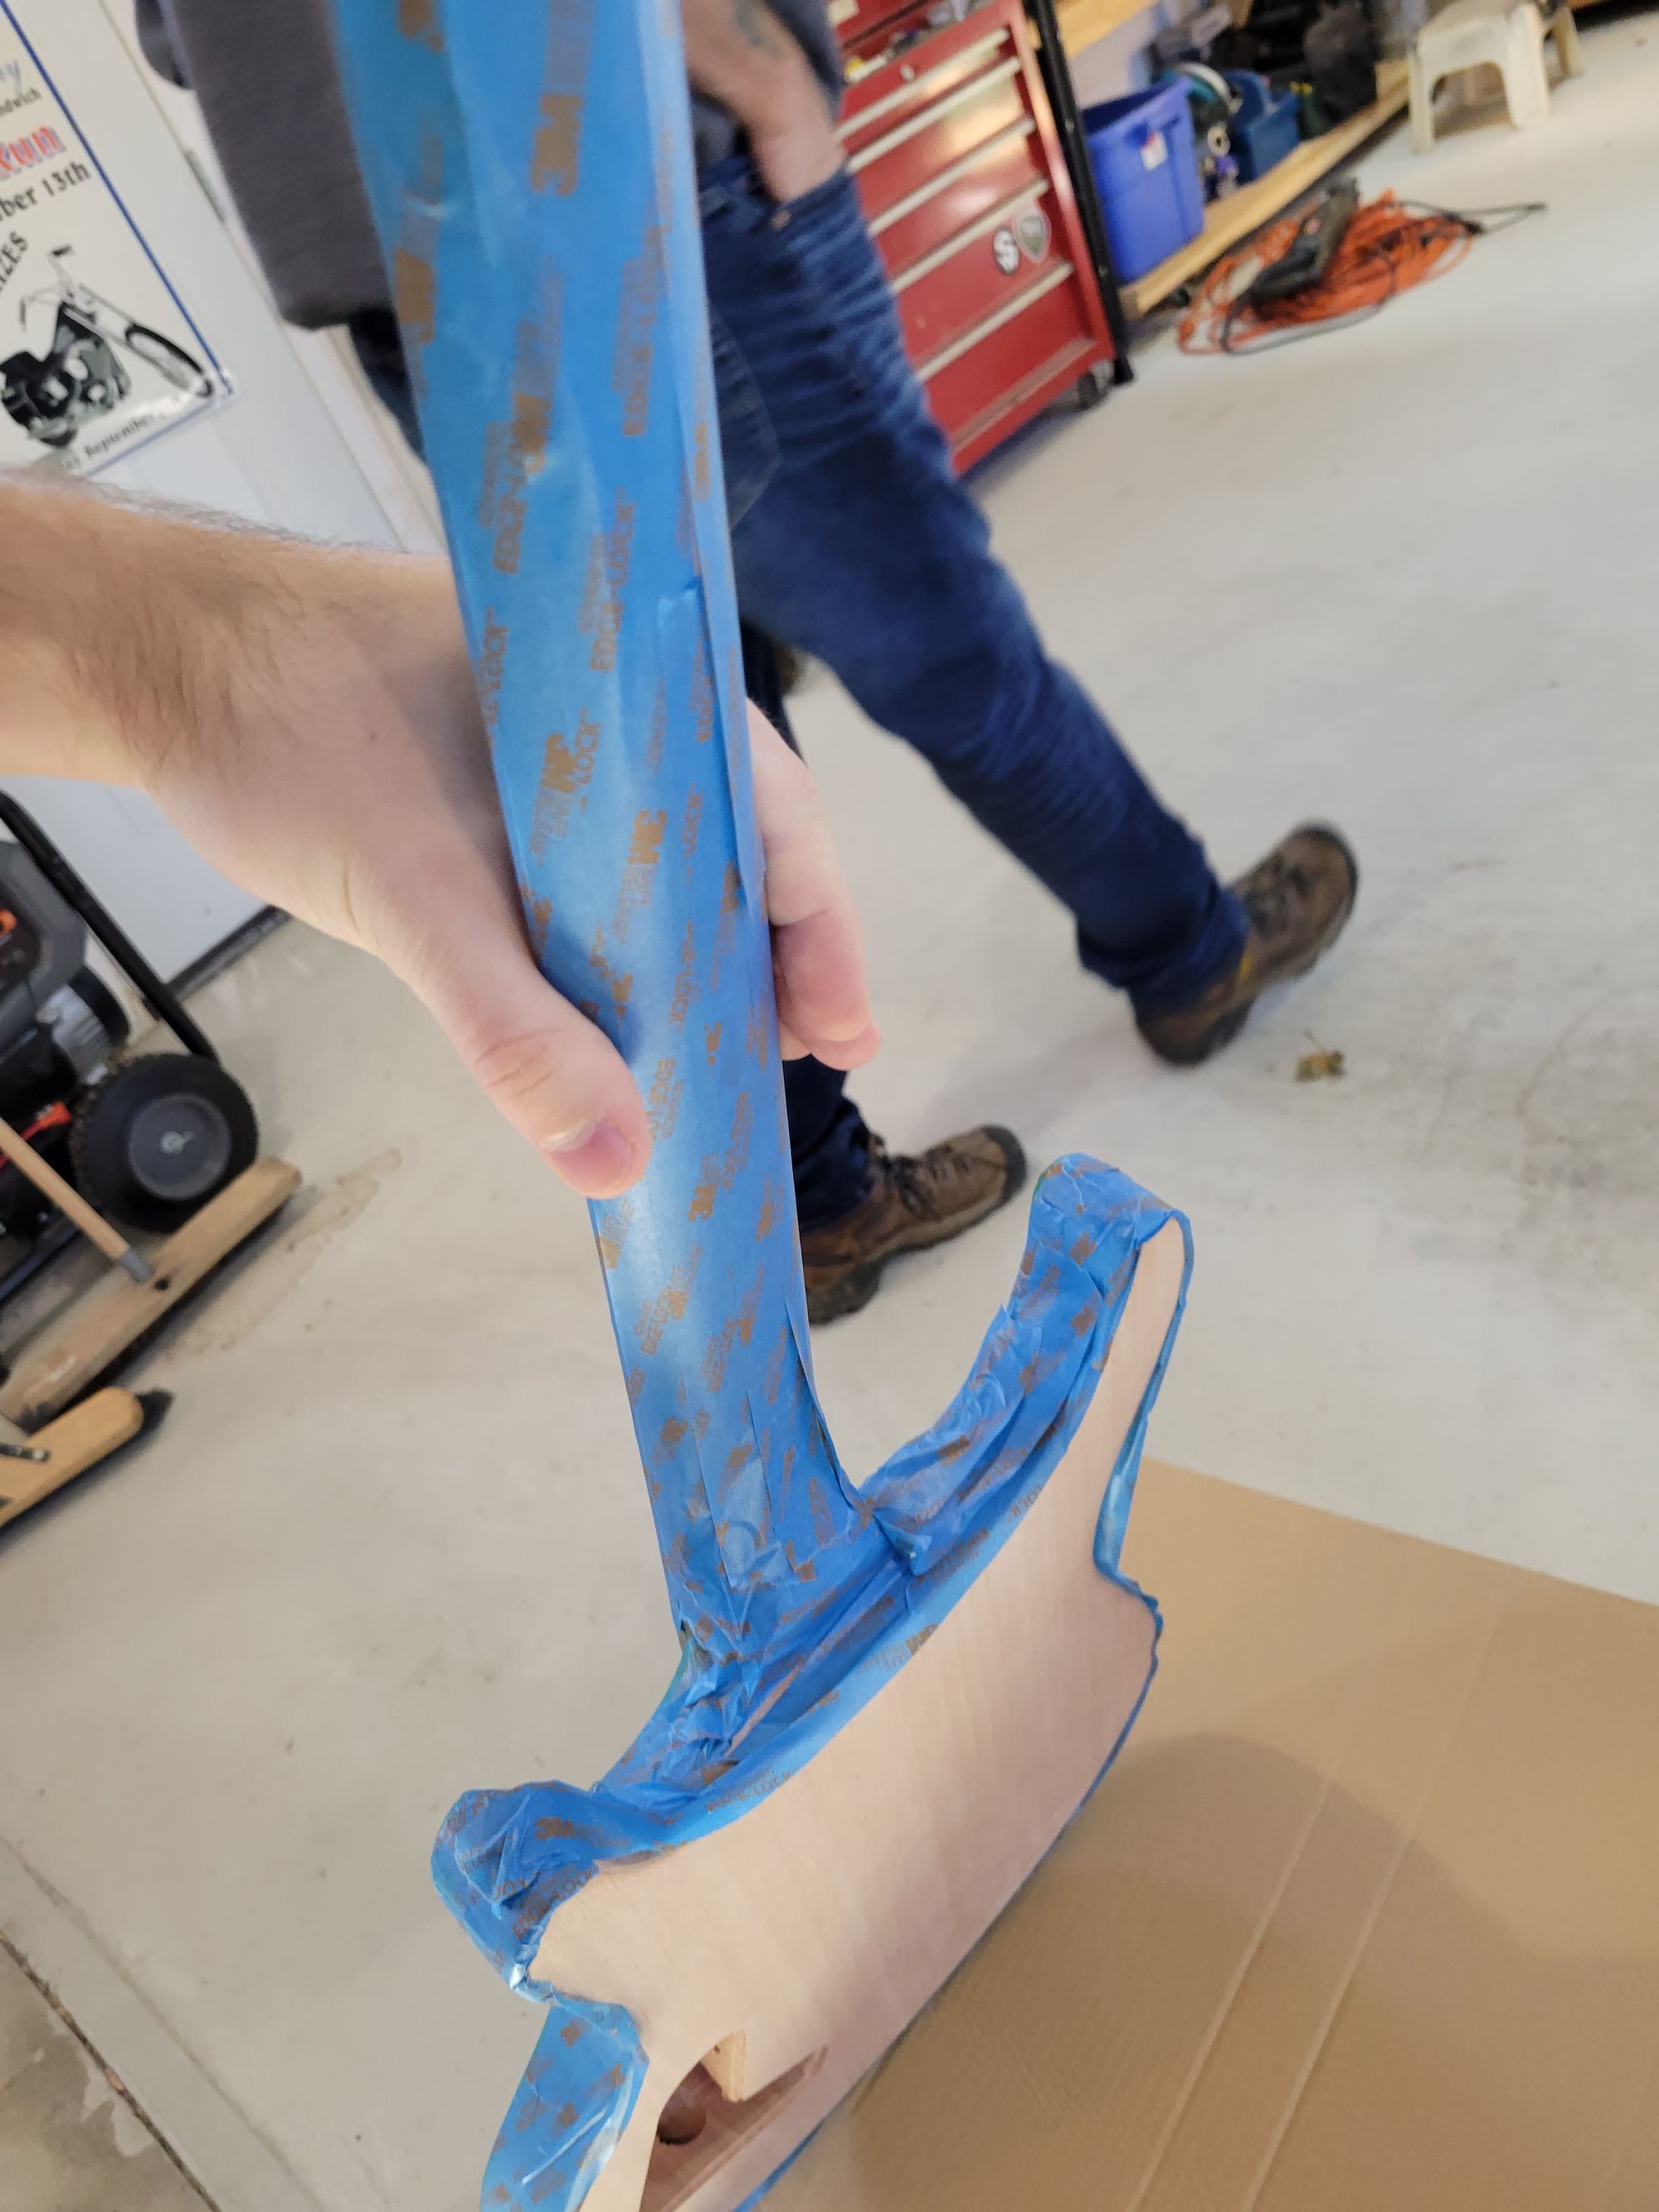
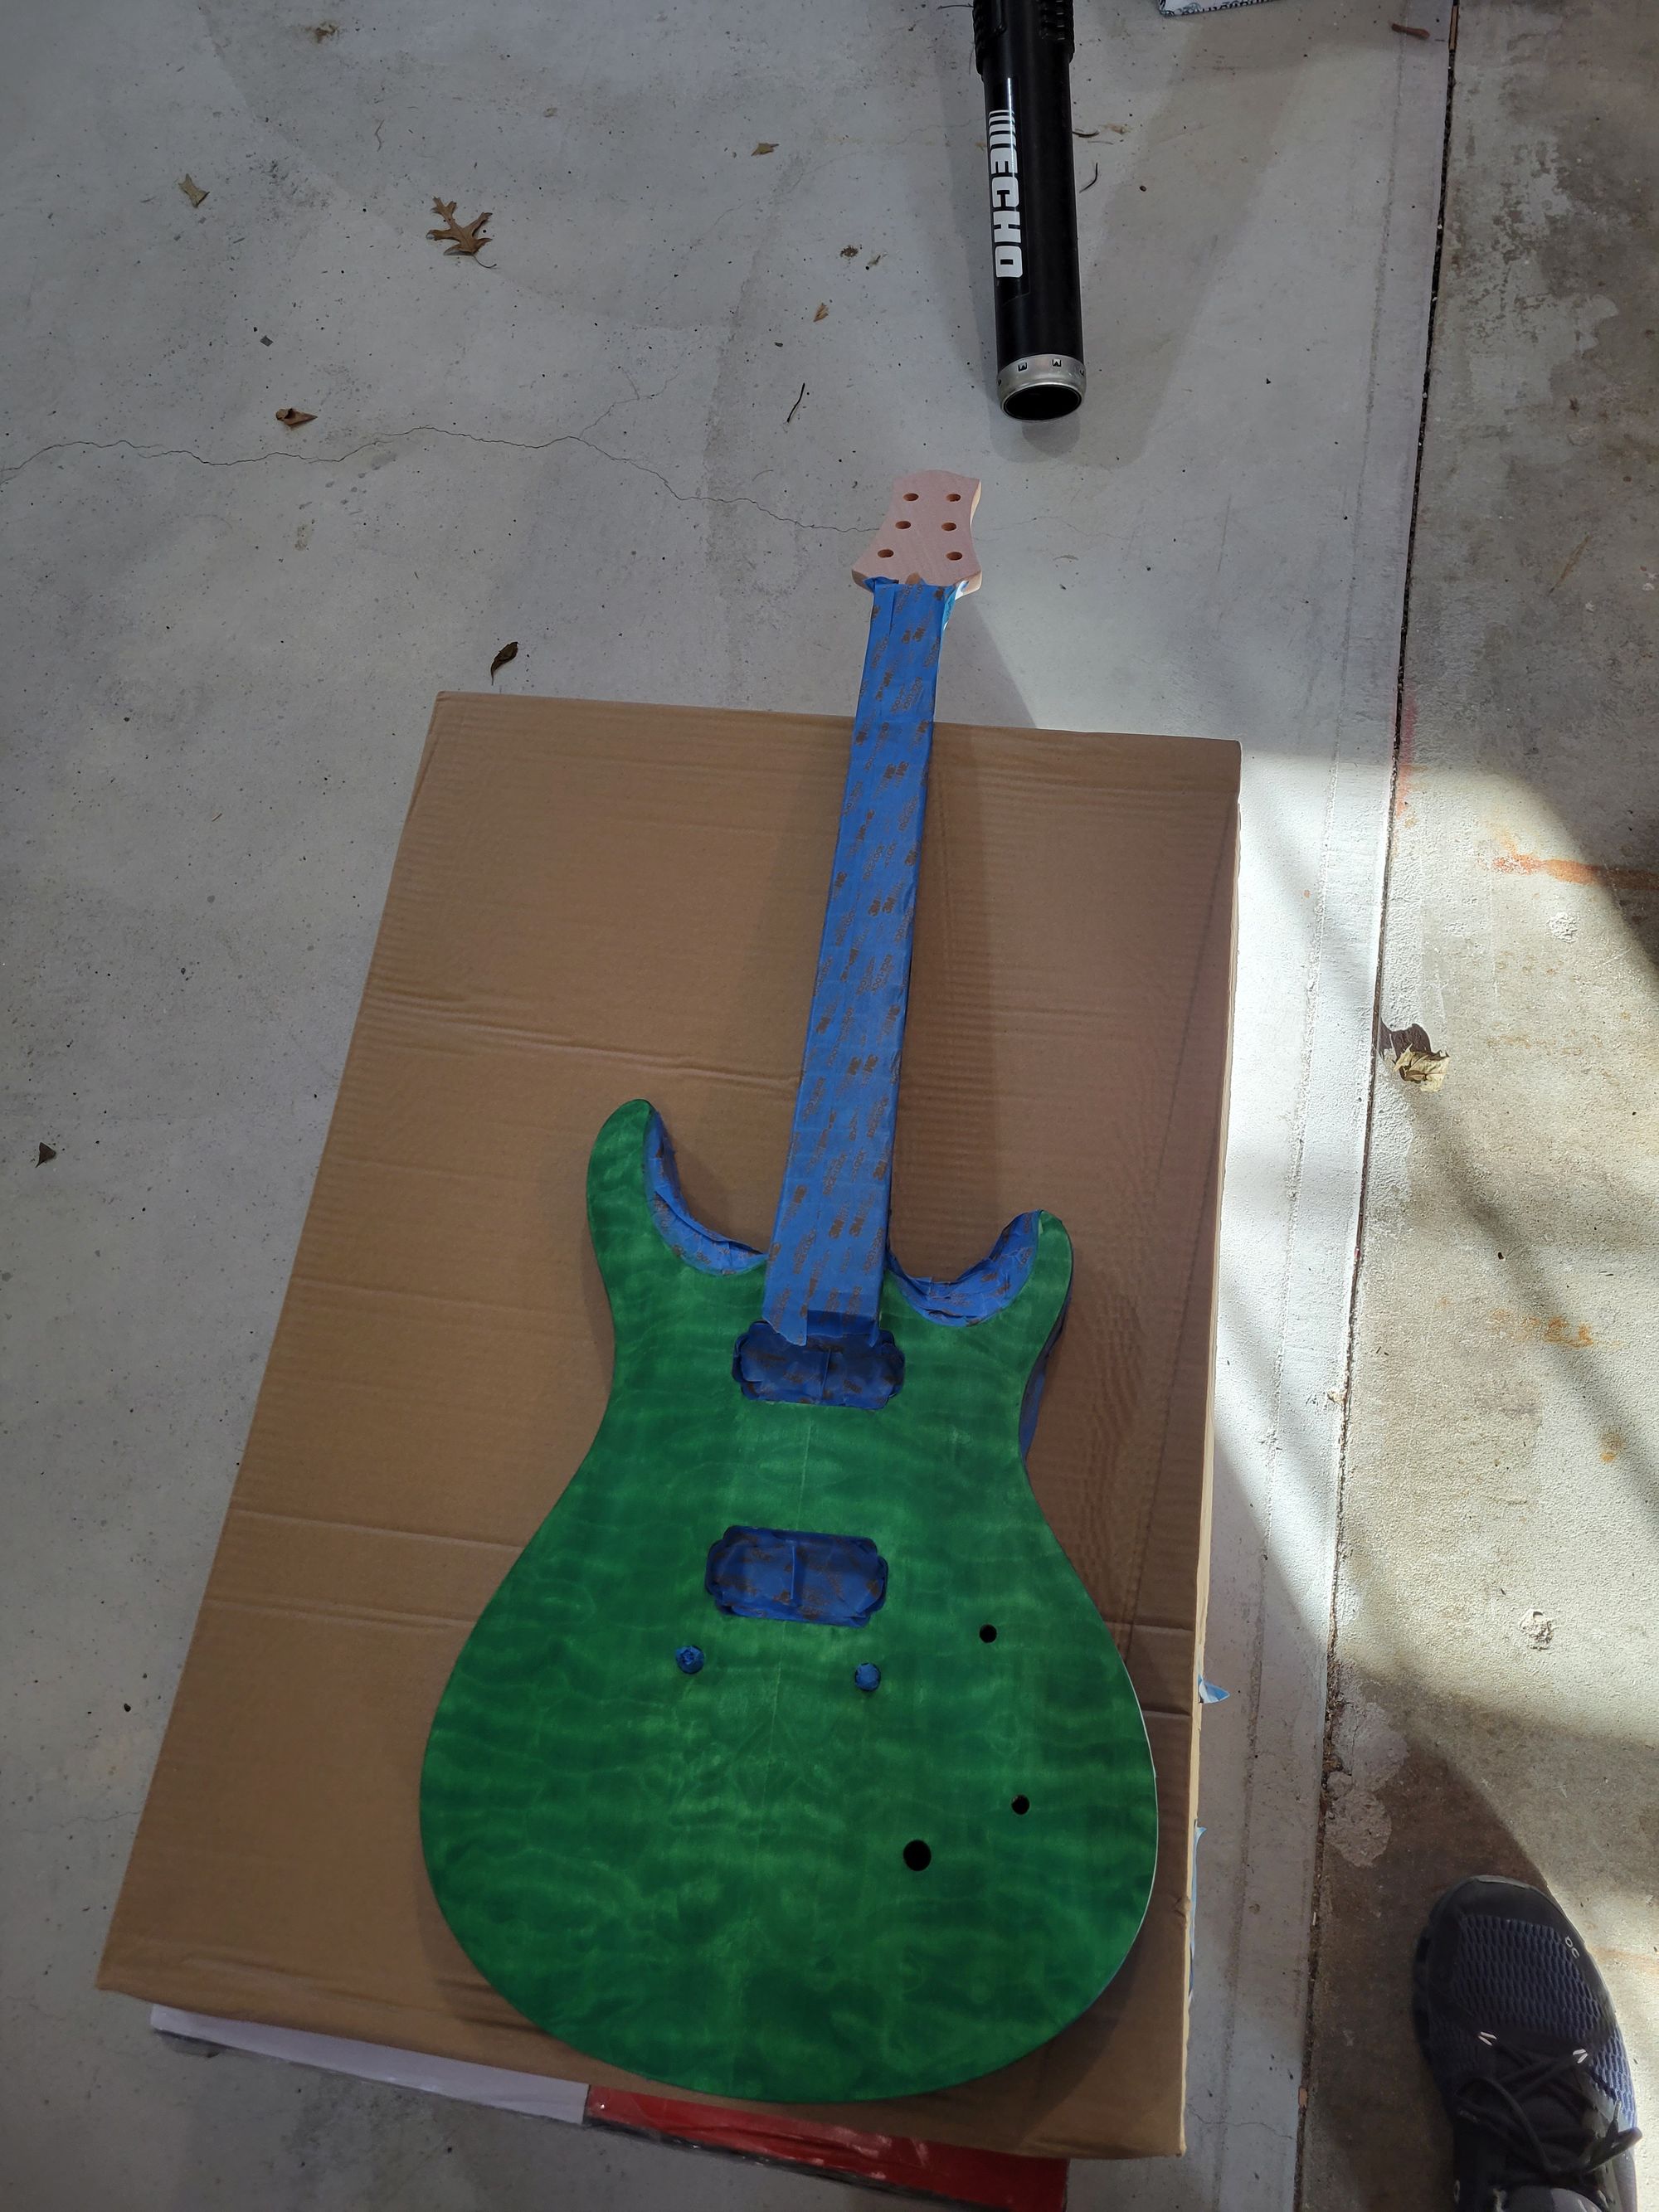
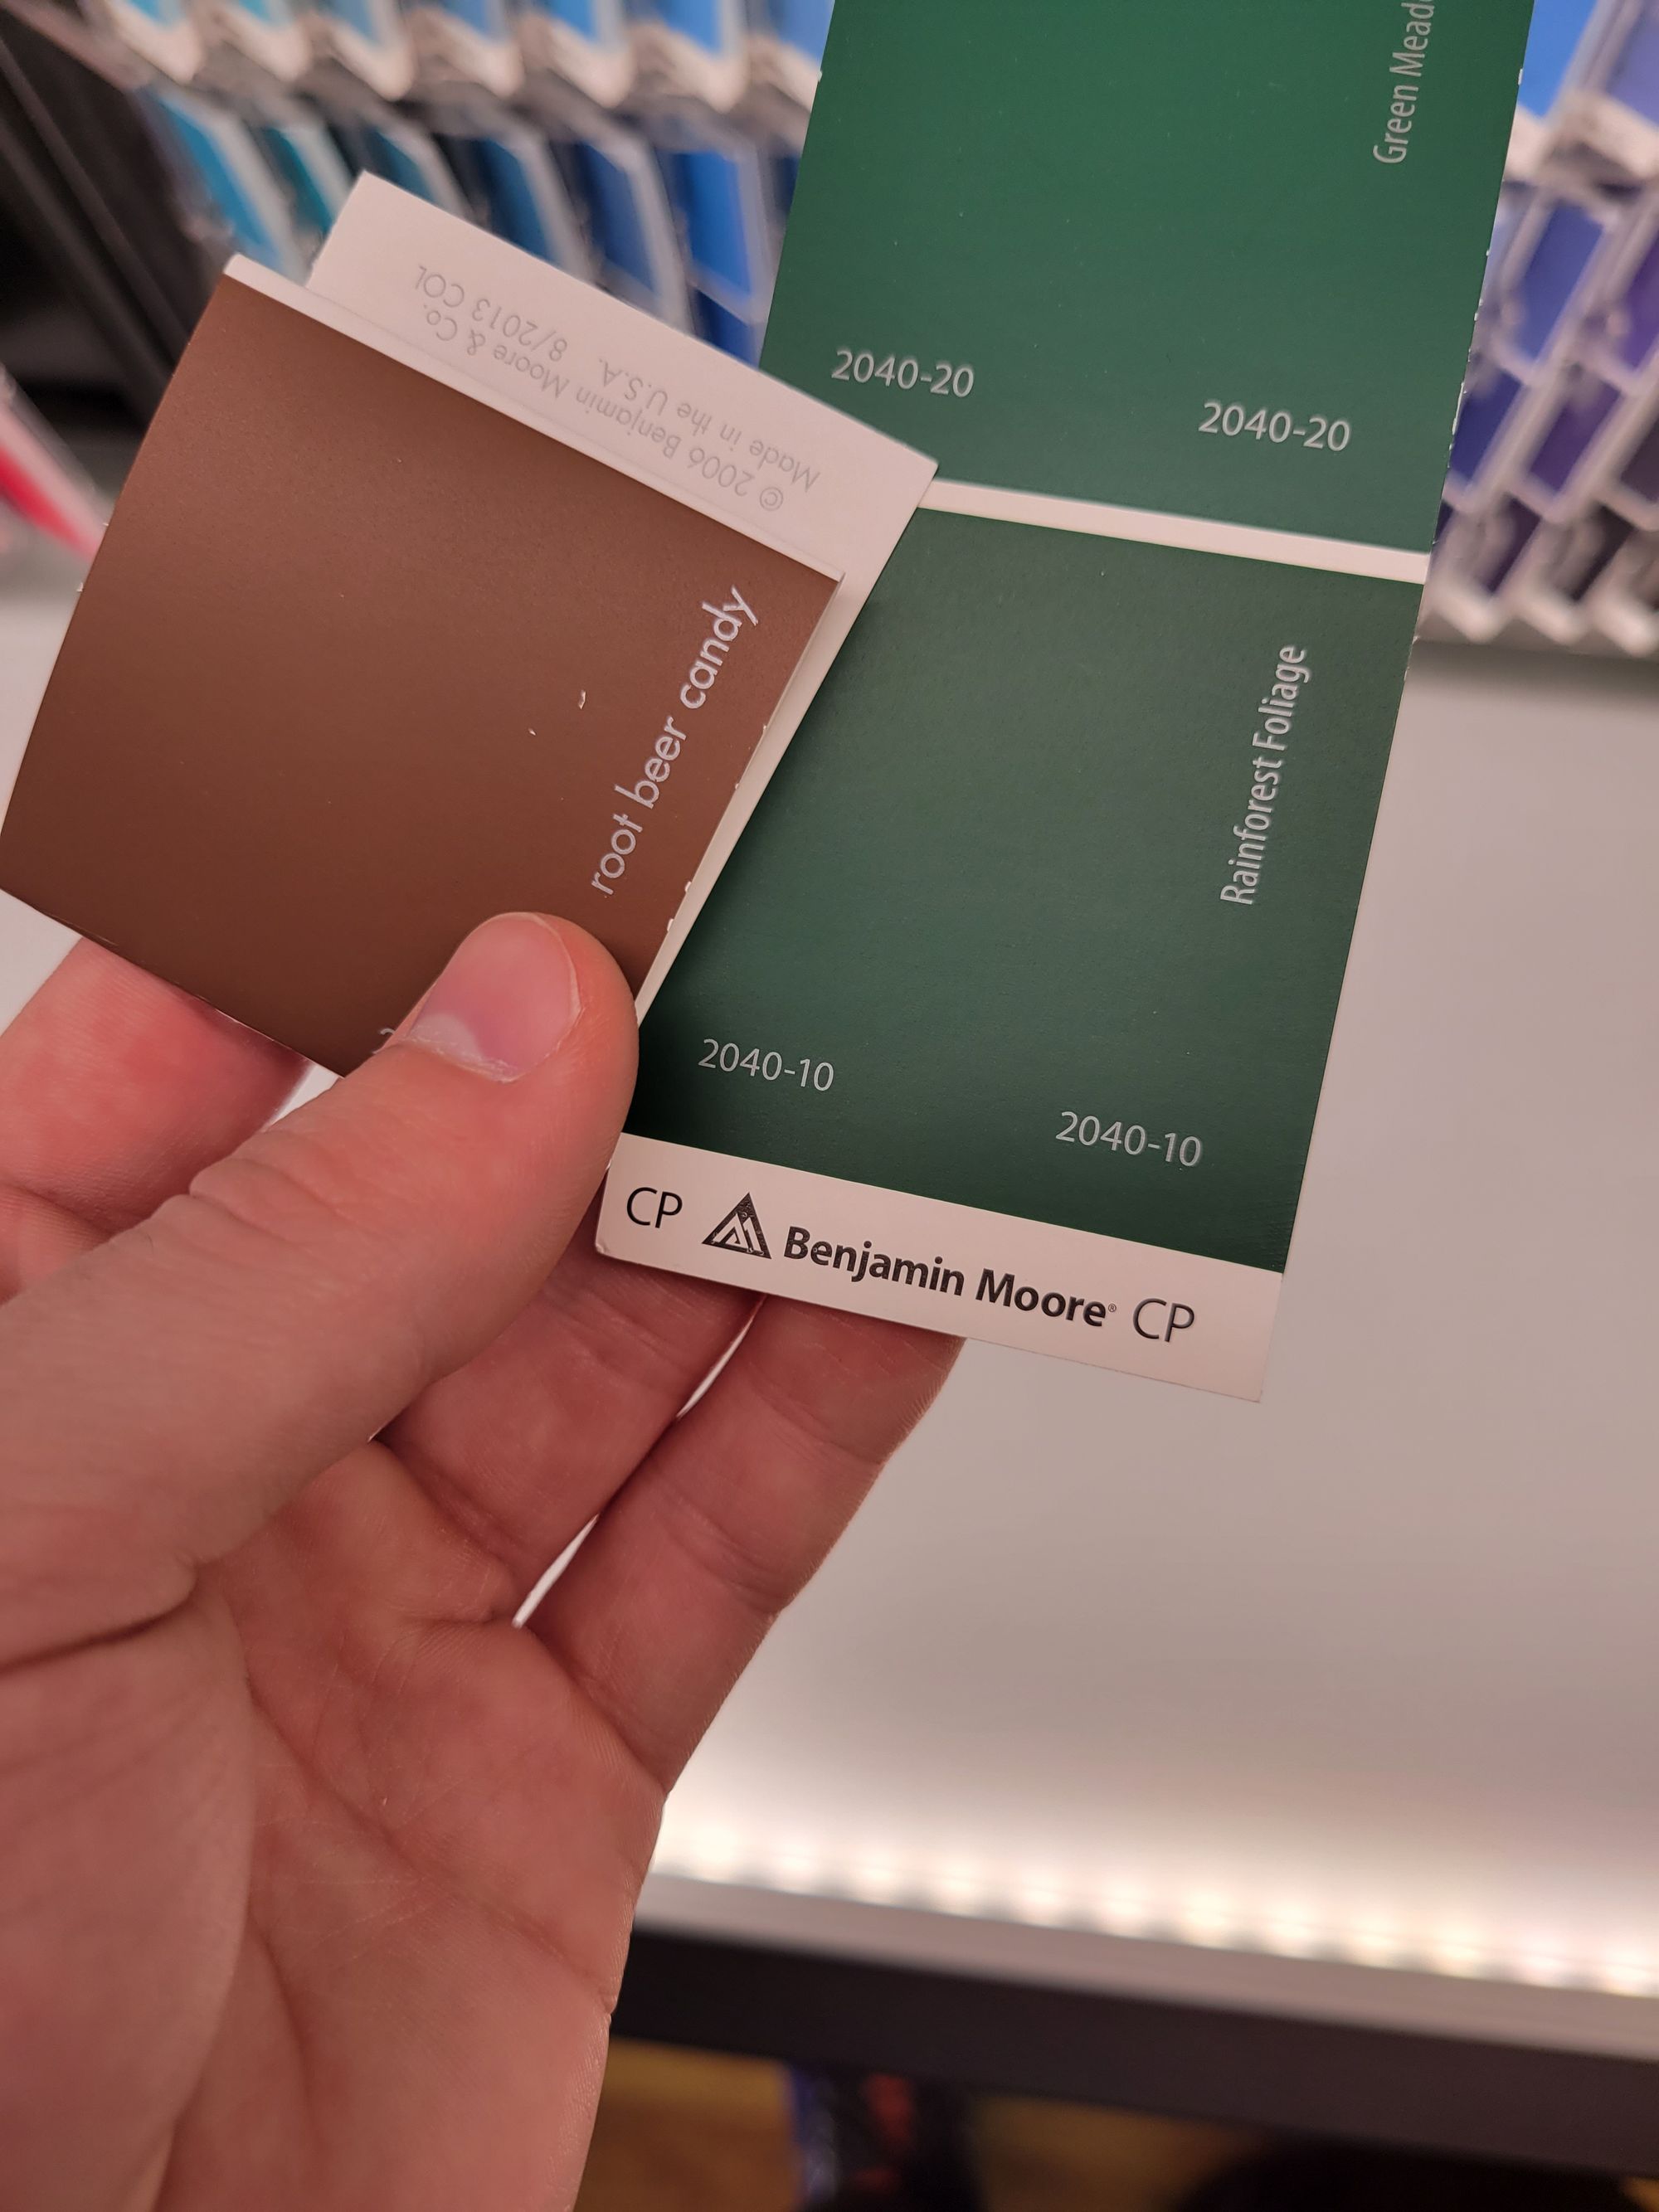
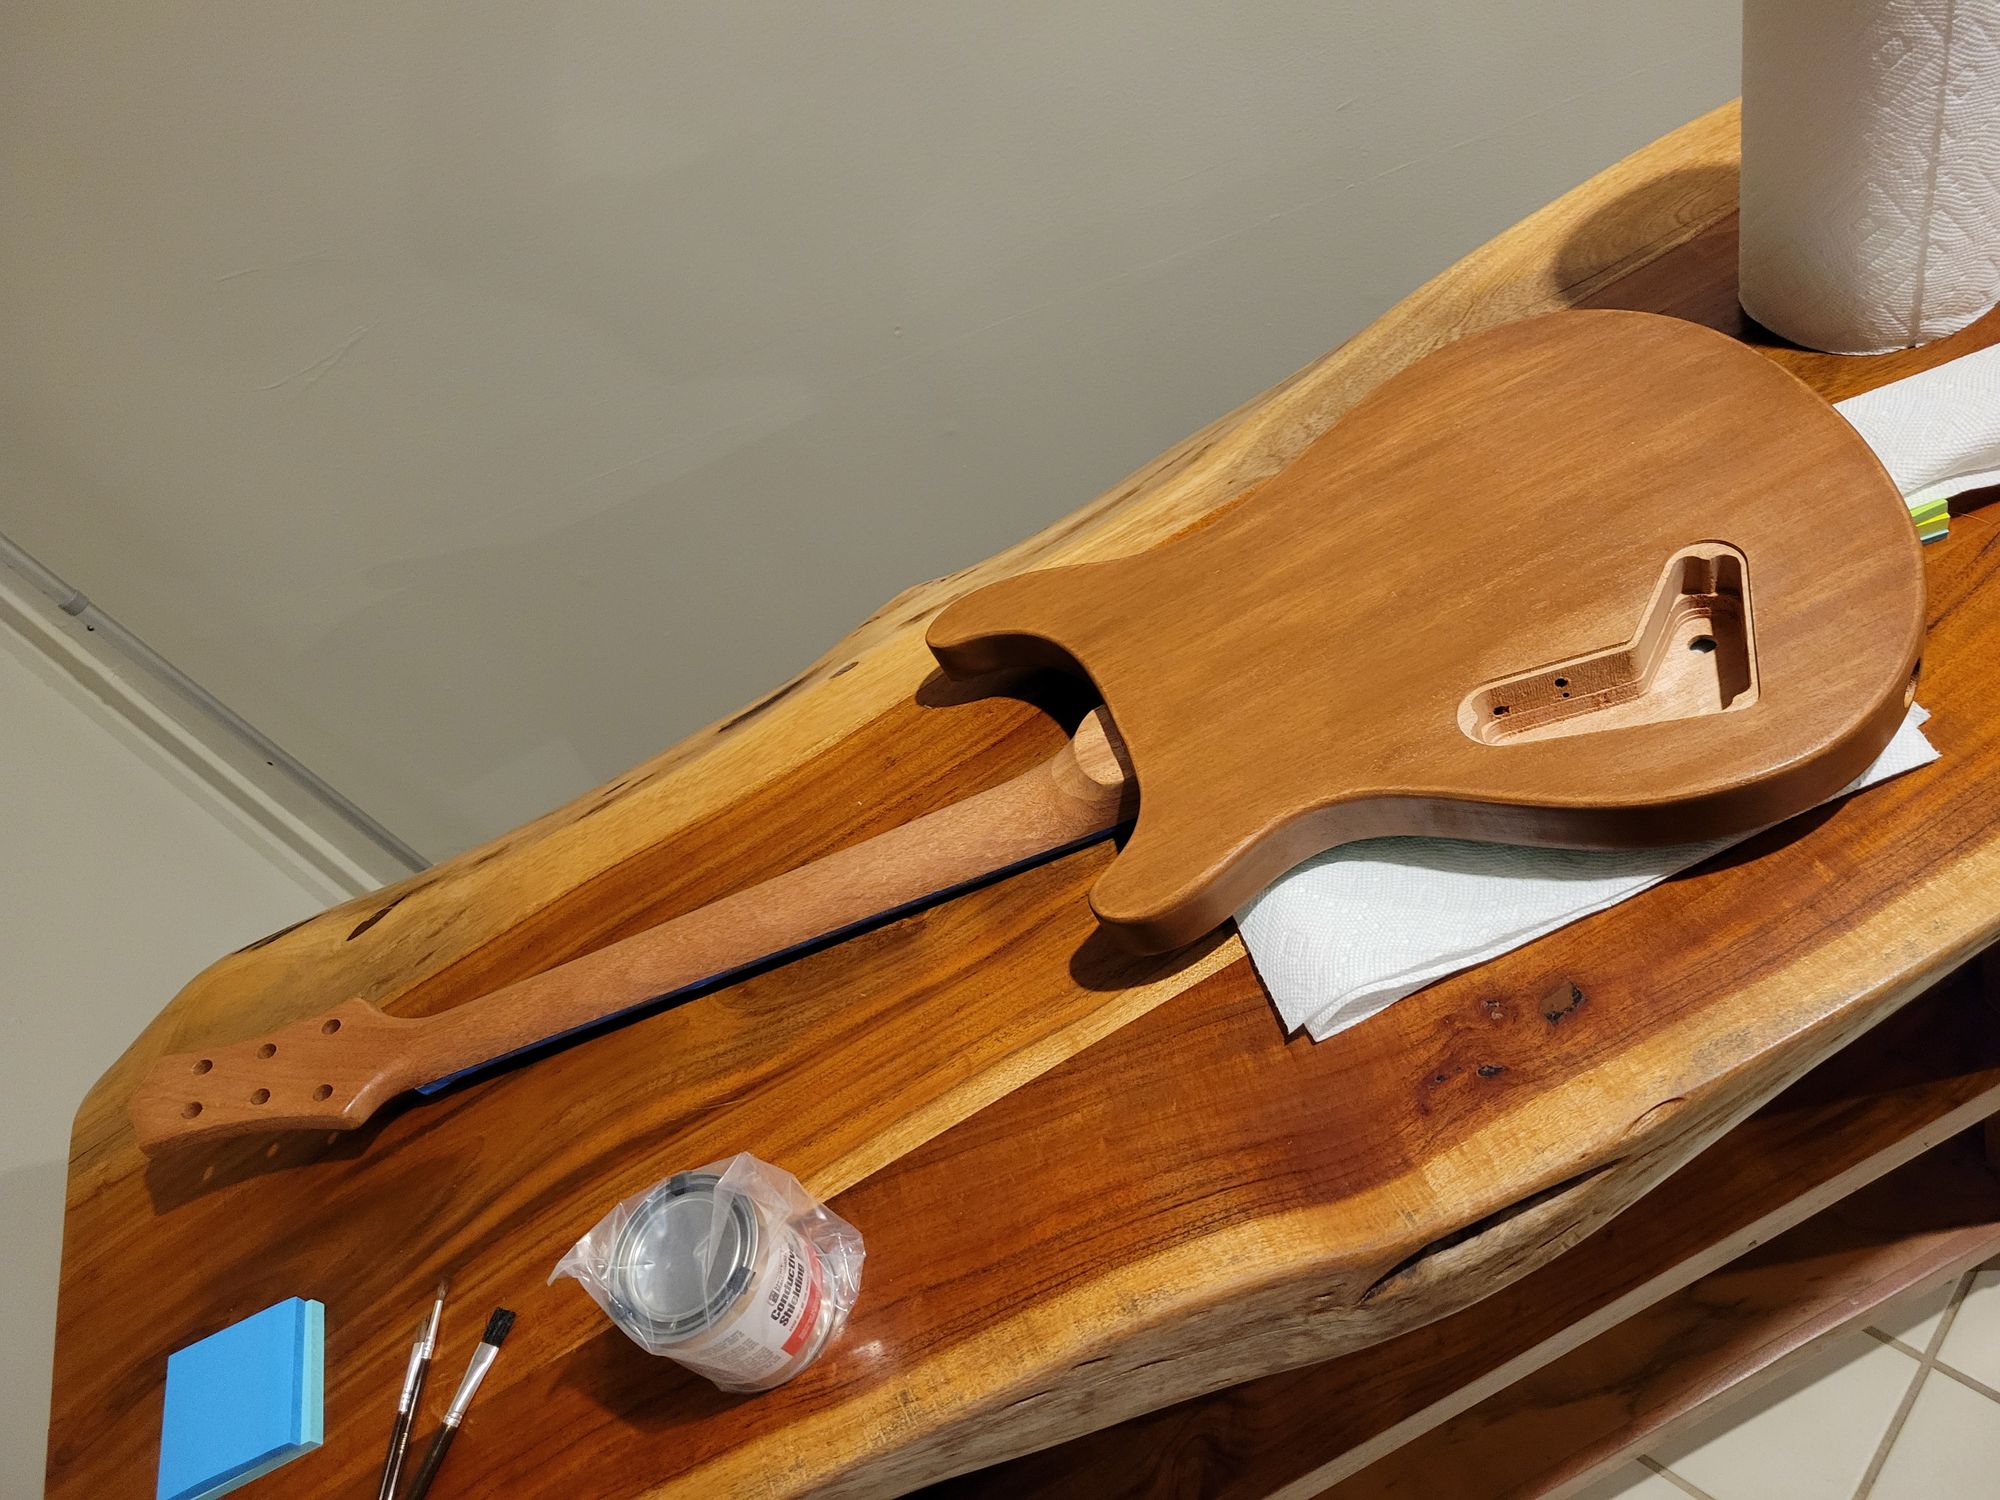
I stained the guitar and used tape to keep the parts from bleeding into undesired locations, like the face of the guitar's green into the sides of the body. I then used clear coat spray paint and different grit sandpaper ranging from 500 to 2000 grit.
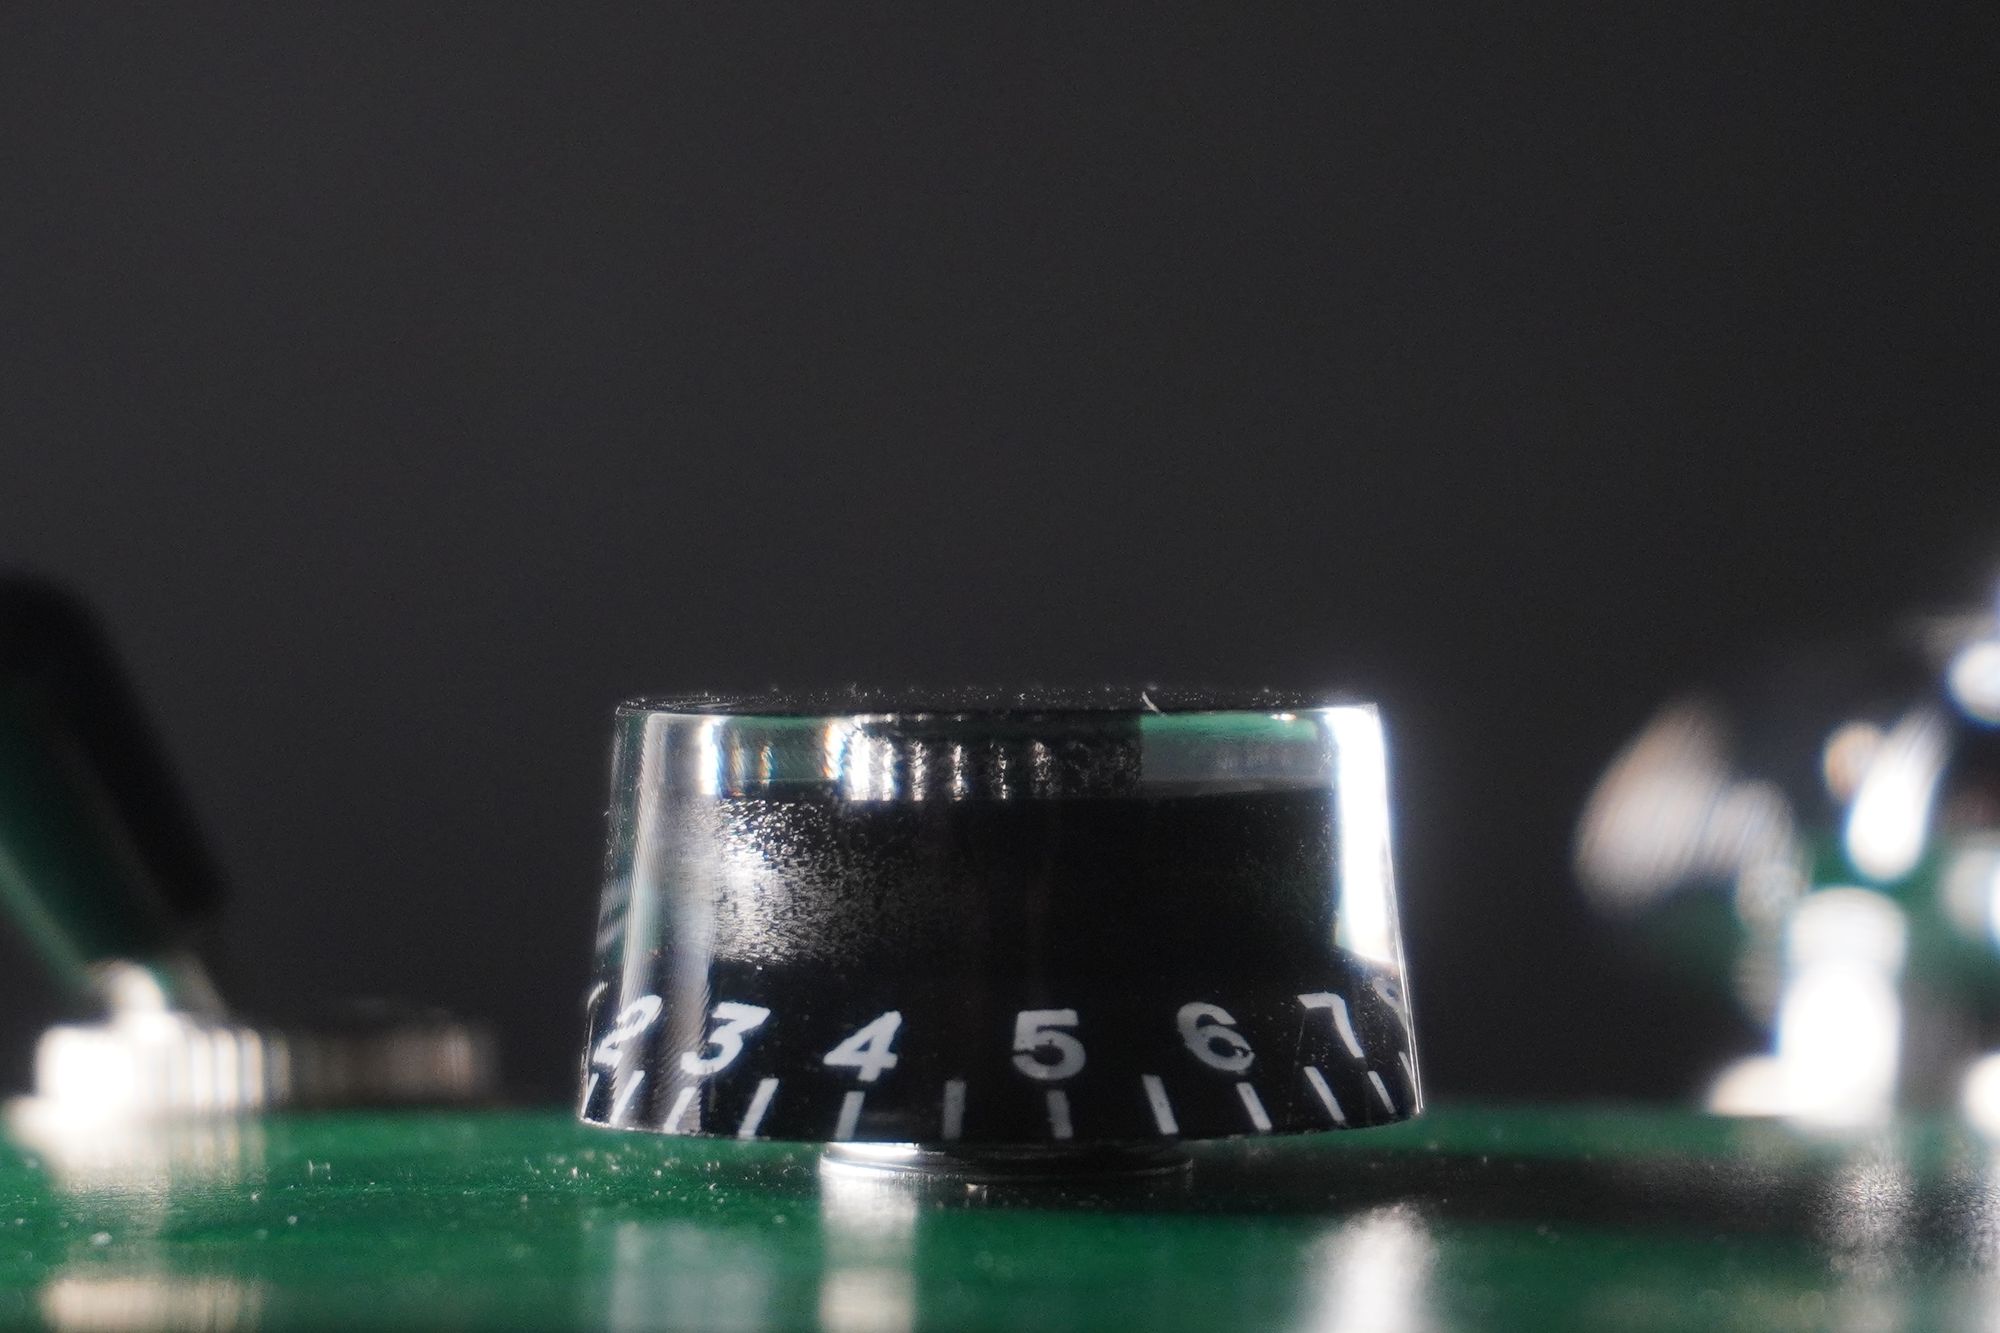
Putting together the parts is simple. With a general understanding of the guitar components, it's plug an play. The wiring can be found online, as most guitars are wired in similar ways. Just make sure to get a good soldering iron!
I had issues with my second guitar build in regards to the nut to bridge distance and alignment. I did not have the same issue with this pre build/measured neck and cavity placement. That is due to the measurements being pretty accurate by the company.
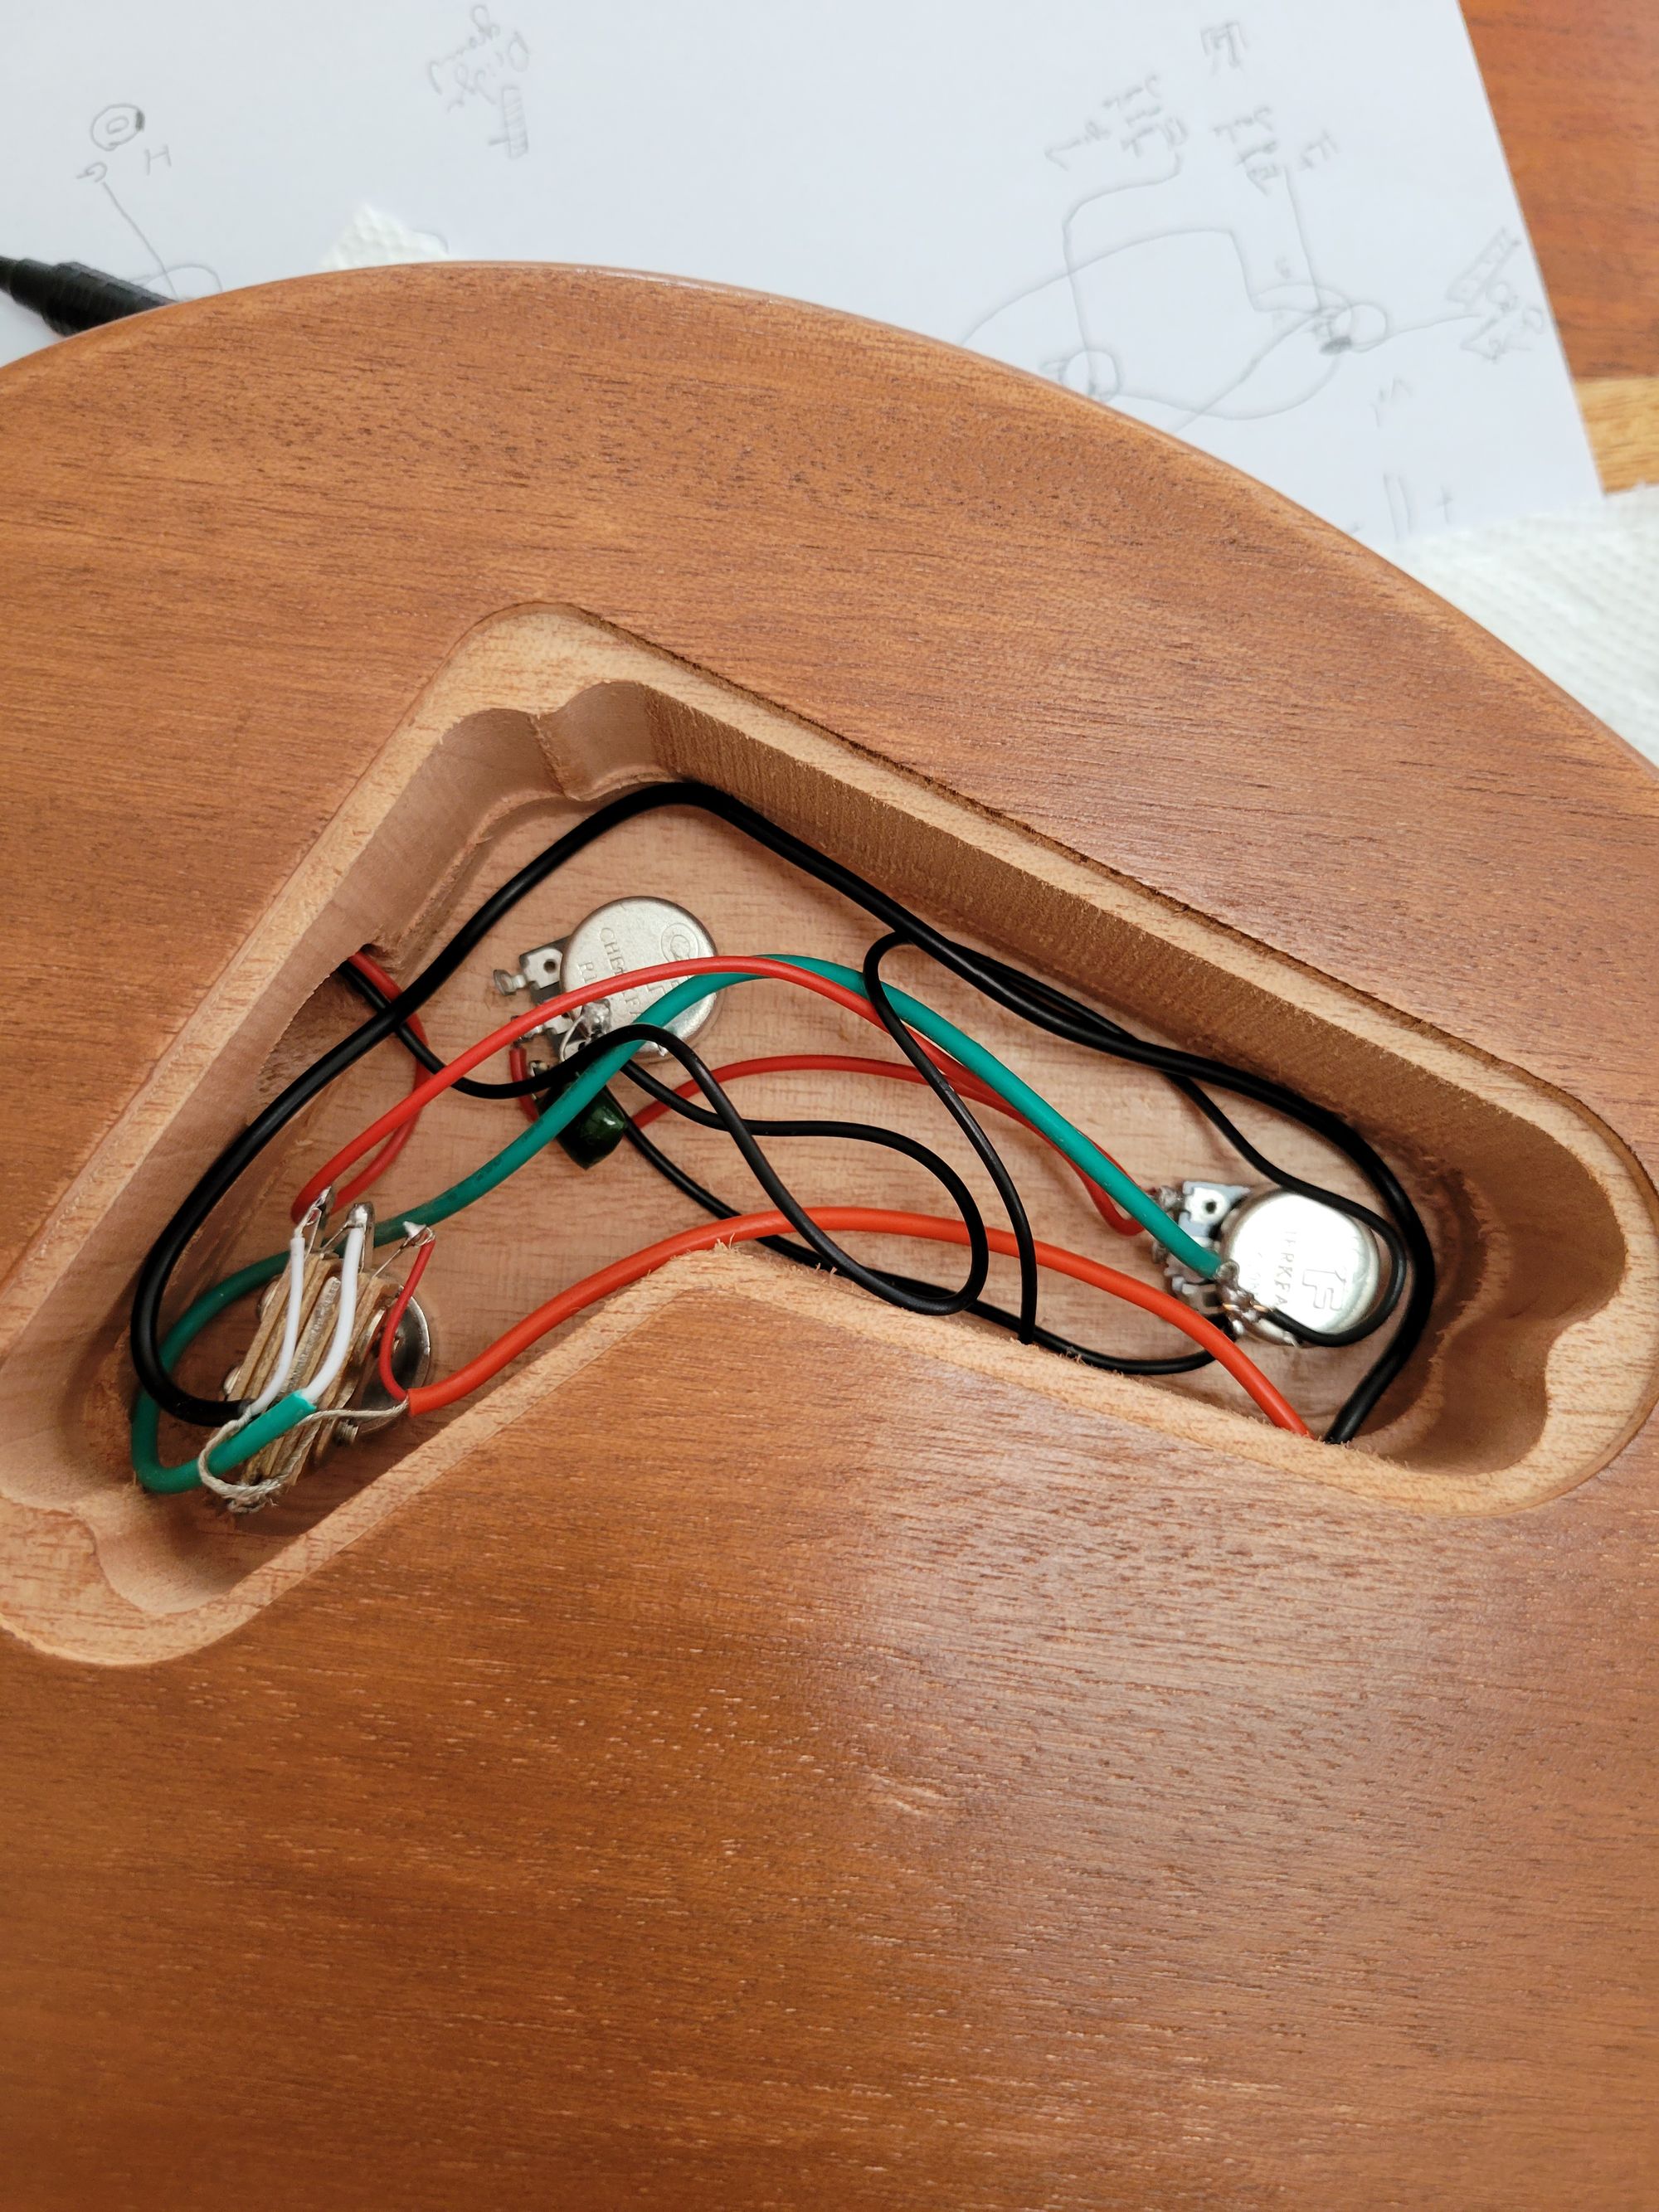
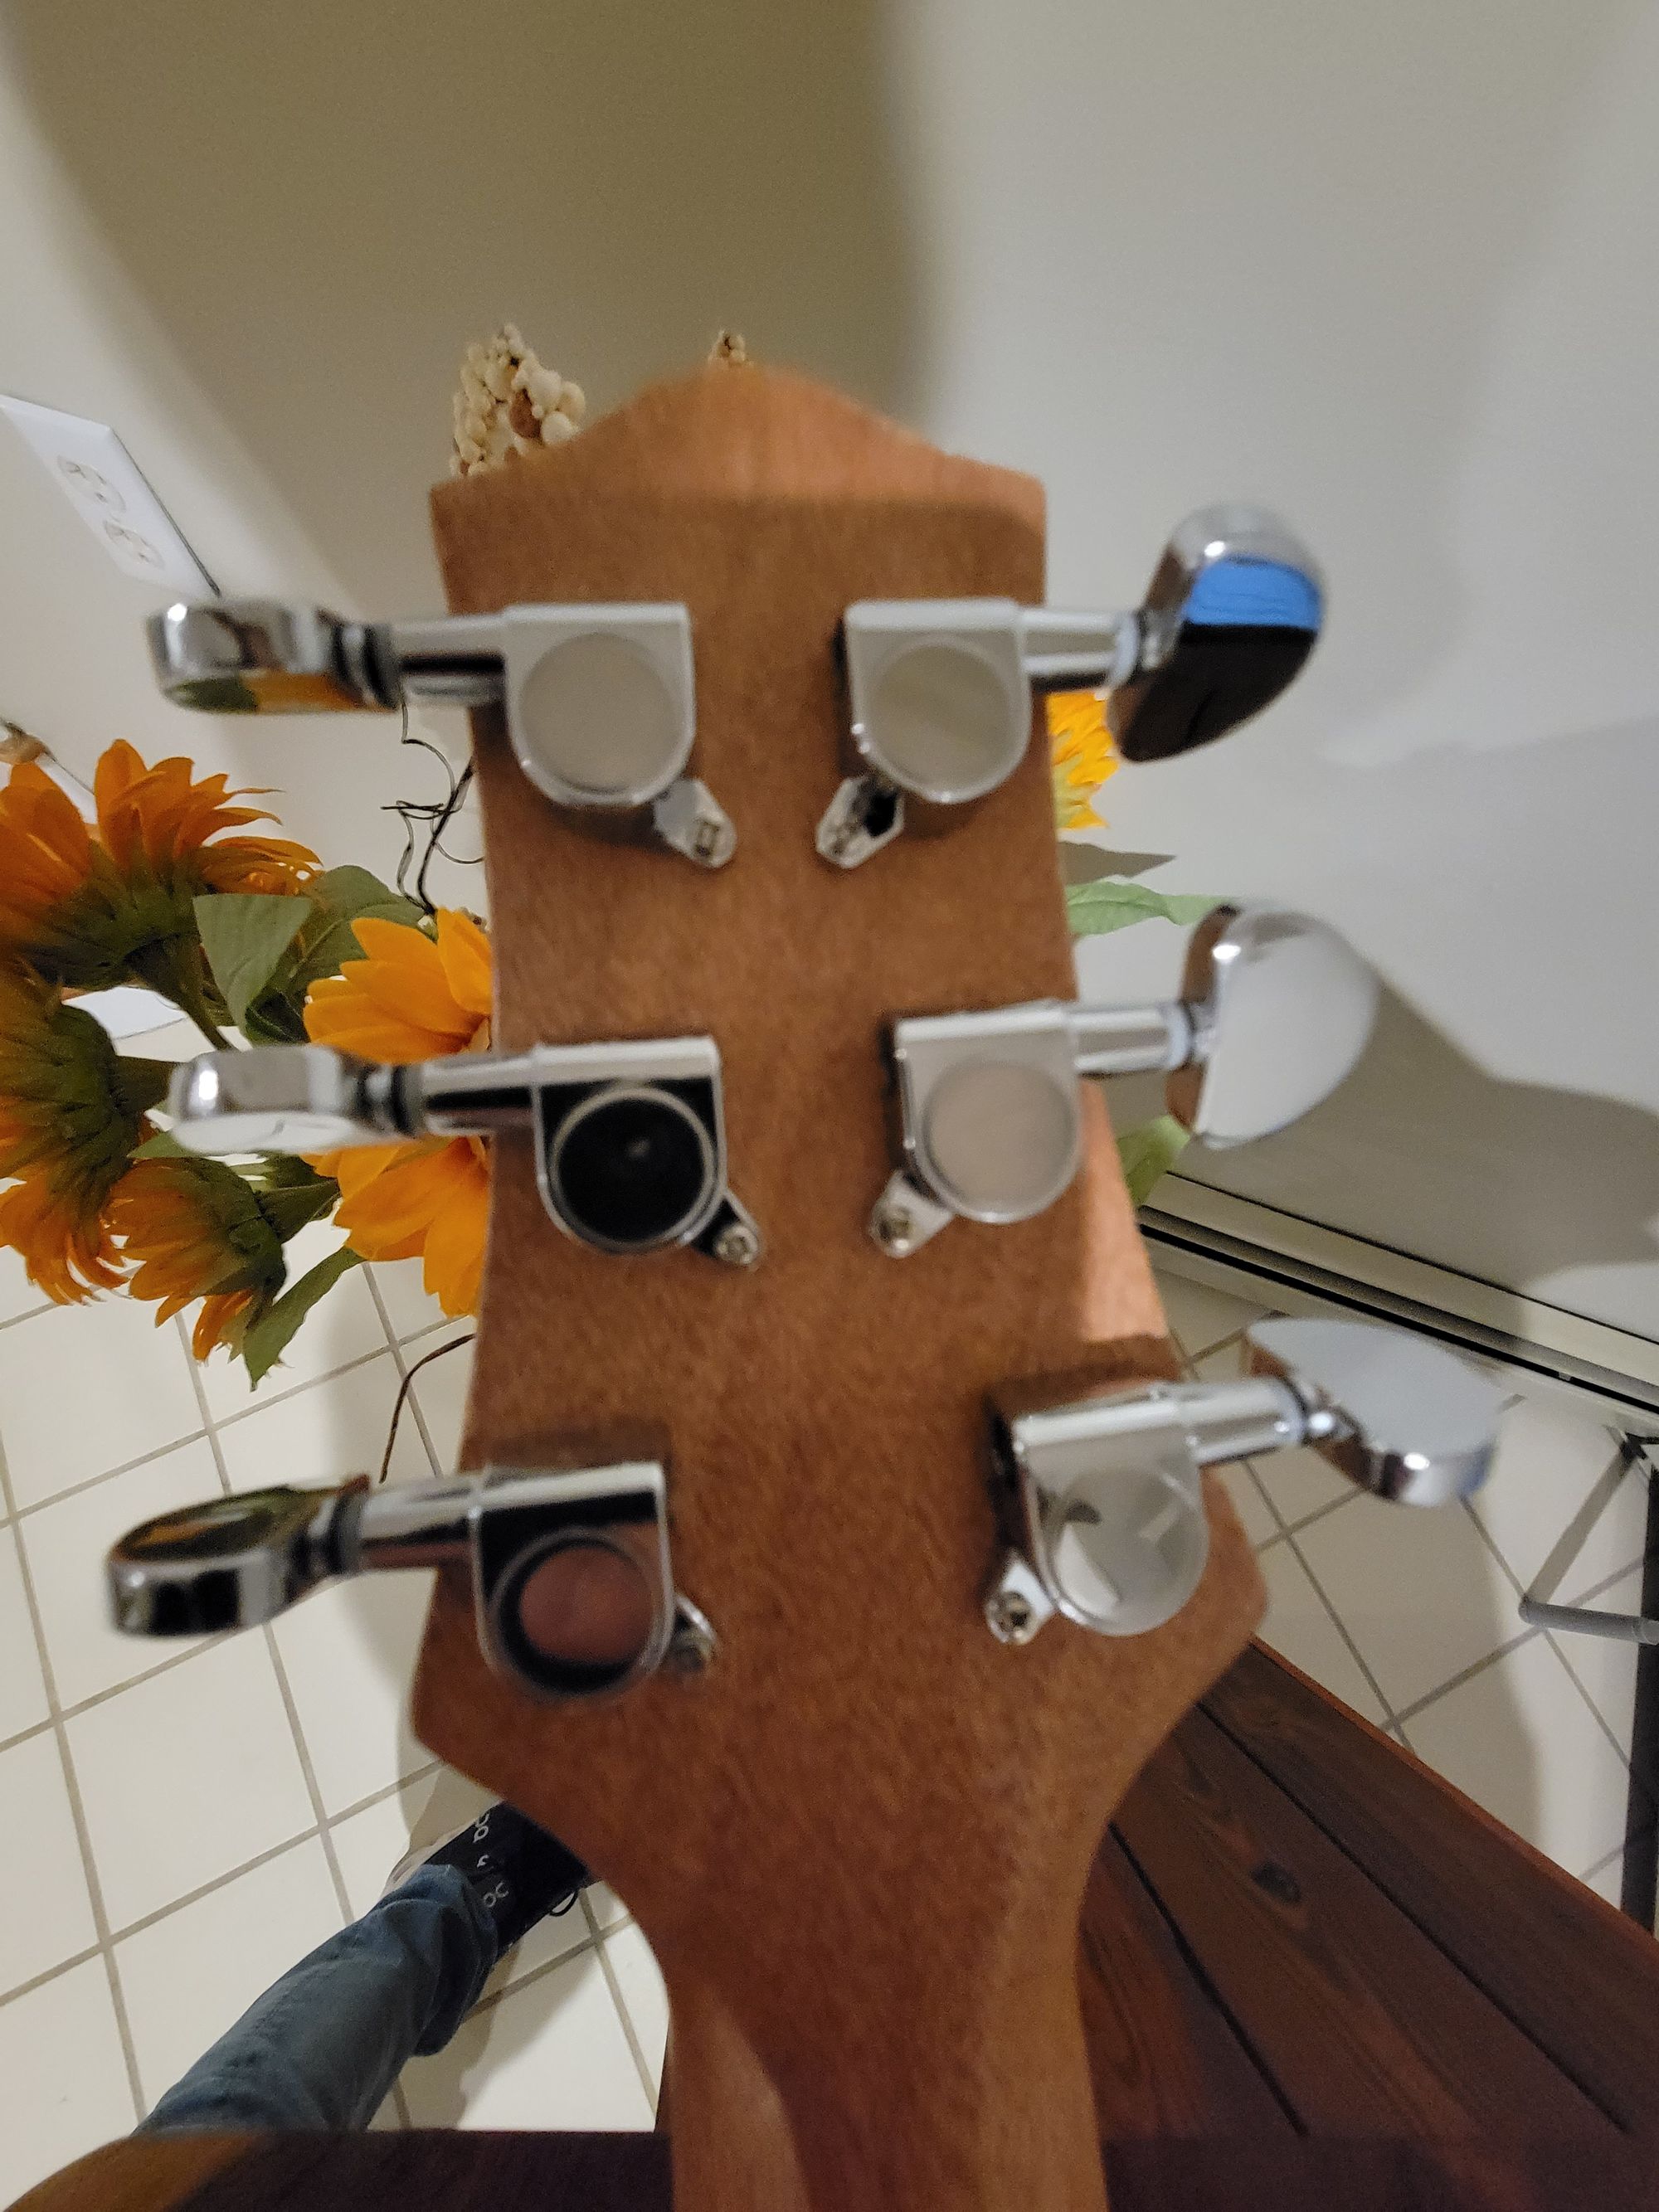
Most of the hardware is pretty cheap, which helps with the affordability of the kit. However, this lowers the quality of the instrument's playability and sound (tone). I would recommend replacing these parts with any guitar kit. Change the pickups, nut, bridge, and electronics if tone is your goal. Strings too! File the frets and change the intonation for playability if that's your priority. Tuning machines would be the last to change in my opinion, because they have the least influence on the function of the guitar – other than aesthetic and how well the guitar stays in tune. Note that where you store the instrument will drastically influence the tuning consistency as humidity causes wood to expand and contract. It can result in being out of tune every time you pick it up. If the guitar is made very well, this can occur less.
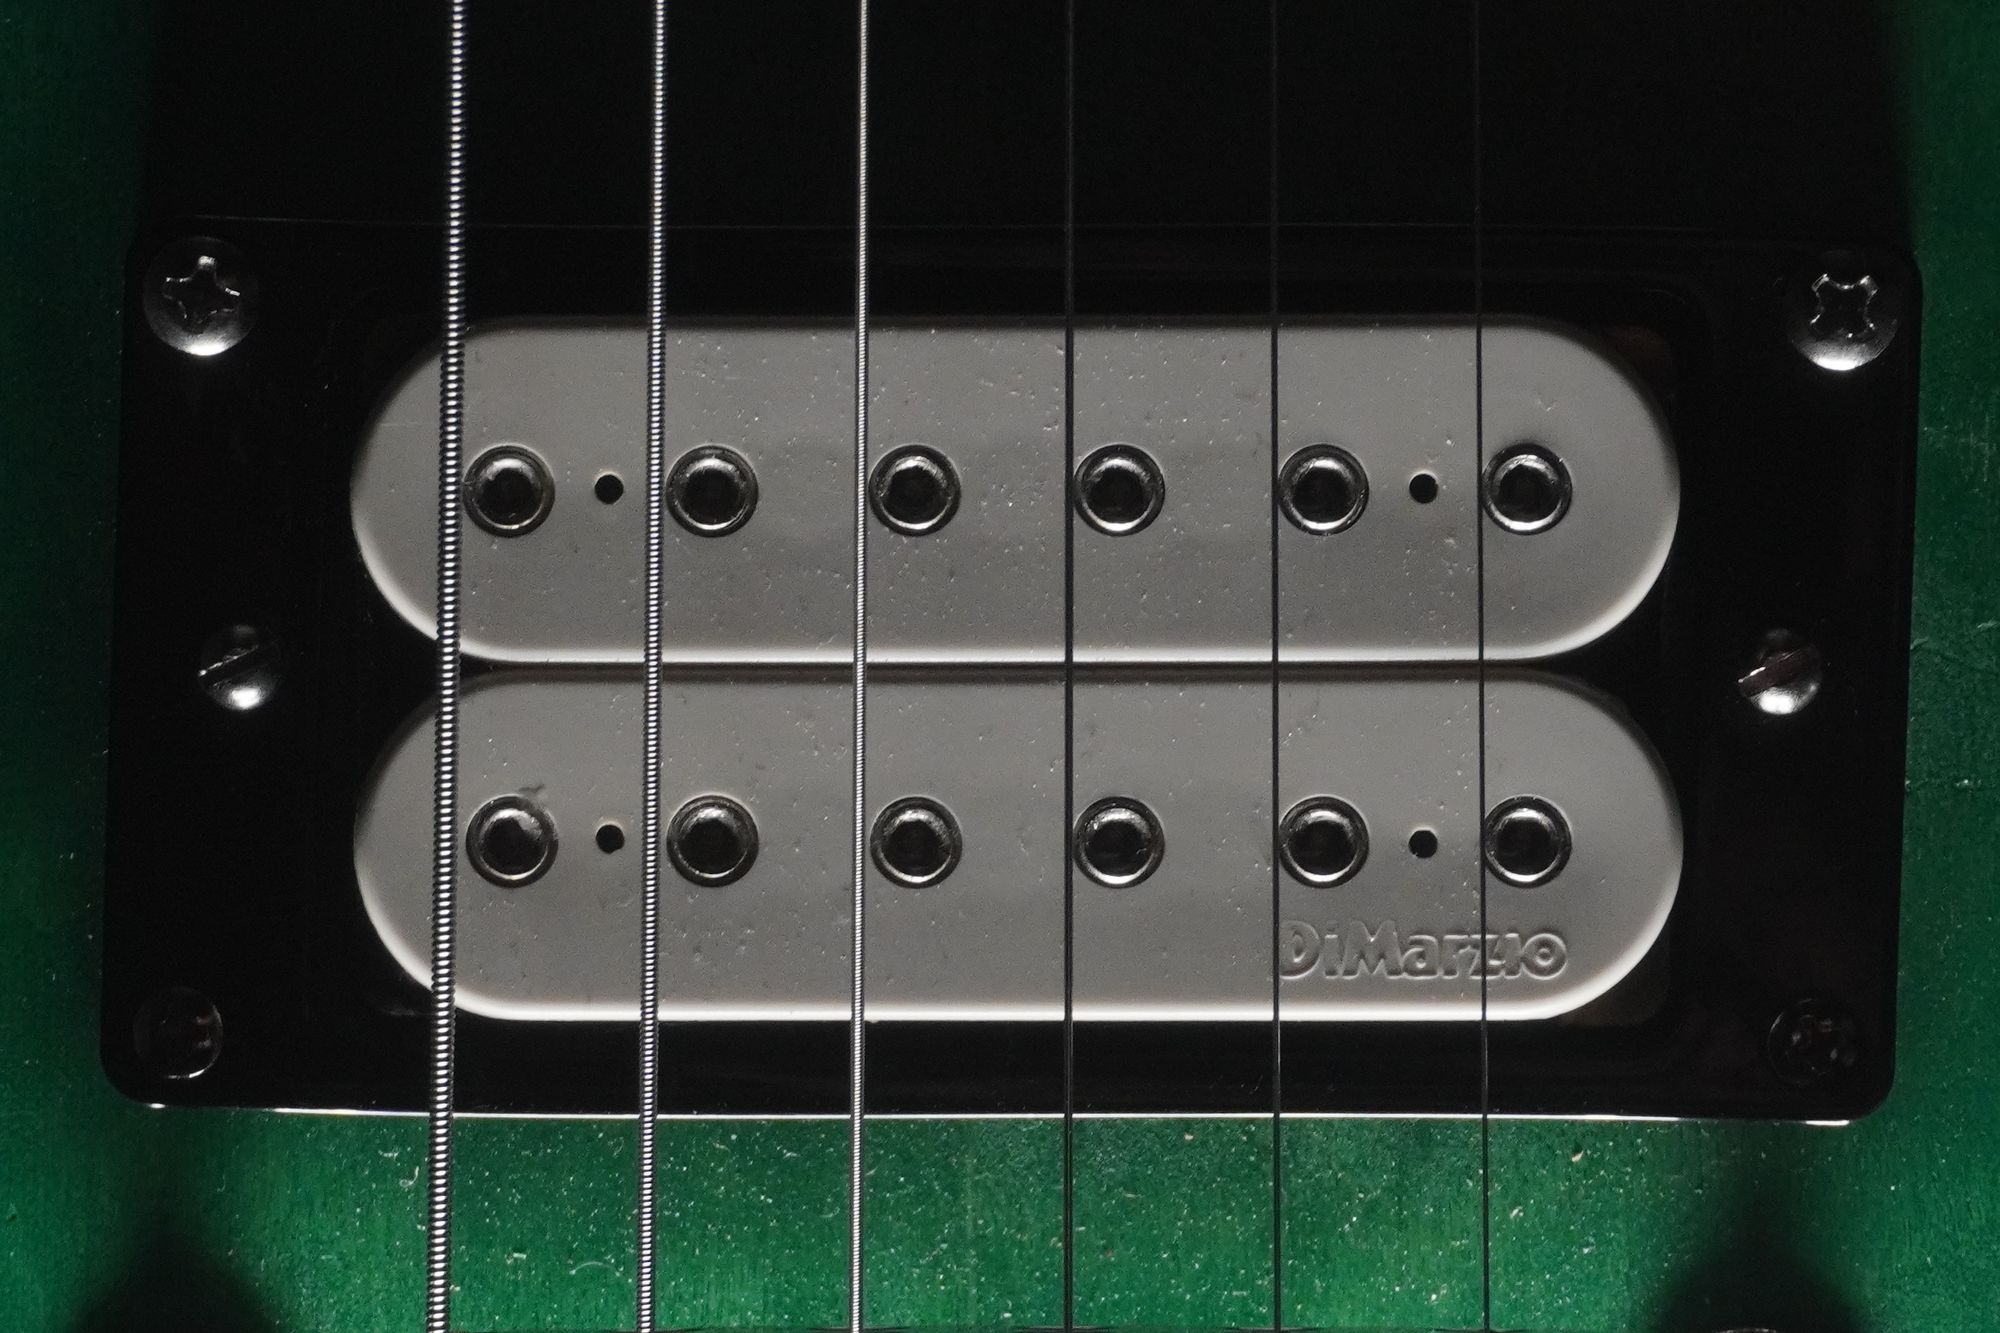
The only piece I changed was the bridge pickup due to it being a gift from a friend. Thanks Connor! This pickup gave it more beefiness when running through distorted effects. I left everything else alone.
If you get a kit like this, I recommend doing everything in your power to upgrade the hardware and electronics. Get a good set of strings too. Most of the cost went into the wood and manufacturing rather than the quality of the smaller parts. While the guitar could be considered good as-is... For a max of 400$, you'd be better off buying a Harley Benton CST-24T for around 250$, spend 100$ on a decent pair of D'Addario pickups used, sell the original pickups and spend the rest on a bone nut, or spend a little more on some better electronics. Also, make sure to use some pencil graphite on the nut to keep the strings sliding well. That's not why we build the kit though. We're not lookin for perfect!
Part 2
Sound
There's a lot to understand about sound and strings but here's a go at some of it.
Basically all stringed instruments work in a similar way. The distance from one suspended end to another and its tension determines the note played. This changes based on where you substitute one end by placing a finger between both ends and causing the string in between to vibrate. The tighter the string, the higher the note. If you don't change the tension of the string and make the vibrating distance shorter, you also increase the note to a higher frequency.
The tone depends on the string material, and everything in contact. This includes air. The objects that influence the sound the most are the parts it vibrates the most, like the body and neck of the guitar, and the part that it's played with, like a plectrum(pick), finger or bow. With signal flow, quality components will change the quality of the sound, such as volume and frequency manipulation. The pickups will have the most influence on your amplified guitar signal. Pickups are just magnets for each string, wrapped in copper. This is essentially a microphone creating an electromagnetic field when given power. A note is picked up by the pickup through vibration.
