Signature Guitar Build | 2018
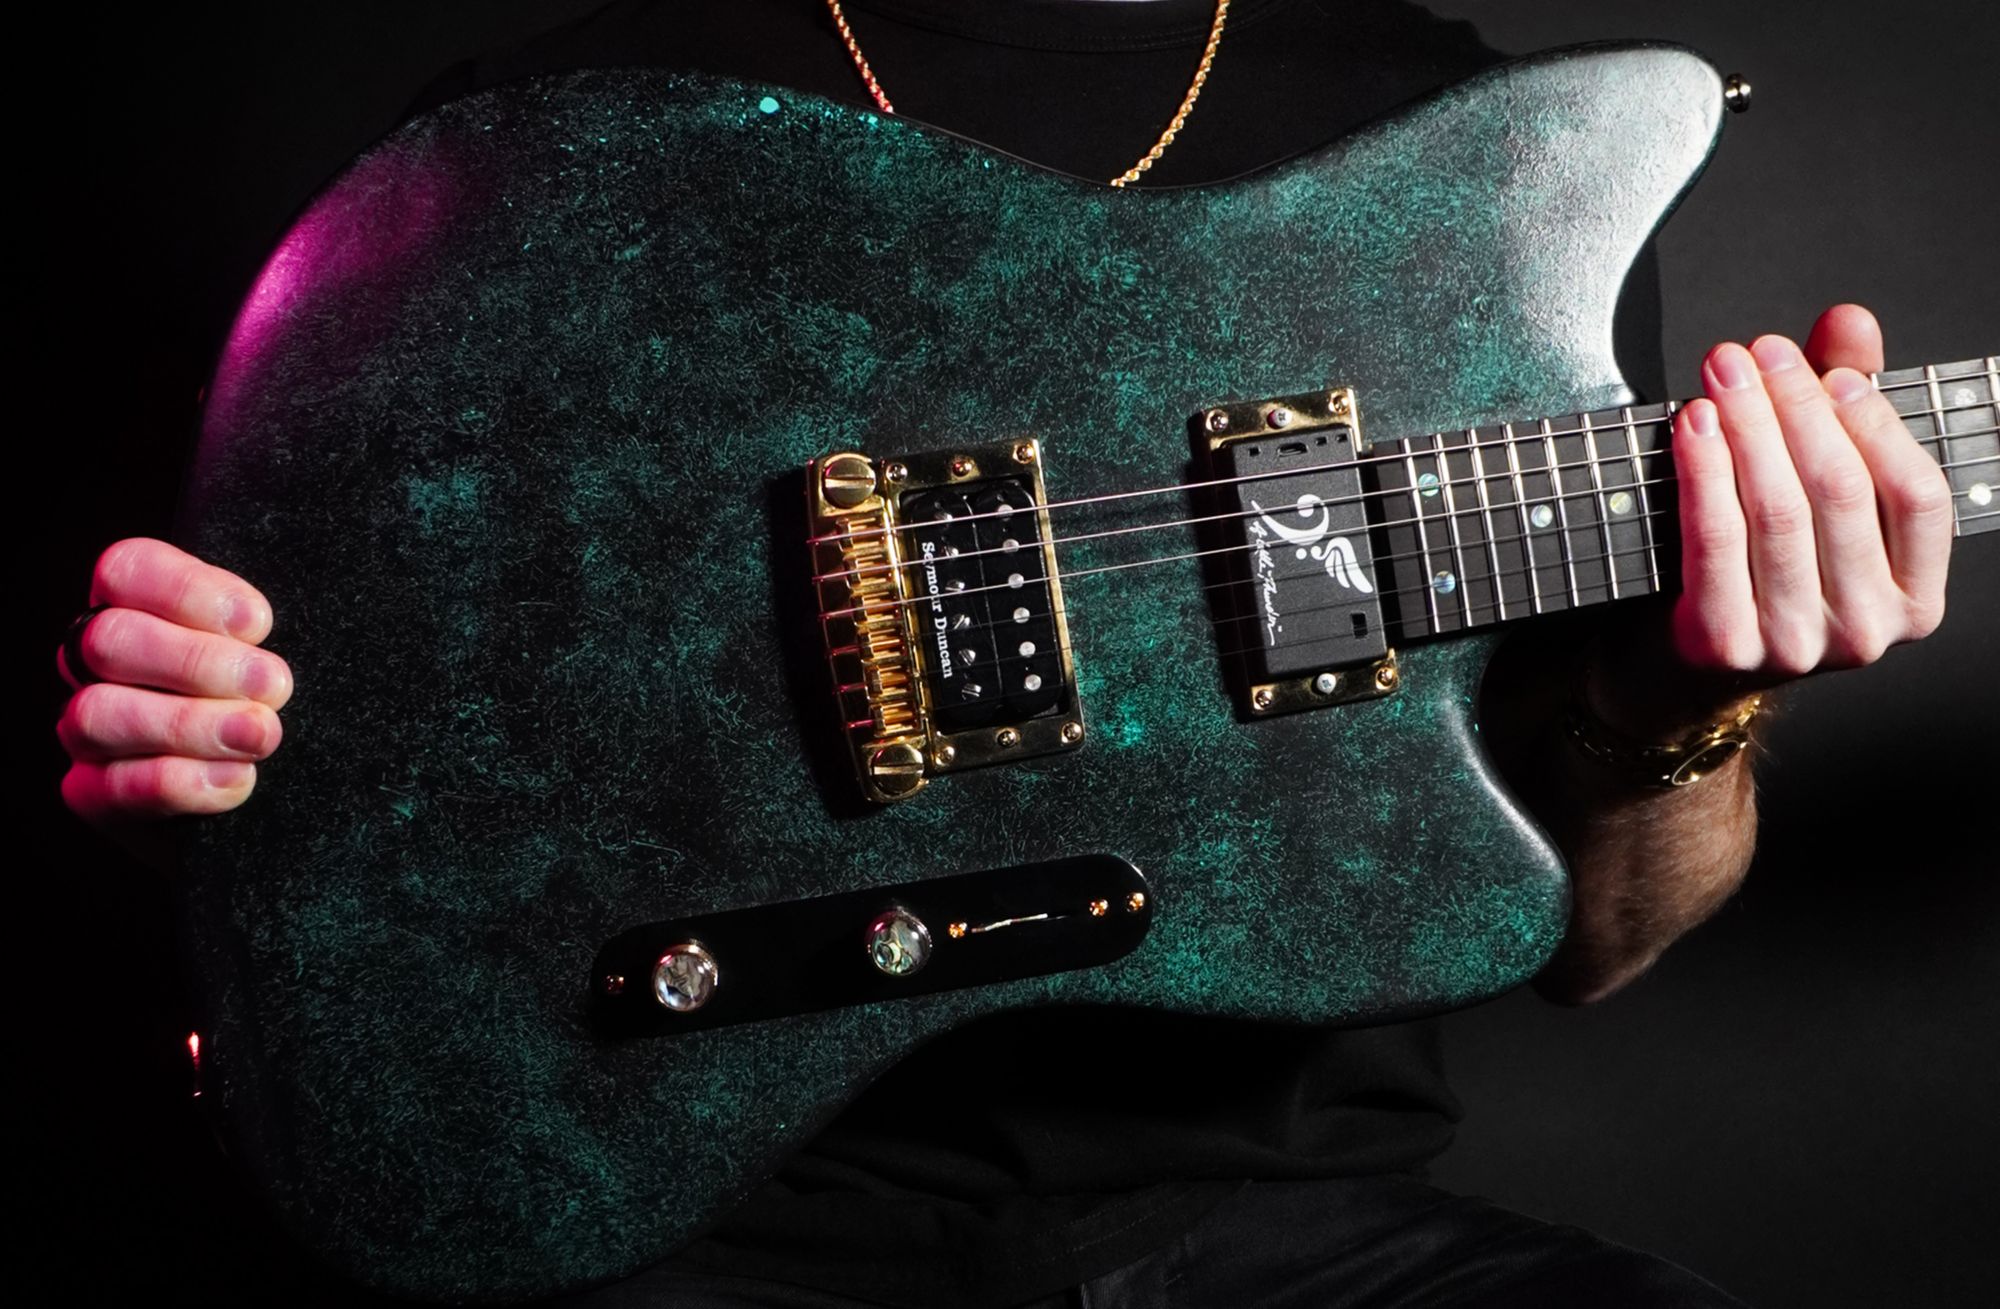
As a second high school guitar build and senior project, I decided to spend my time designing and building my dream guitar. Unlike the guitar kit that I purchased in the previous build, I wanted to create something of a signature guitar that I could play for years to come.
To make this post more comprehensive, I will split it up into two parts. The first half will be a general overview. The second half is an extension for those with a more in-depth understanding of the guitar skeleton and those who are interested in learning more about the craft.
Part 1.
There are a lot of problems that came up during this project which I continue to revisit and fix four years later.
In regards to the body, I was looking to build something based off of an offset telecaster with a standard Paul Reed Smith head stock. Since this was a build for an assignment, I was on a time limit of about three months. I was also building this in my school's tech and facilities shop classes, which meant I had to work in-between other student's projects.
The Aesthetic
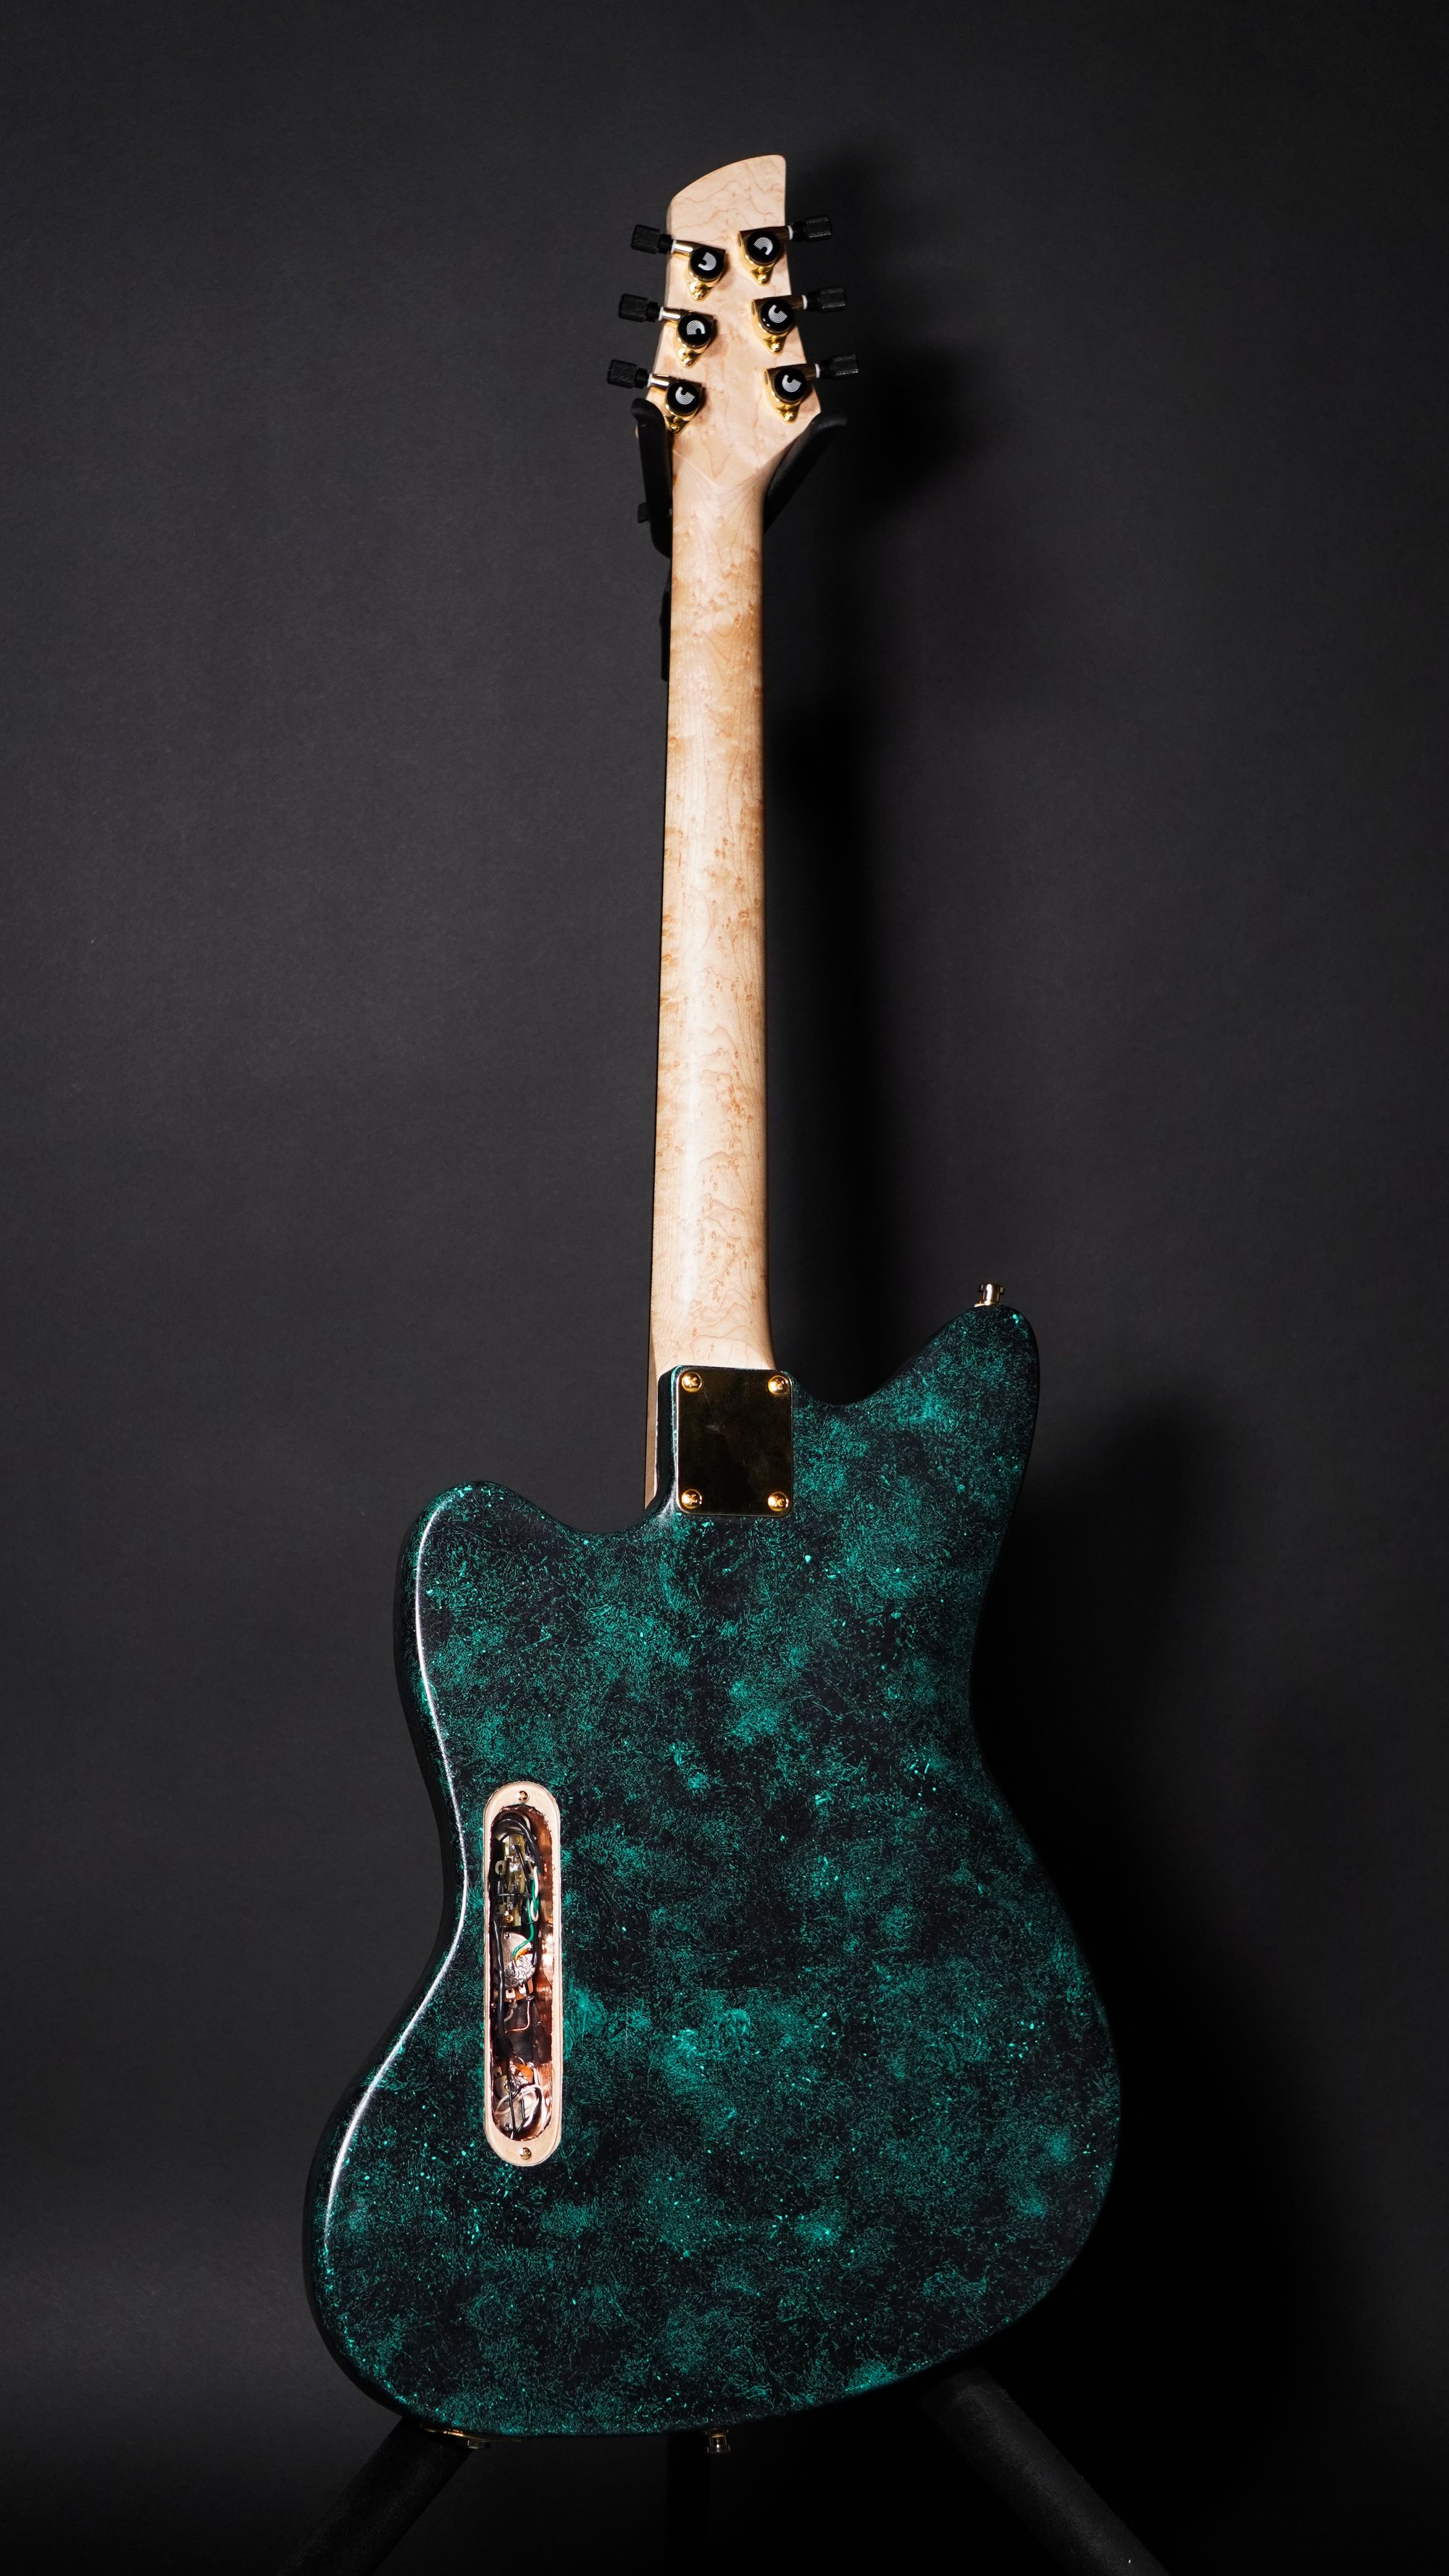
The color scheme of choice was originally gold hardware and a seafoam green body. I chose to stain the body with black paint, but then a few years later went back and spray painted it with a very special technique listed later in this post.
The Body
The guitar body was made of a bass wood slab, which I cut into two pieces, sanded on a plainer and then reglued together with biscuits to strengthen the overall structure. A guitars body and neck need to be strong enough due to its strings tension. You do not want the neck to snap!
I then used the plainer to get the plank to my desired depth. I choose for it to be a little on the heavy side due to how light my previous build was and my dislike for it. This was also an important step, because I needed to make sure it wasn't too thin, and that the pickup cavities would cut through the back. Bass wood is also generally associated with a warm tone and very present mid-range frequencies.
The Neck
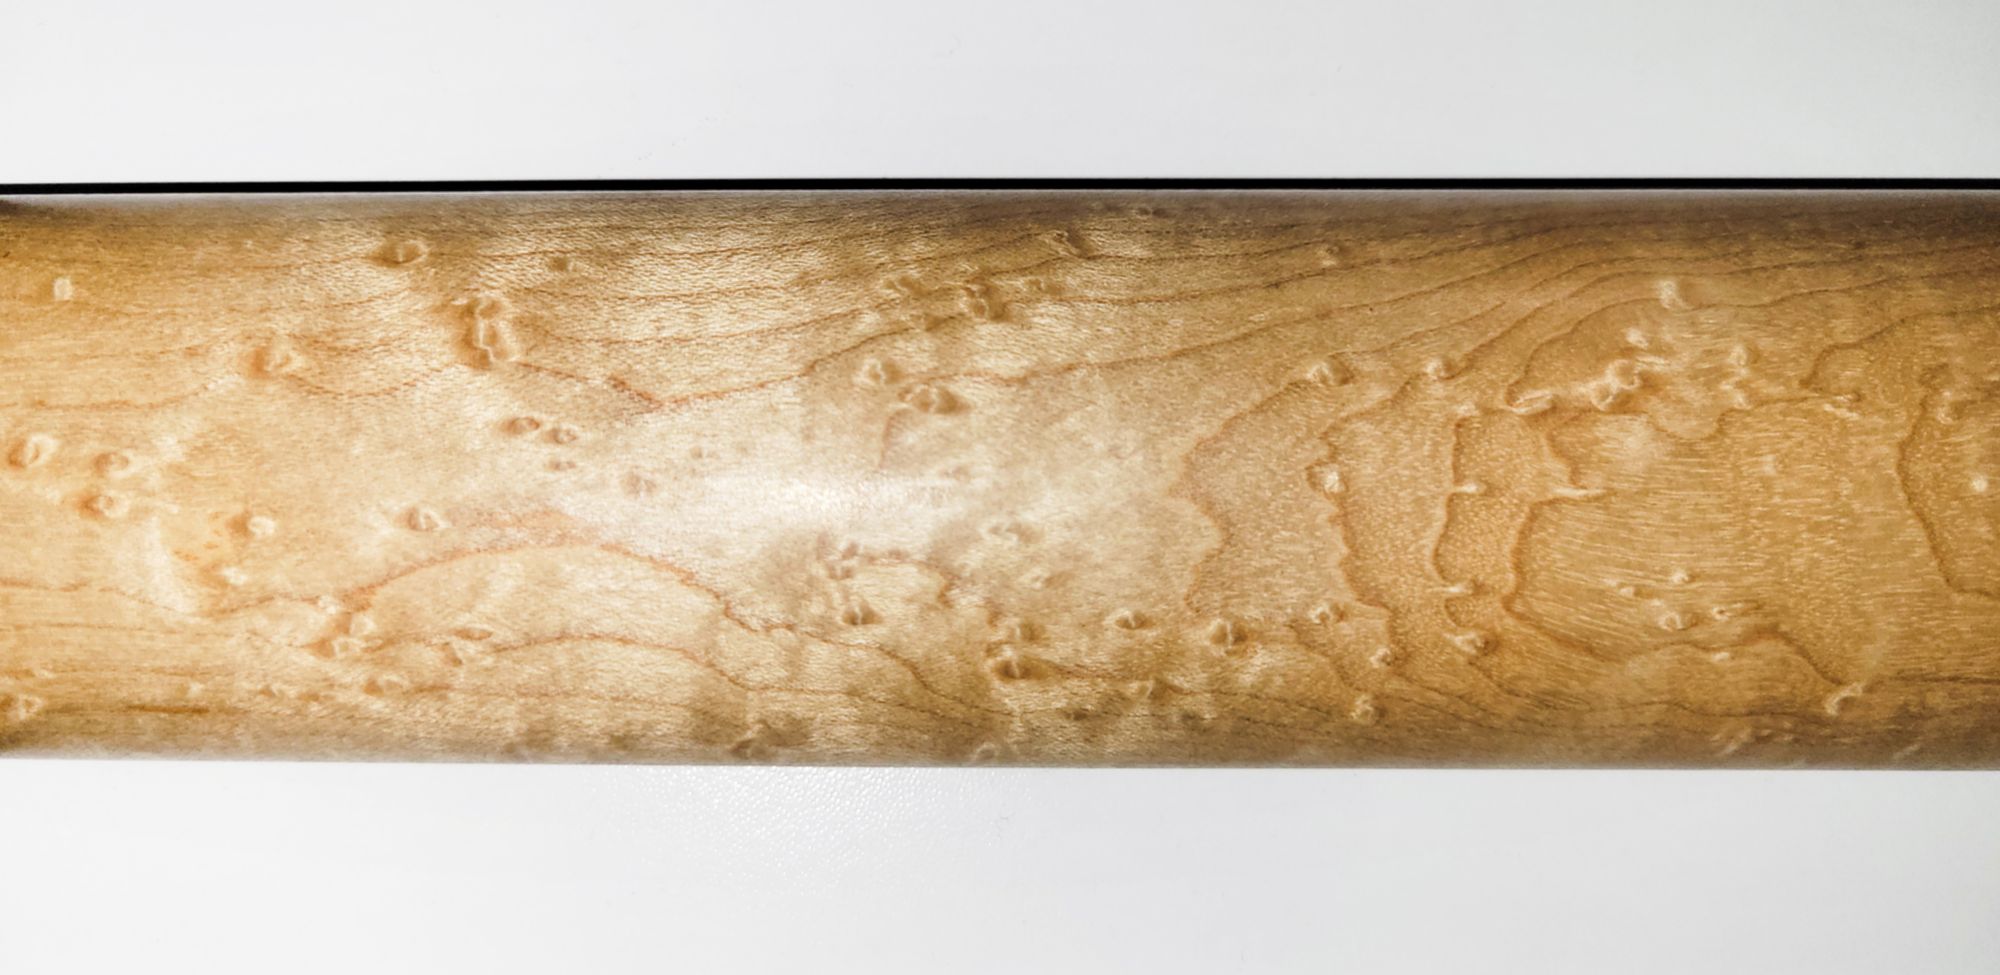
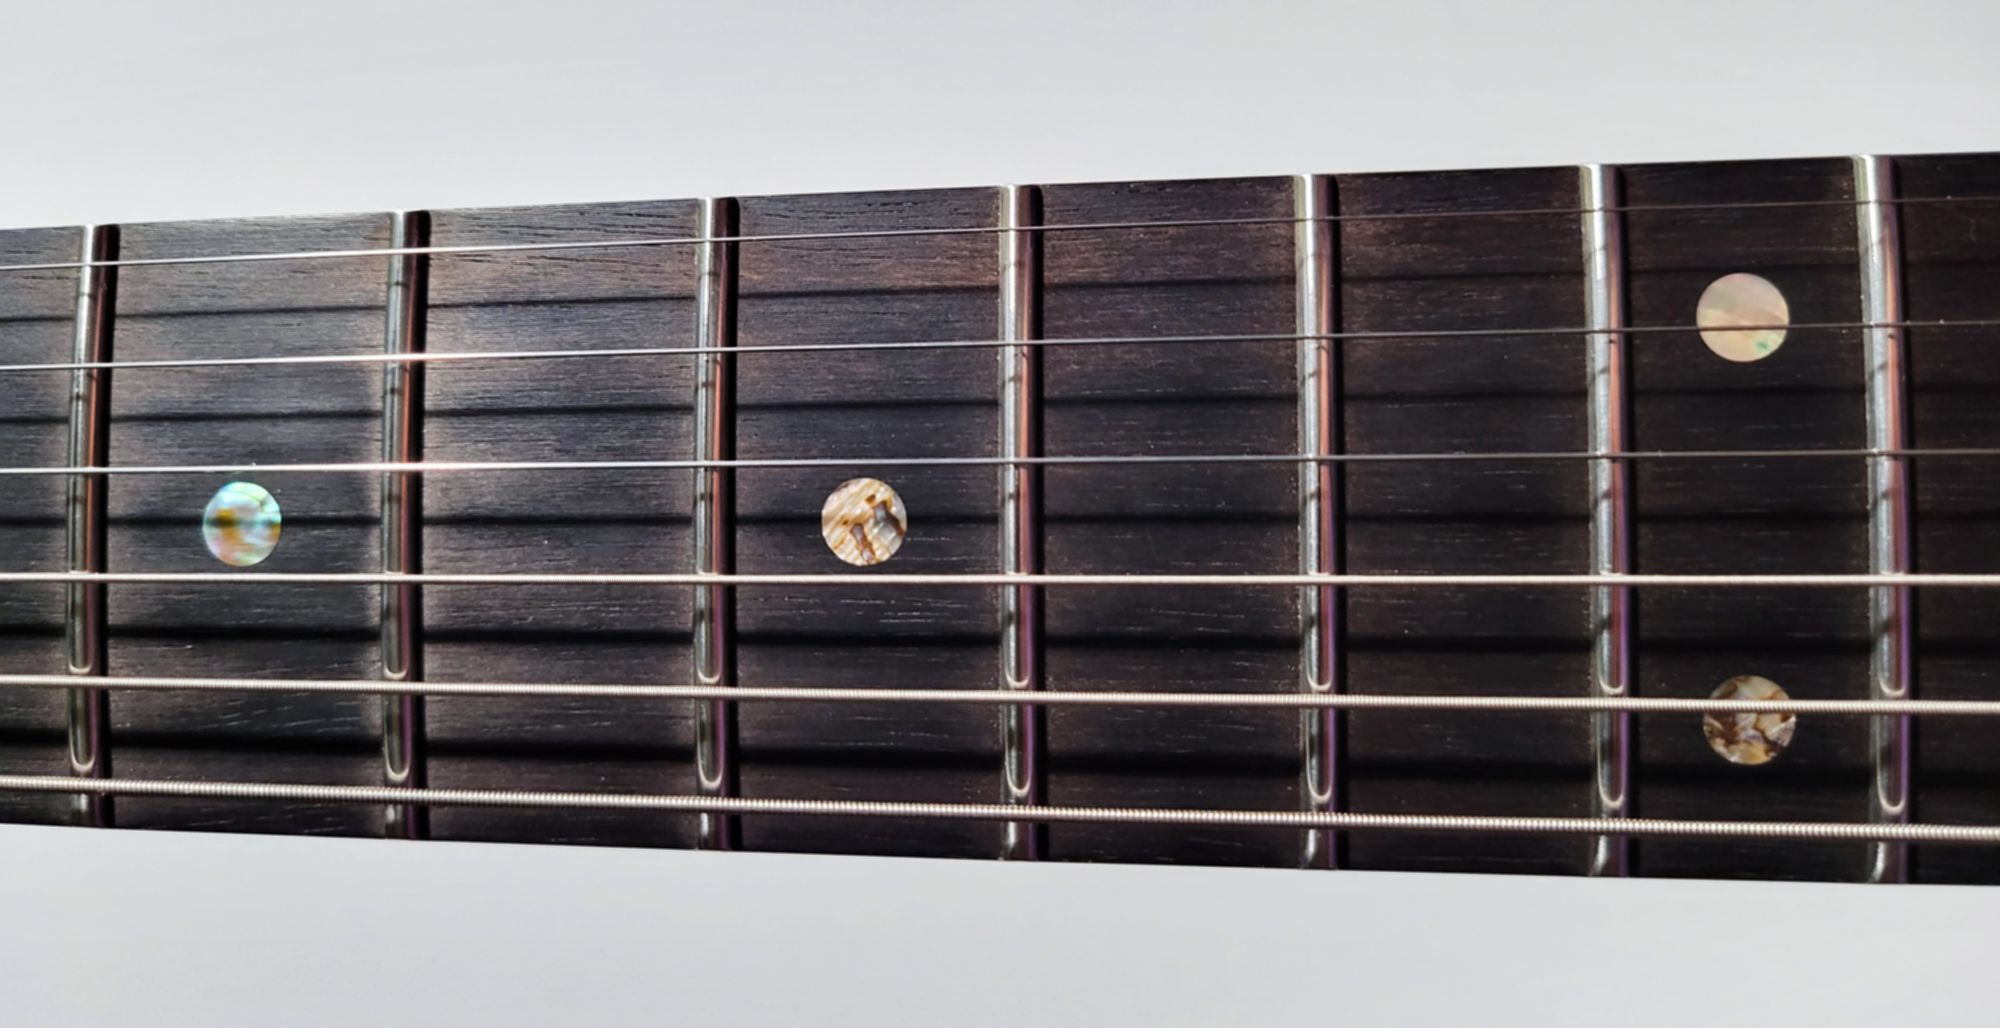
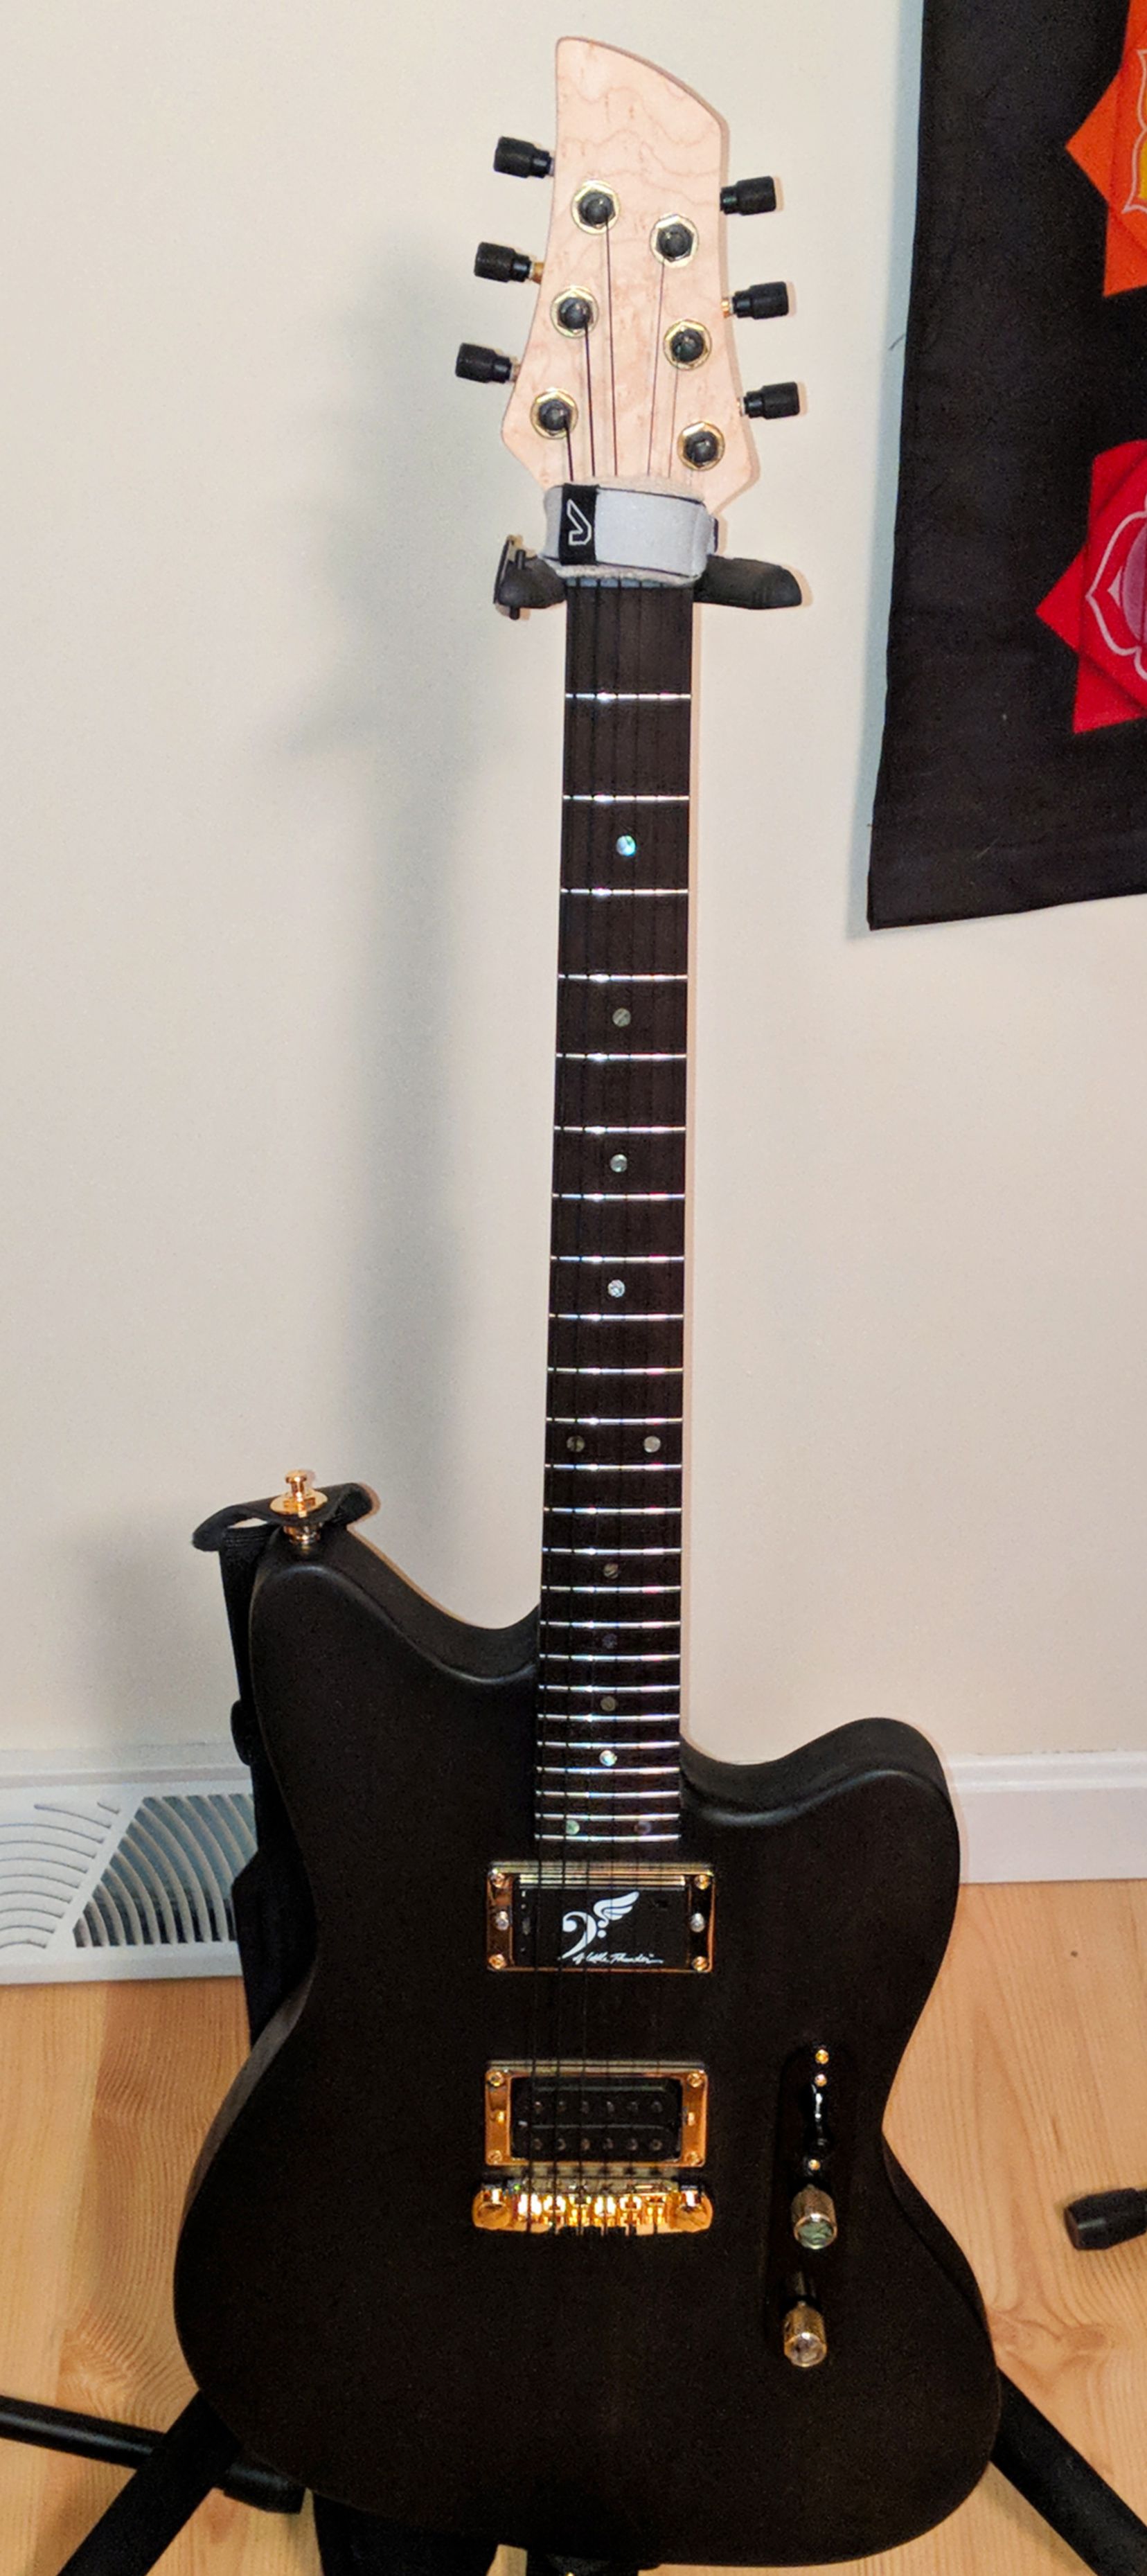
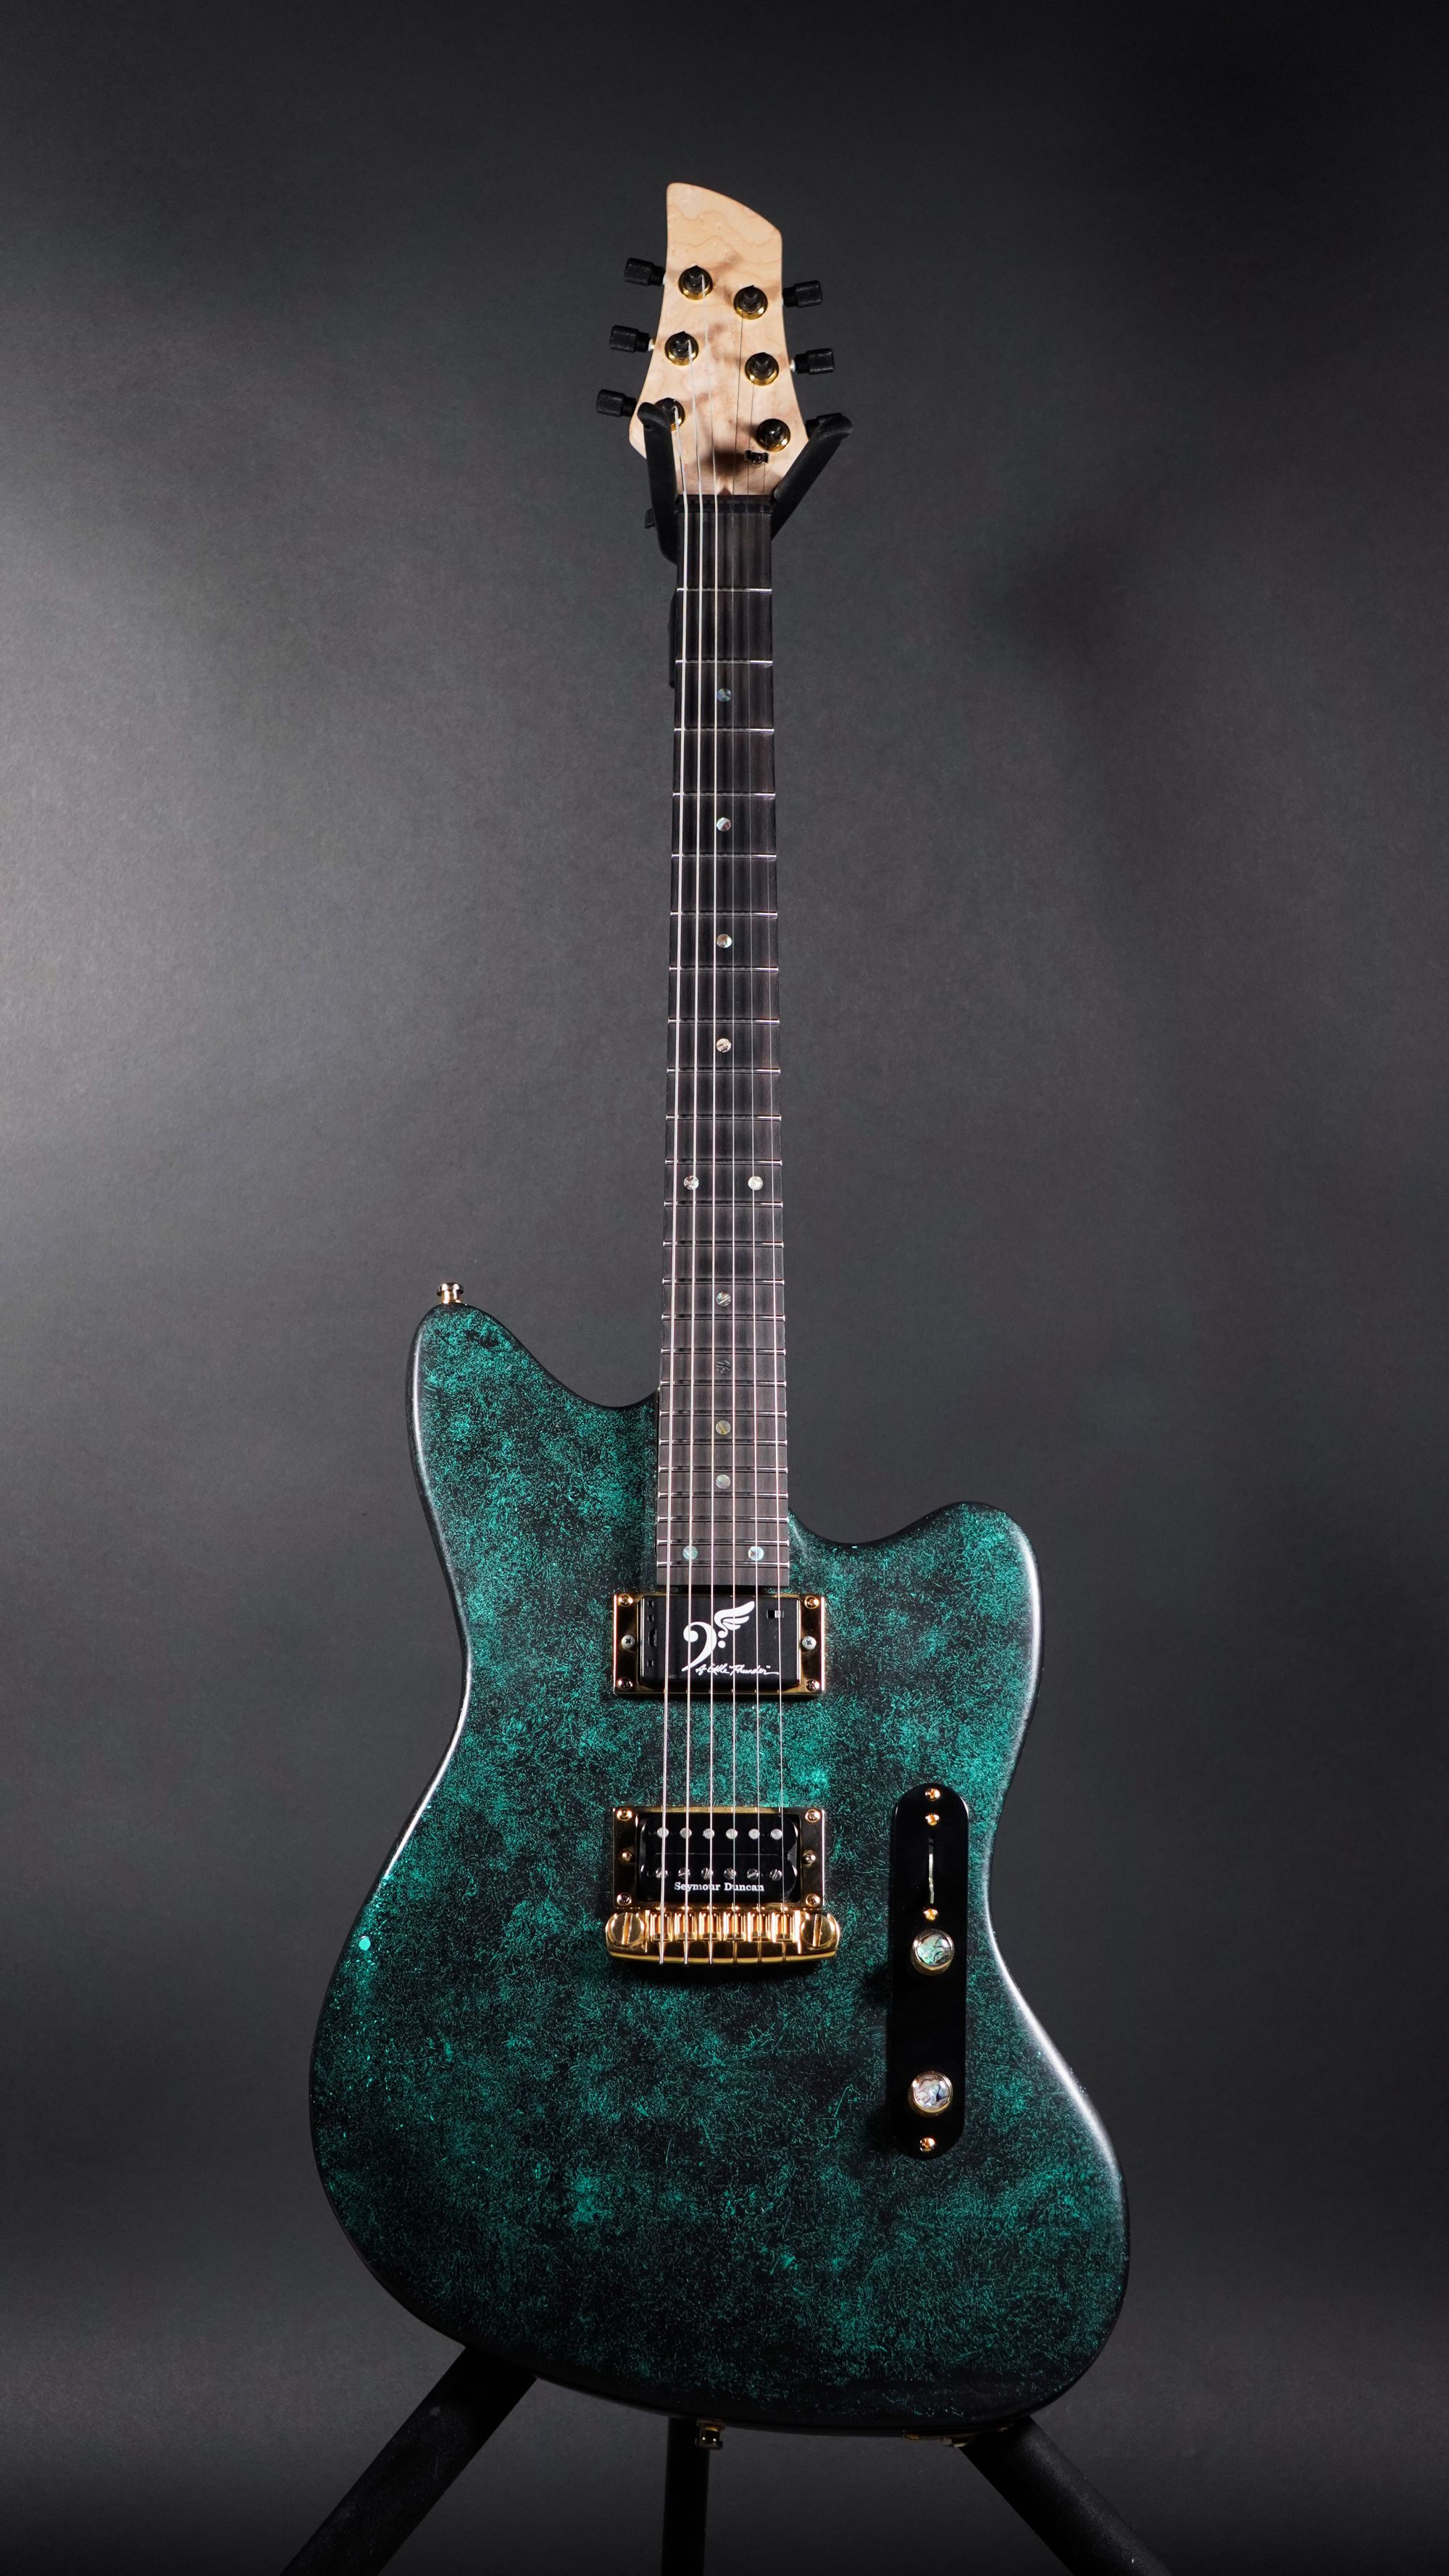
I chose to purchase a neck made out of birds eye maple with a fretboard from ebony wood and jumbo frets for optimal bending of strings when playing. The head stock was cut similar to a PRS's and I was very happy with the final product having 24 frets available to play. I chose mother of pearl inlays with greens and blues. It also has a U shape profile.
Hardware
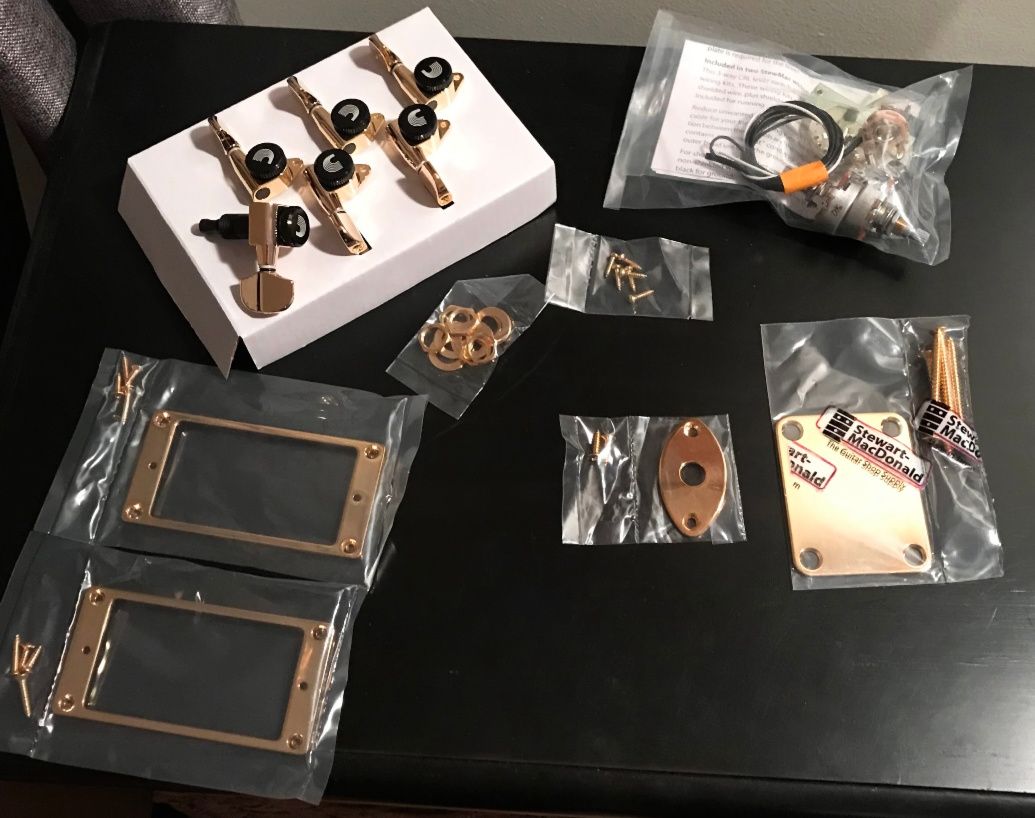
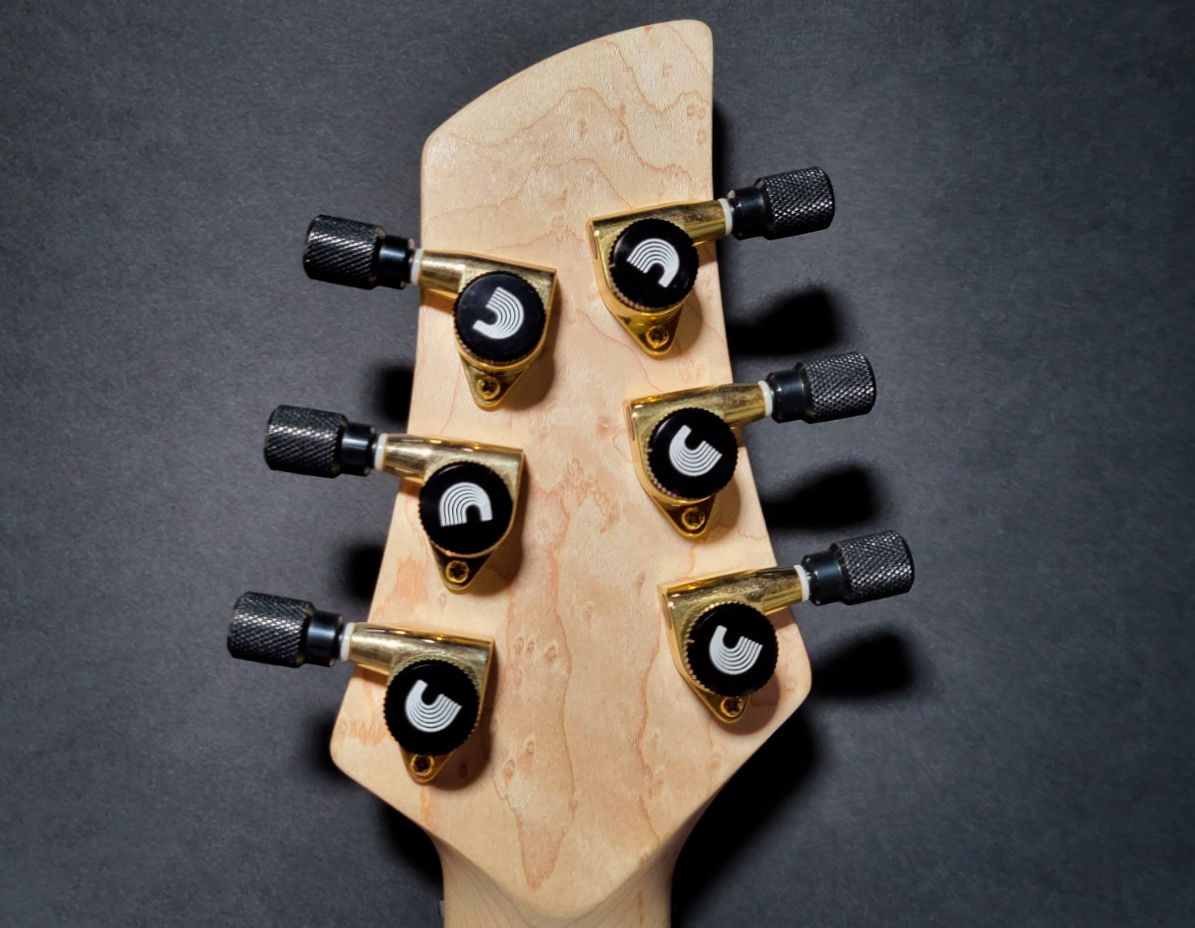
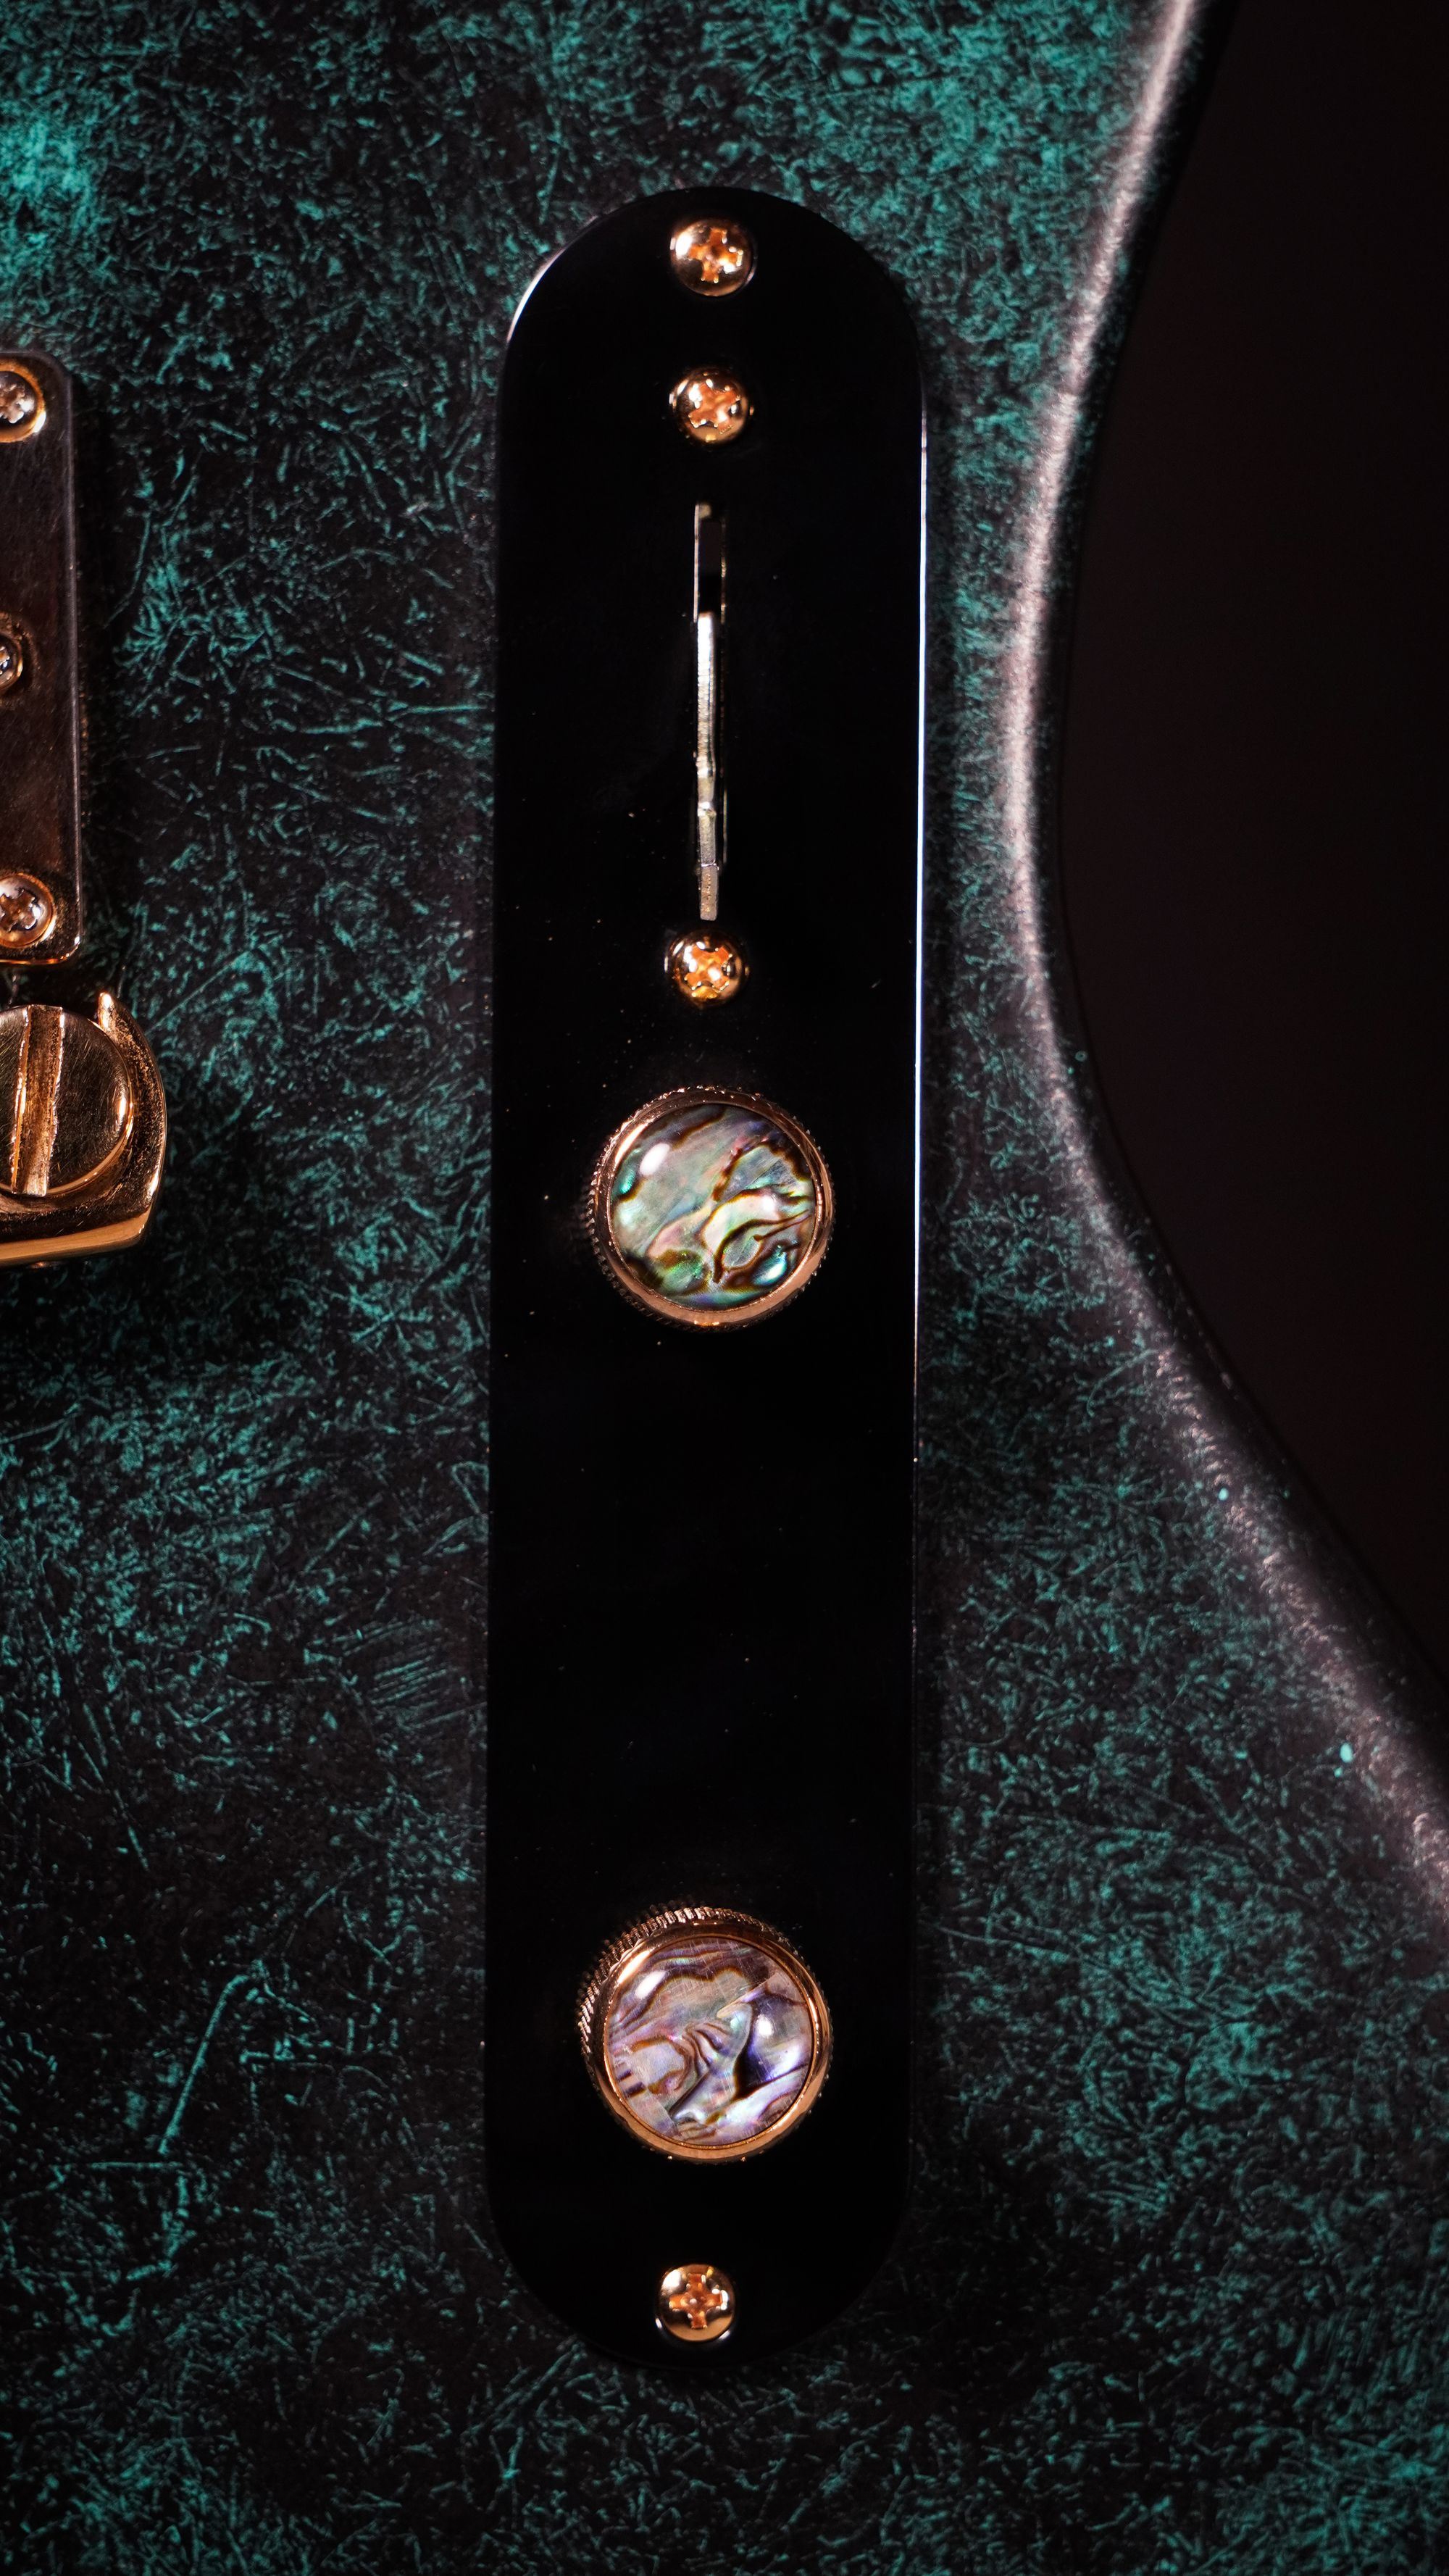
Since I didn't choose a pickguard, I got a black telecaster control plate. To match the neck inlays, I went with a mother of pearl inlay, gold volume and tone knob. All the hardware is gold, with the exception of the black tuning machine buttons, and the nut which is black.
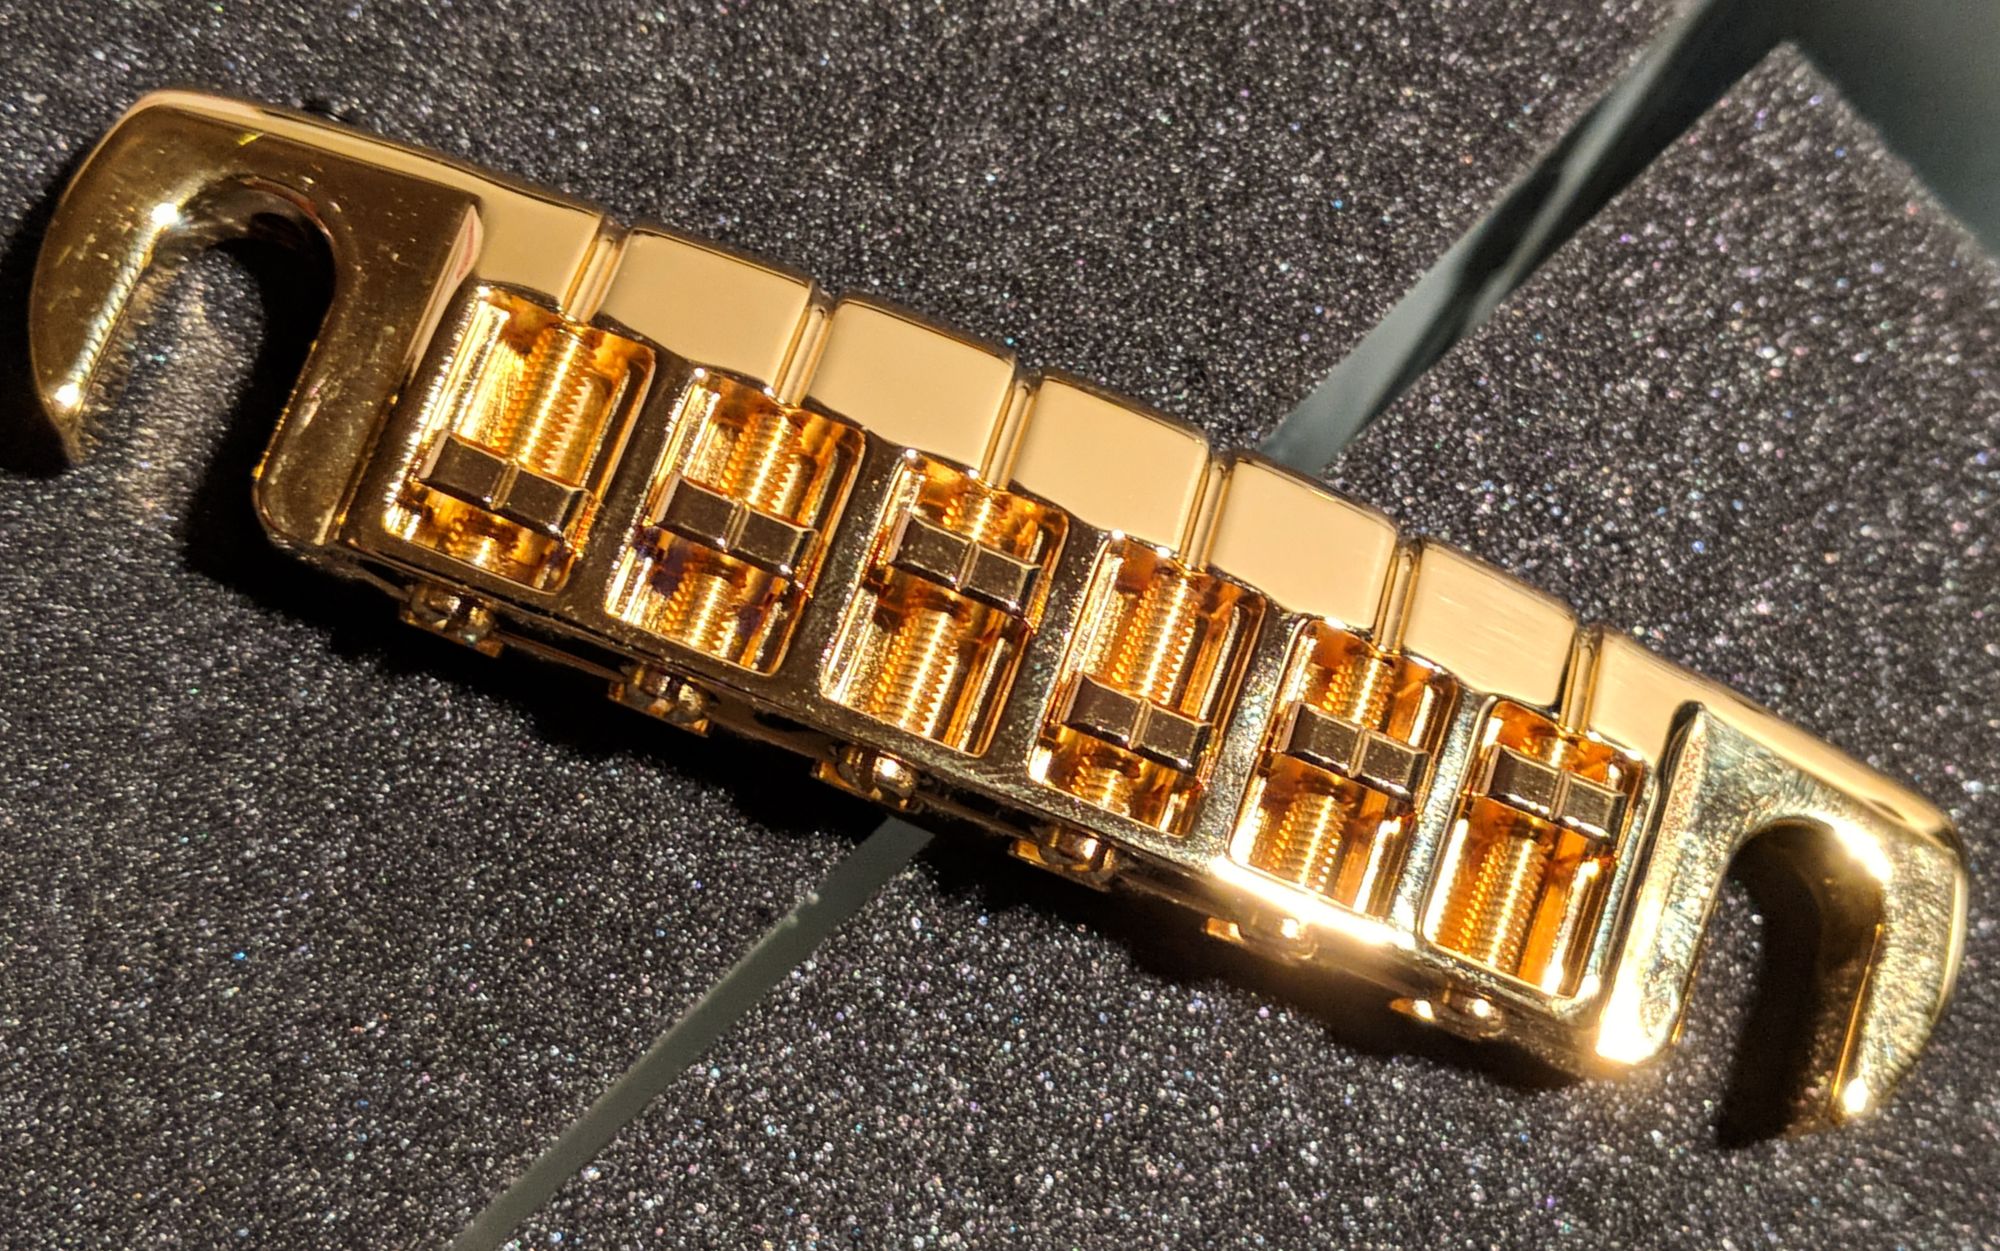
Bridge
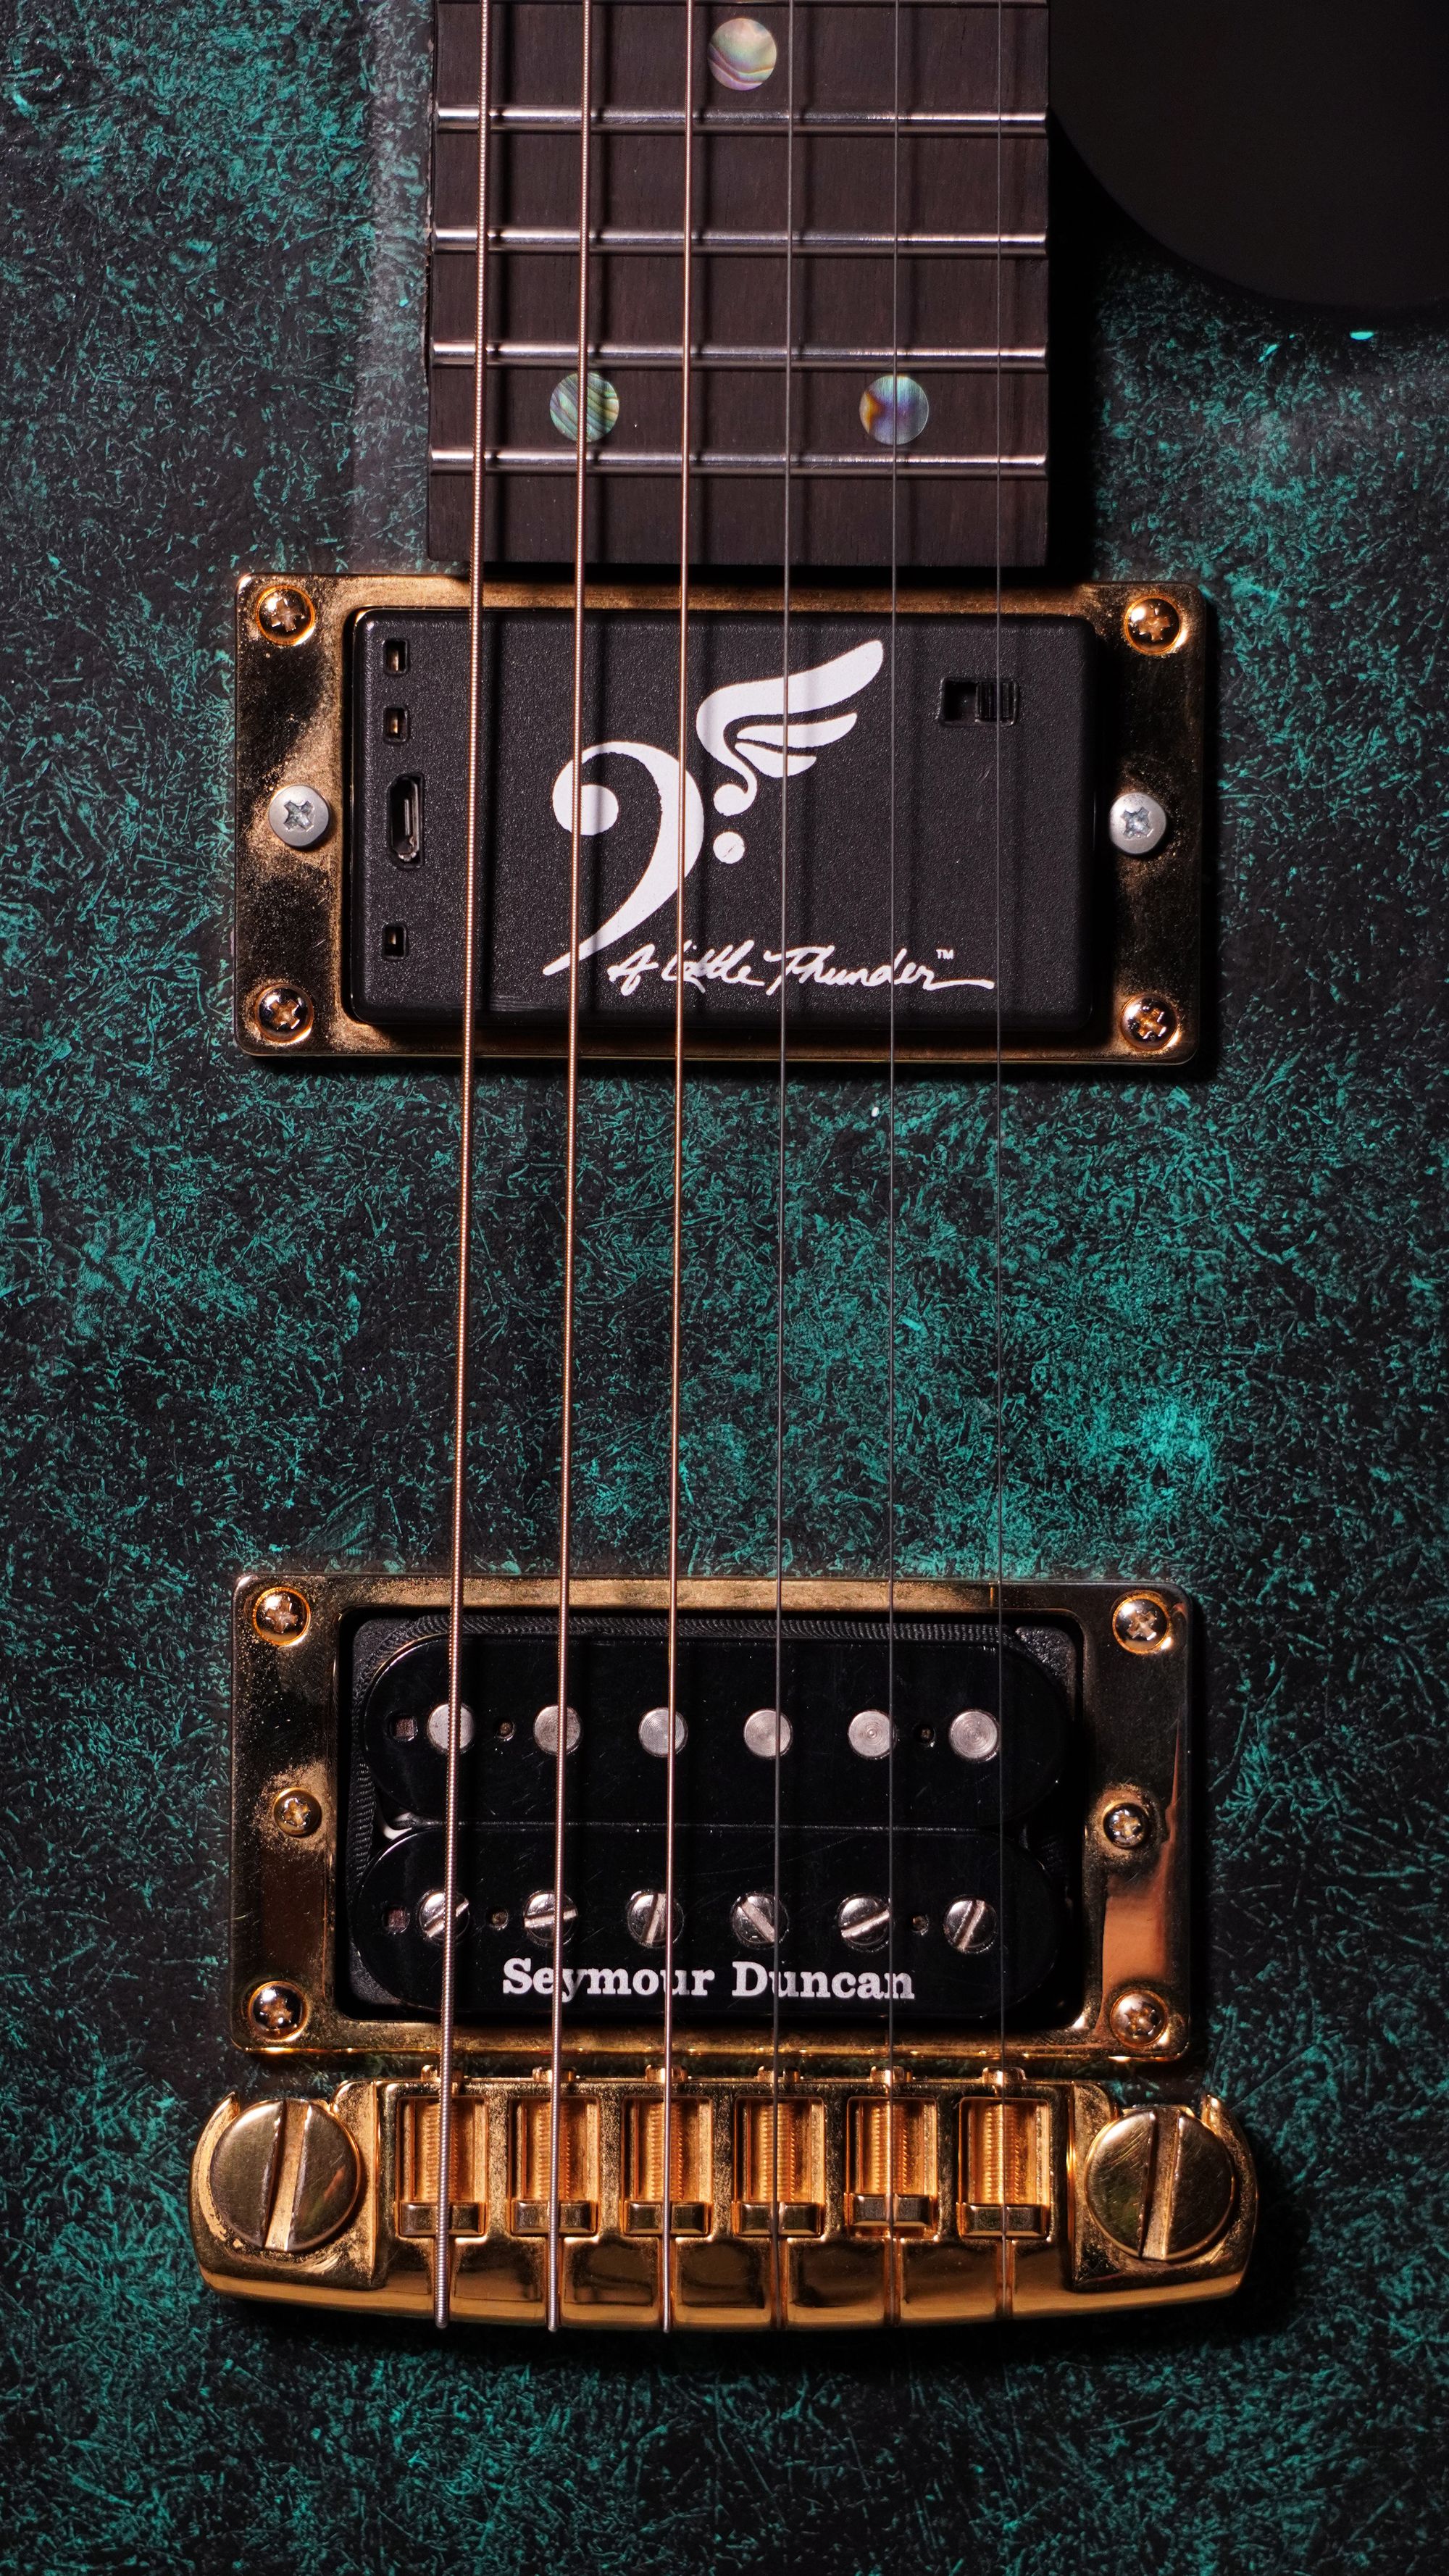
I chose to use a bridge that also resembled what I enjoyed on PRS and Gibson guitars. The installation, however, was very difficult as the drill press was slightly out of level and the saddle pegs had to be hammered into the body with a rubber mallet.
Tuning Machines
I decided to purchase a set of locking tuning machines that cut the string as you tighten them down. I also got a set of black Hipshot SK1 knurled aluminum tuner buttons that I thought were going to fit the base of the machines. With a quick inspection, they did not and I needed to find a lathe machine to route out the center of the pegs. The tech shop had one!
Pickups
-Neck
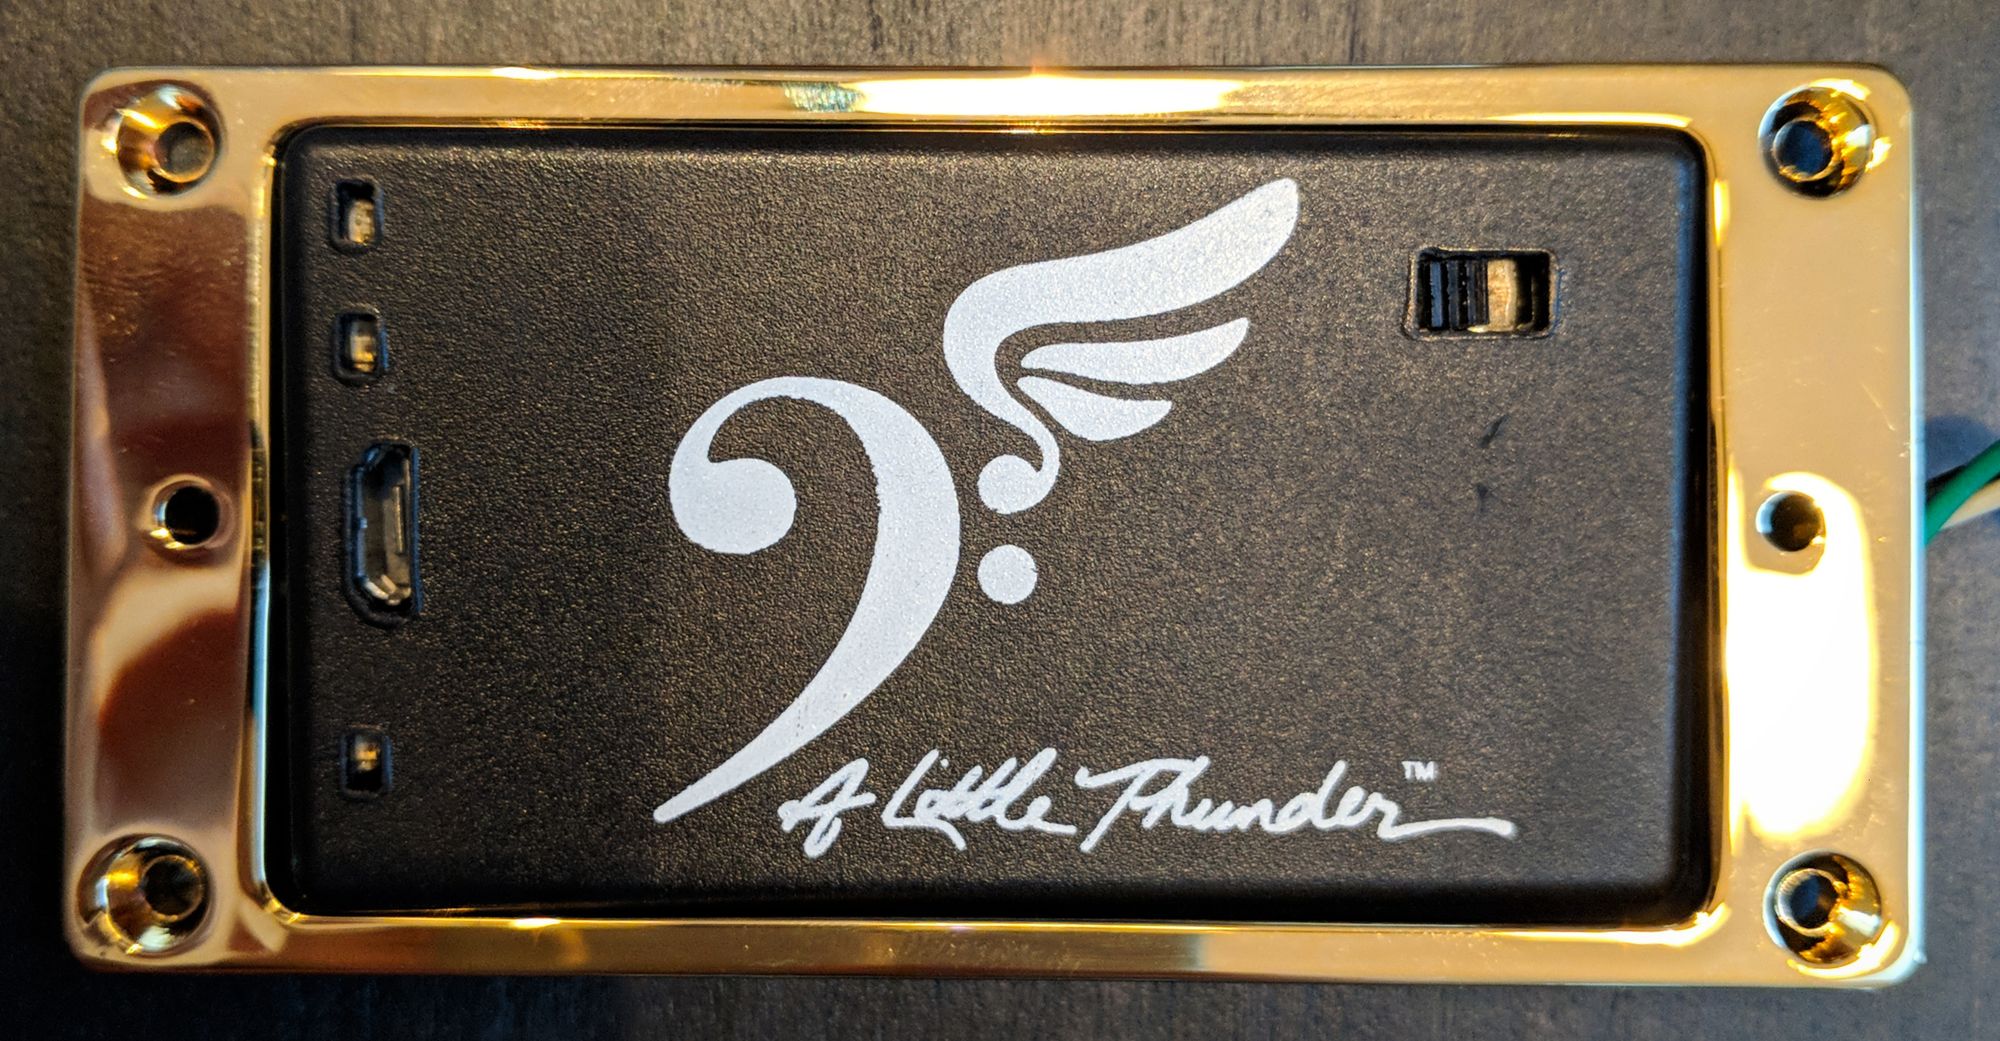
This pickup is called A Little Thunder pickup. I was inspired by an Artist and YouTuber, Mary Spender to use this. This can be used as a general guitar pickup, but when switched on, has the ability to change the octave of the lowest three strings and send that signal through a Y cable into a bass amplifier. The result is a versatile guitar with a multi-octave capability. It also looks cool and adds to the flight theme.
-Bridge
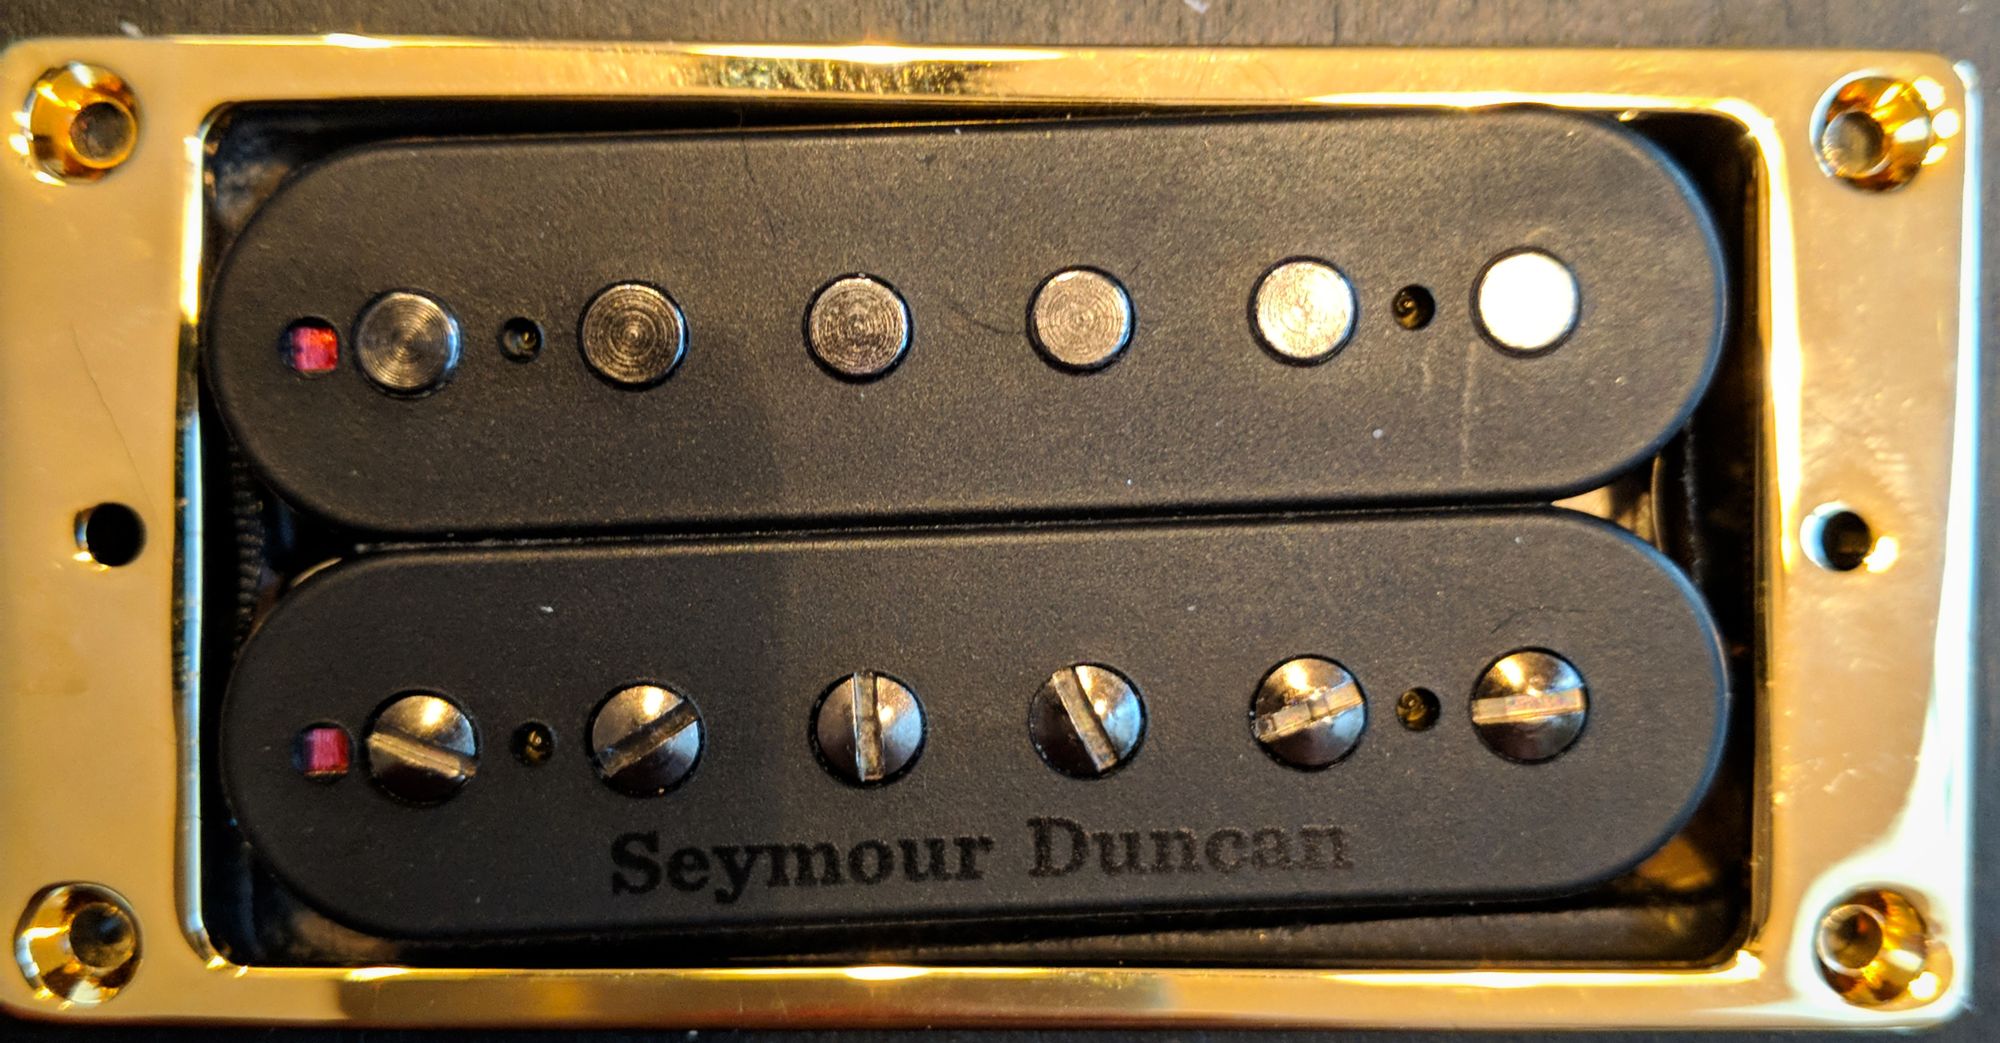
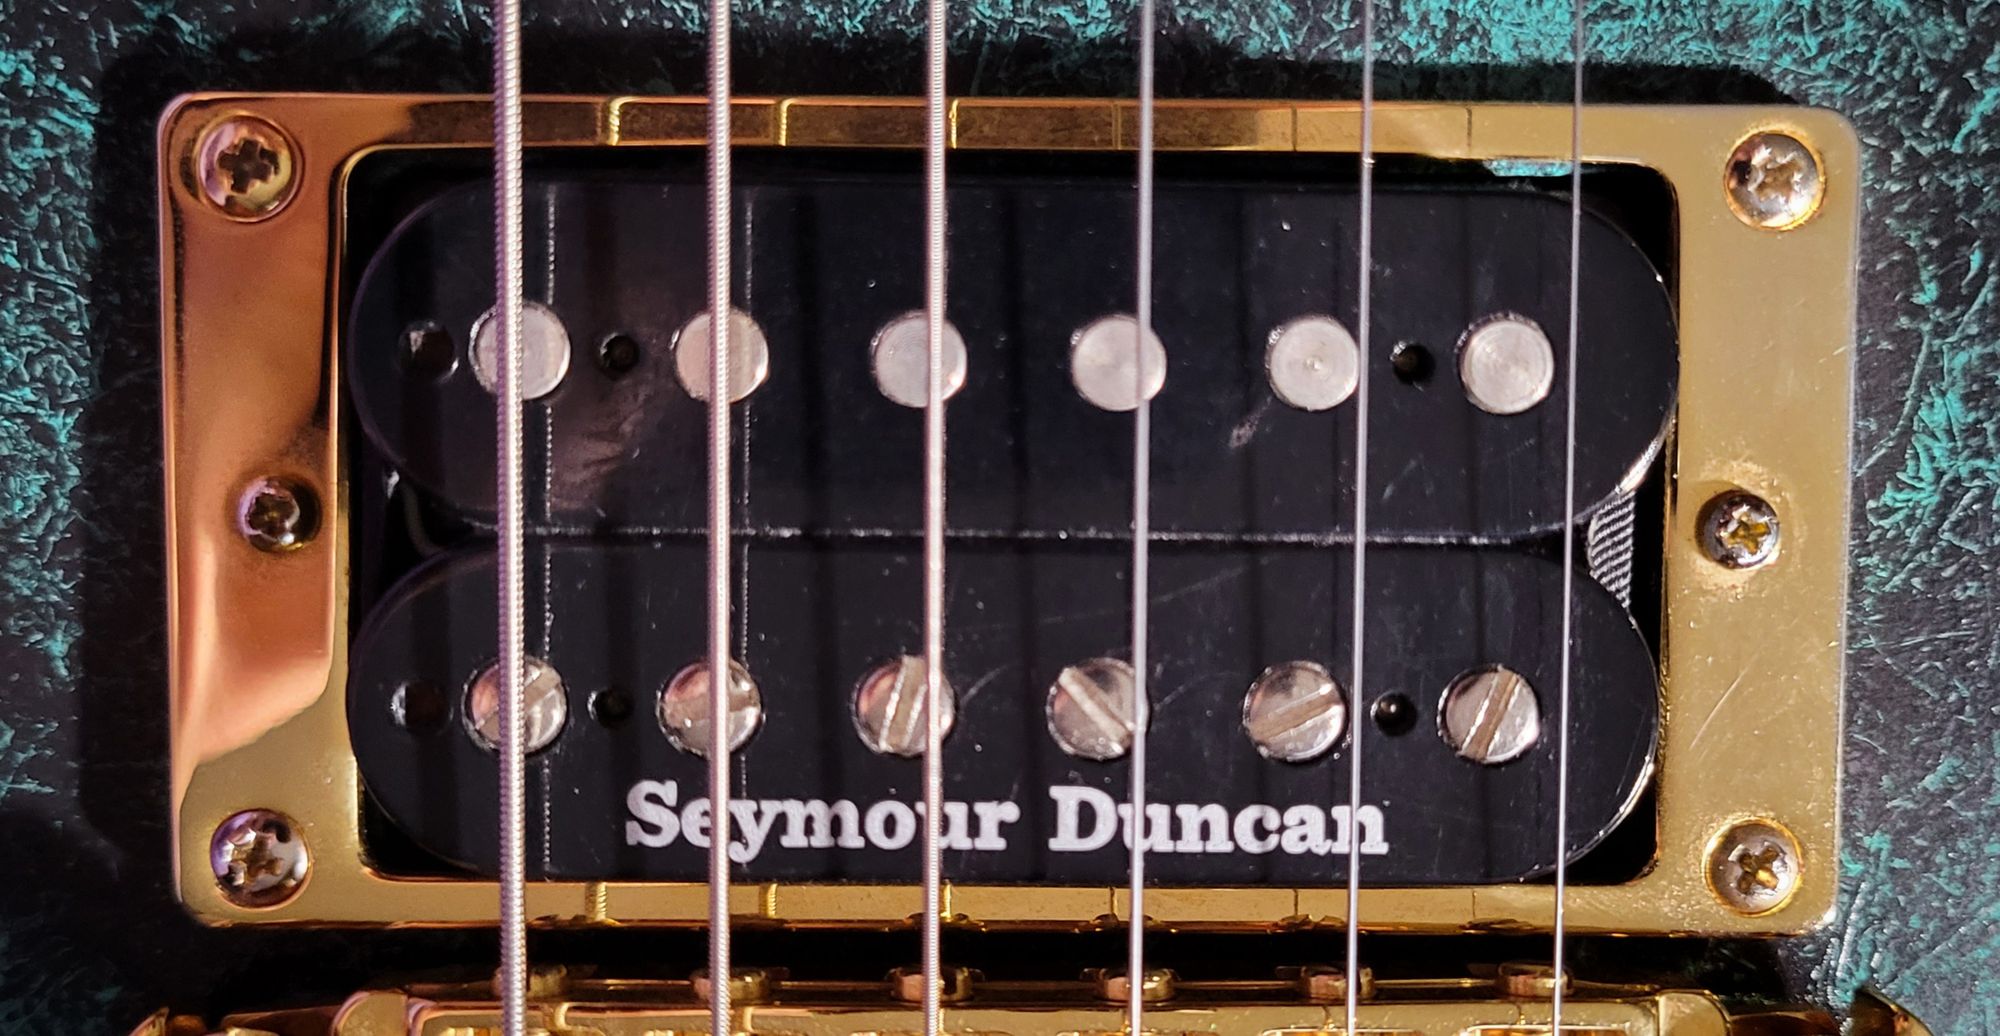
The original pickup was a Seymour Duncan Pegasus bridge model meant for an progressive metal players. It has Alnico V magnets and a mid output level.
Crafting the Body
The next step when crafting the body was to program a CNC machine to cut out a custom outline. The general information needed were the measurements and a digital stencil. The pickup cavities, electronic selector cavity and neck slot had to be cut out. The shape of the body was then routed out once these were cut.
I had little experience with a CNC machine and technically it was part of a different tech class. Fortunately I had a friend in that class, so he helped me out. Thanks Connor! With careful planning, we did a test run using the machine on a piece of plywood. Thankfully we did, as the thing was burning most of the way through. After some adjustments and a second test run, the prototype seemed to appear fine and we went for it with the bass wood.
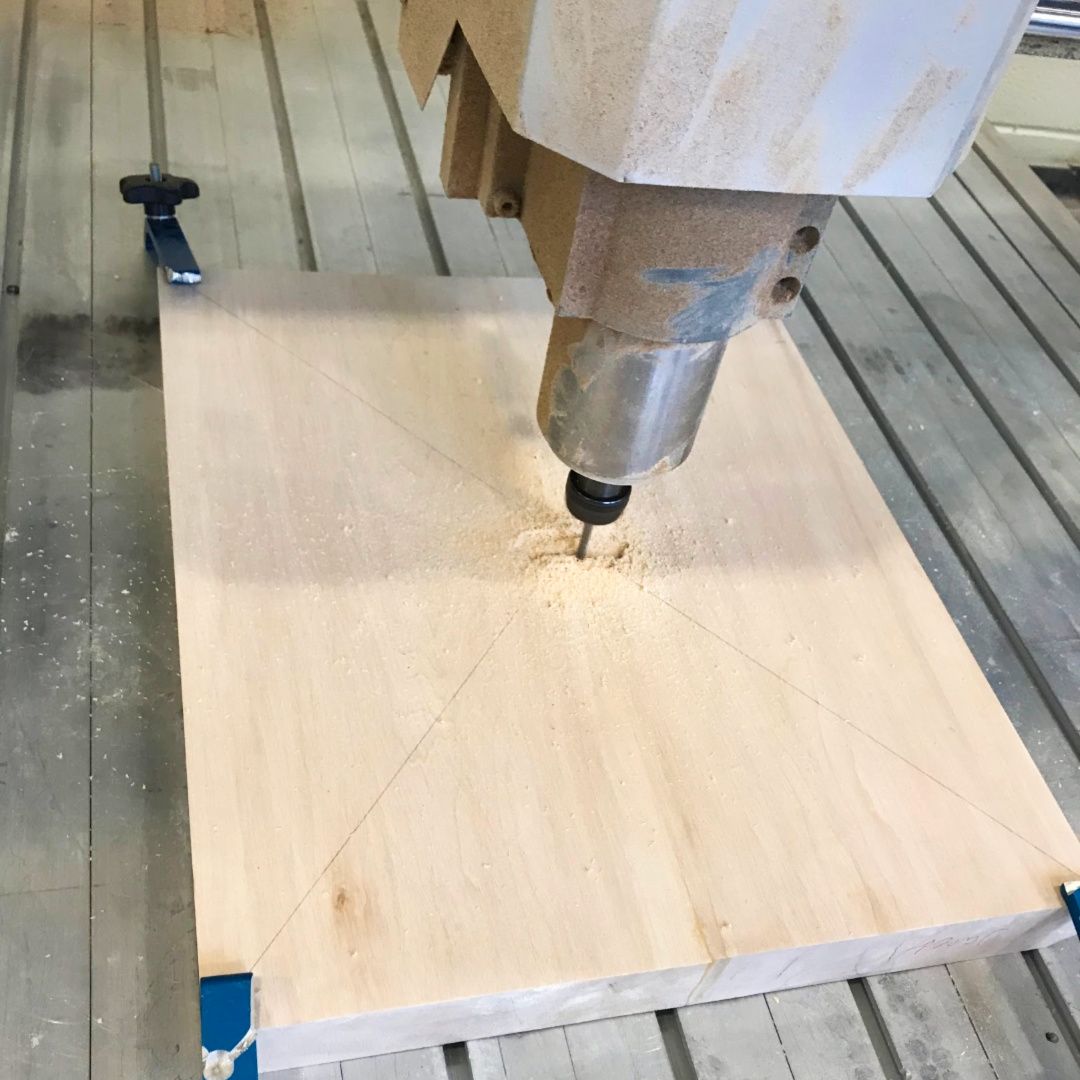
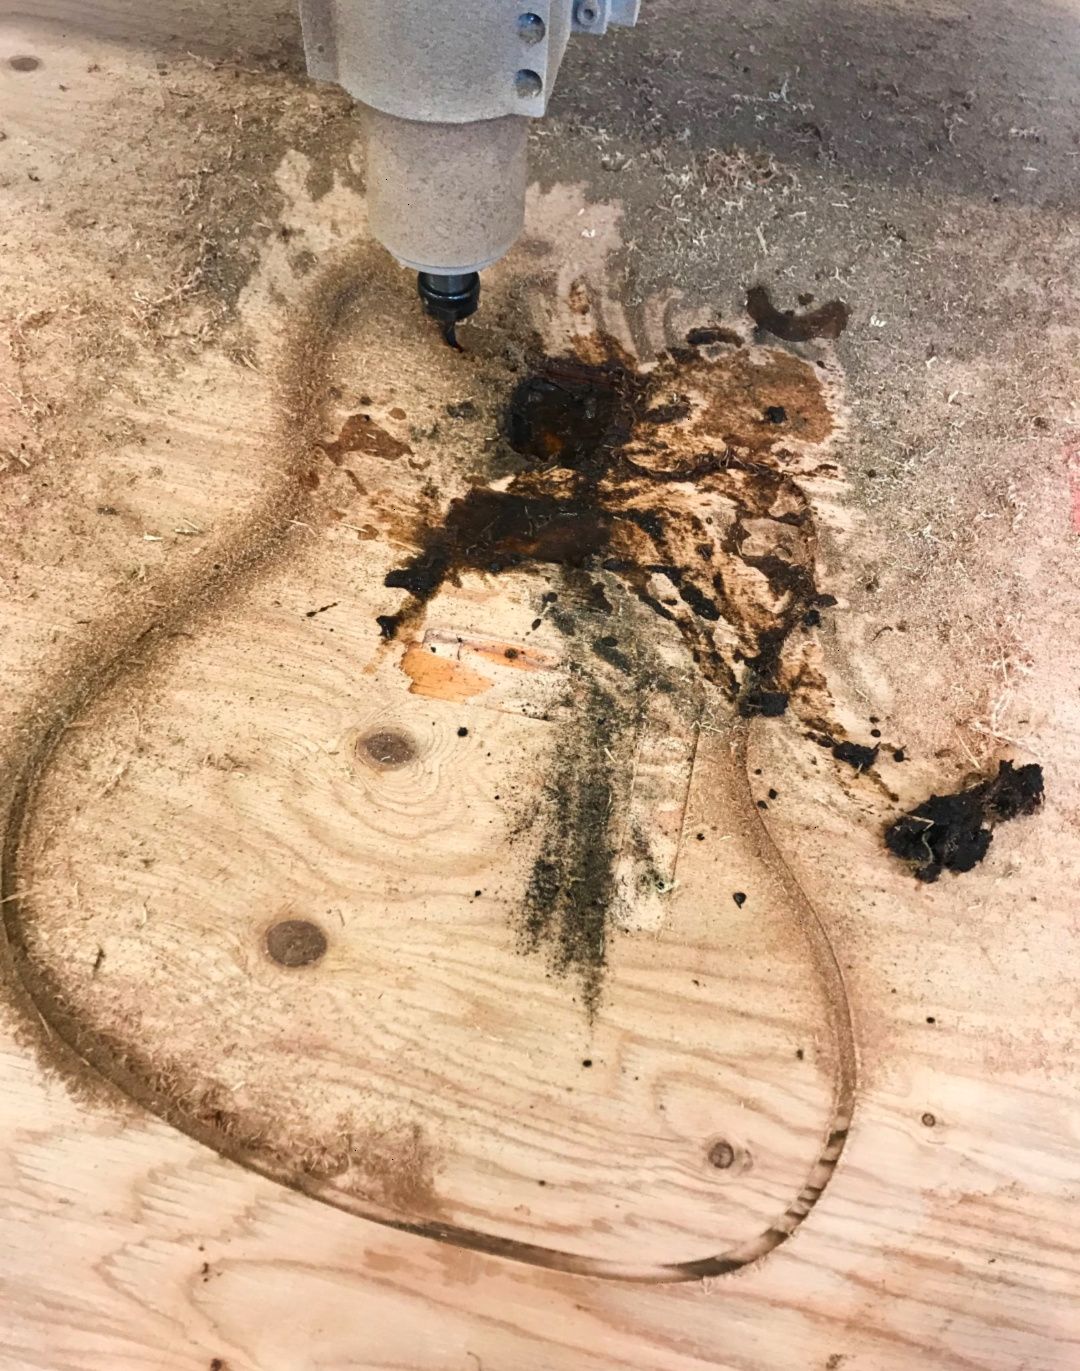
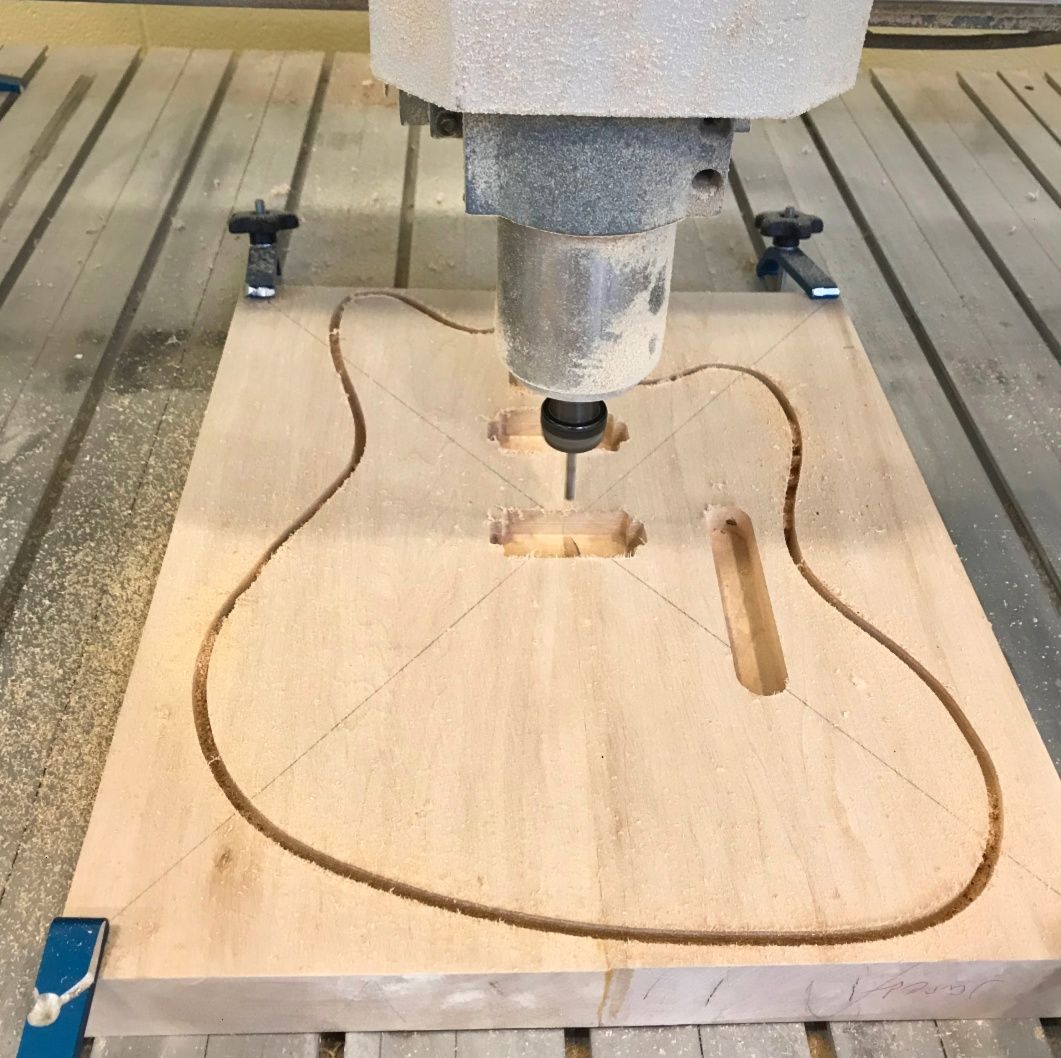
I stared at the machine cutting away the wood bit by bit while I went back and forth between gritting my teeth with suspense and chowing down on Nachos from school's lunch...definitely the best option! The cutting went smoothly and had no issues. I then drilled the holes for the wires to connect from the pickups to the volume pots, and drilled the jack slot to plug it all in.
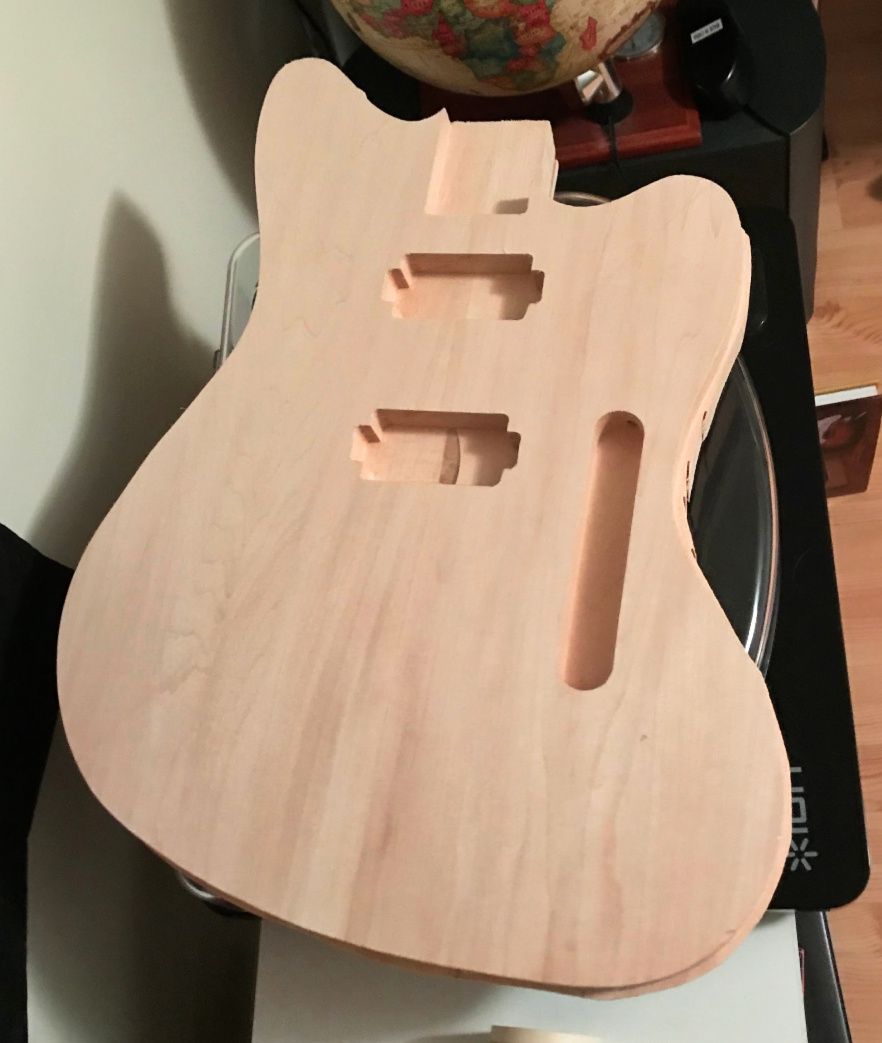
Sand, Stain & Finish
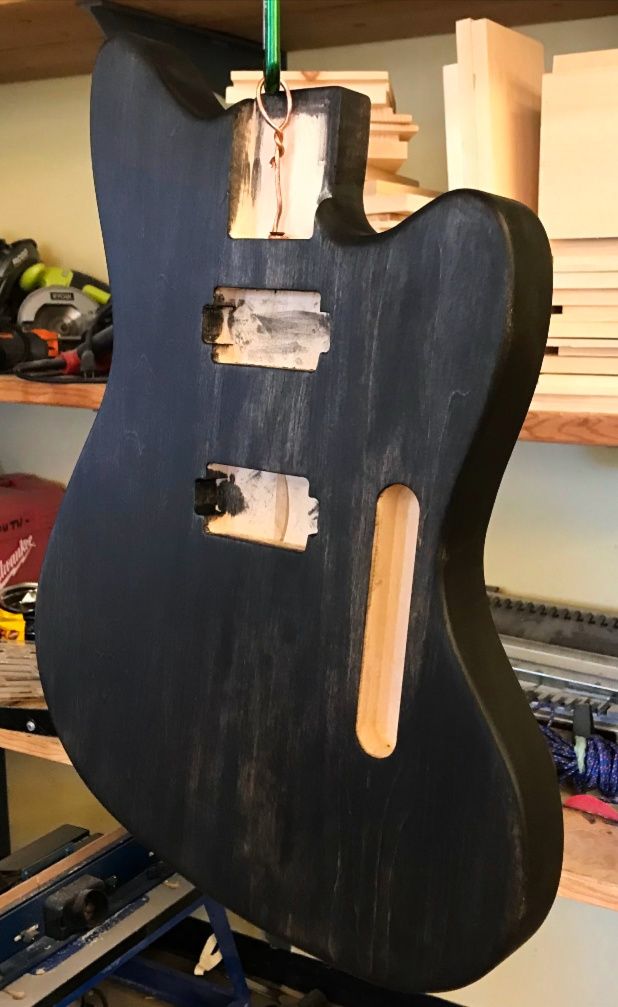
For the body I used multiple grit levels of sandpaper and an assortment of electric sanders. I started with 500, went to 800, and ended at 1,000 grit. This left it smooth enough that I was ready to use a tack cloth, blow it off with an air compressor, and begin staining.
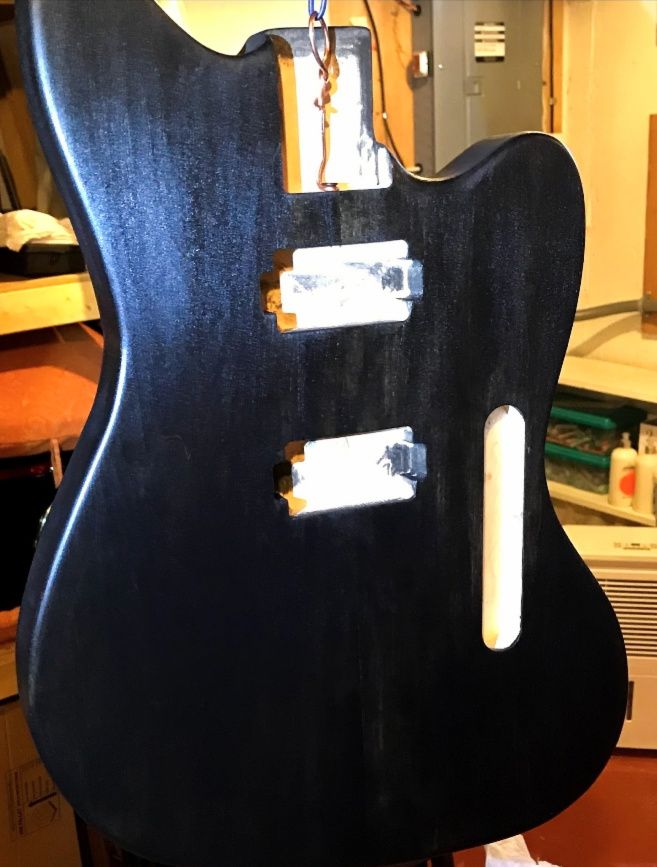
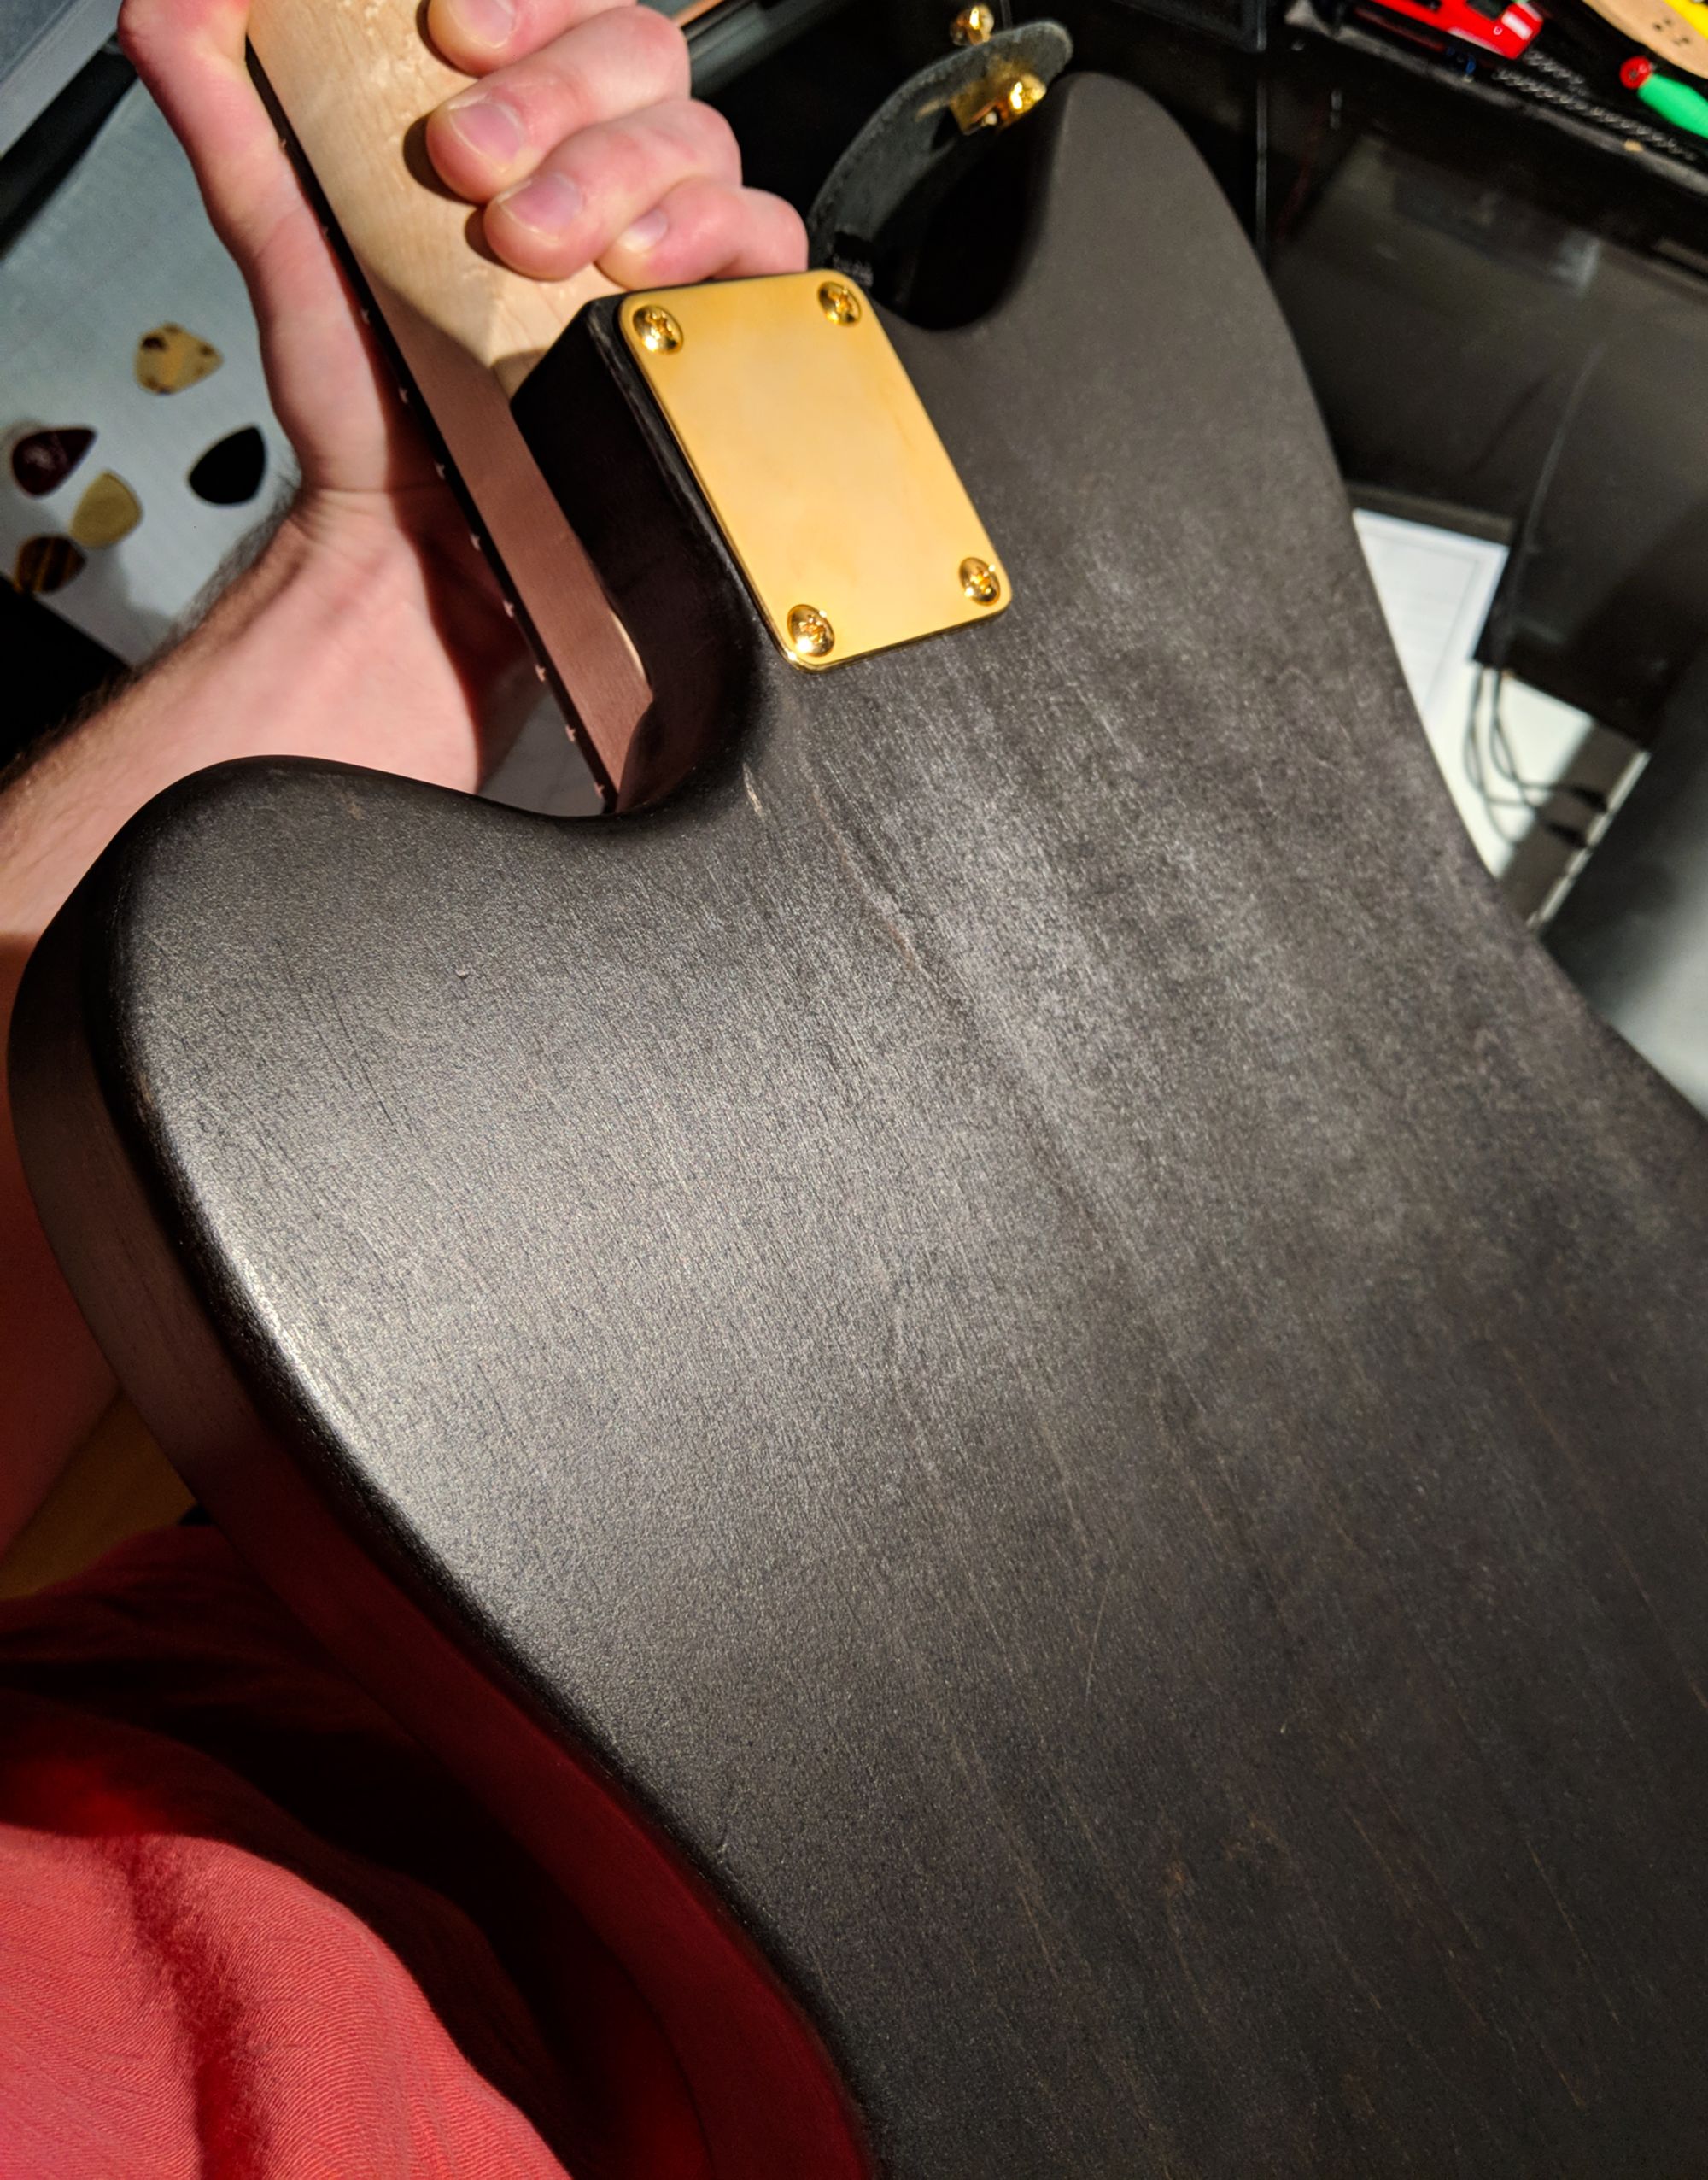
I tested some different stains and ended with a black that was light enough to do multiple coats and still keep some grain showing. I hung the body up by some wire and stained it with a white t shirt cloth three times to get a nice even coat. I then gave it a few coats of clear polyurethane spray and lightly hand sanded it with 1,2oo up to 2,000 grit. Then I let it dry.
Last steps
I measured the holes for the bridge and used a drill press for even slots. I installed all the hardware and used clamps to drill through the body into the neck for the backplate. I chose the bolt-on neck joint due to it being simple, easier to install, and contributed to the telecaster style.
Wiring the guitar took the longest. This was because of the Little Thunder pickup instructions not depicting the specific configuration I was wiring, and I also had very little understanding of the individual electronics; pickups, capacitors, selector switch's, output jacks, grounding, and potentiometers. This was a major learning period for me in regards to how the guitar makes sound, which parts influence it, and signal flow itself.
I had a lot of guidance along the way from my friend Connor, relative Greg, and teacher Mr. Mei. We were eventually able to wire the guitar, string it up and plug it in. It made sound! It was a success and worked well. Did the quality of the guitar meet its price...no. But, it became a sentimental instrument and sounded pretty good. The feel was also what I was looking for. If you're looking for a high quality instrument, this is not the way to go, especially if you have little experience. If you're looking to learn, understand the effort and detail that goes into high end guitar companies, then I suggest building one! Then repeat. There will never be a perfect guitar, but learning from your mistakes can certainly make the next one better.
Changes over the following 4 years
-Switched the pickups.
-Filled the original holes of the bridge and relocated it.
-Raised the neck.
-Re-painted the body
-Drilled out the back of the electronics cavity and installed a glass plate.
Part 2. | (It Gets Better!)
Ok, so you might be wondering why all the changes? Well, I didn't like the original tone of the Pegasus pickup and I wanted a different bridge sound in my Fender Custom Telecaster FMT HH. So, I switched the pickups. The result was a much more aggressive lead tone in the build and a brighter tone in the telecaster. This ultimately gave the guitar its sound. I then changed to a set of NYXL D'Addario strings at a gauge of ten regular to make playing easier. This is a preference.
A major problem with the guitar's tone and playability also came from the neck being placed at the wrong distance from the nut. This was due to a wrong measurement based on a lack of understanding with scale length. We can think about it like this... Every stringed instrument has a center point where the sound wave shape changes from its first note to a relative octave. (An octave is a higher version of the same note and twice its frequency.) That is the center of the string. So if you cut the string in half, that's where your 12th fret must be. If you already have the frets placed in the neck, then the bridge position should be twice the distance from the nut to the 12th fret. Originally I did not understand this and placed the bridge based on some other calculation I found online. This fixed tuning issues and notes being wrong when played at different frets.
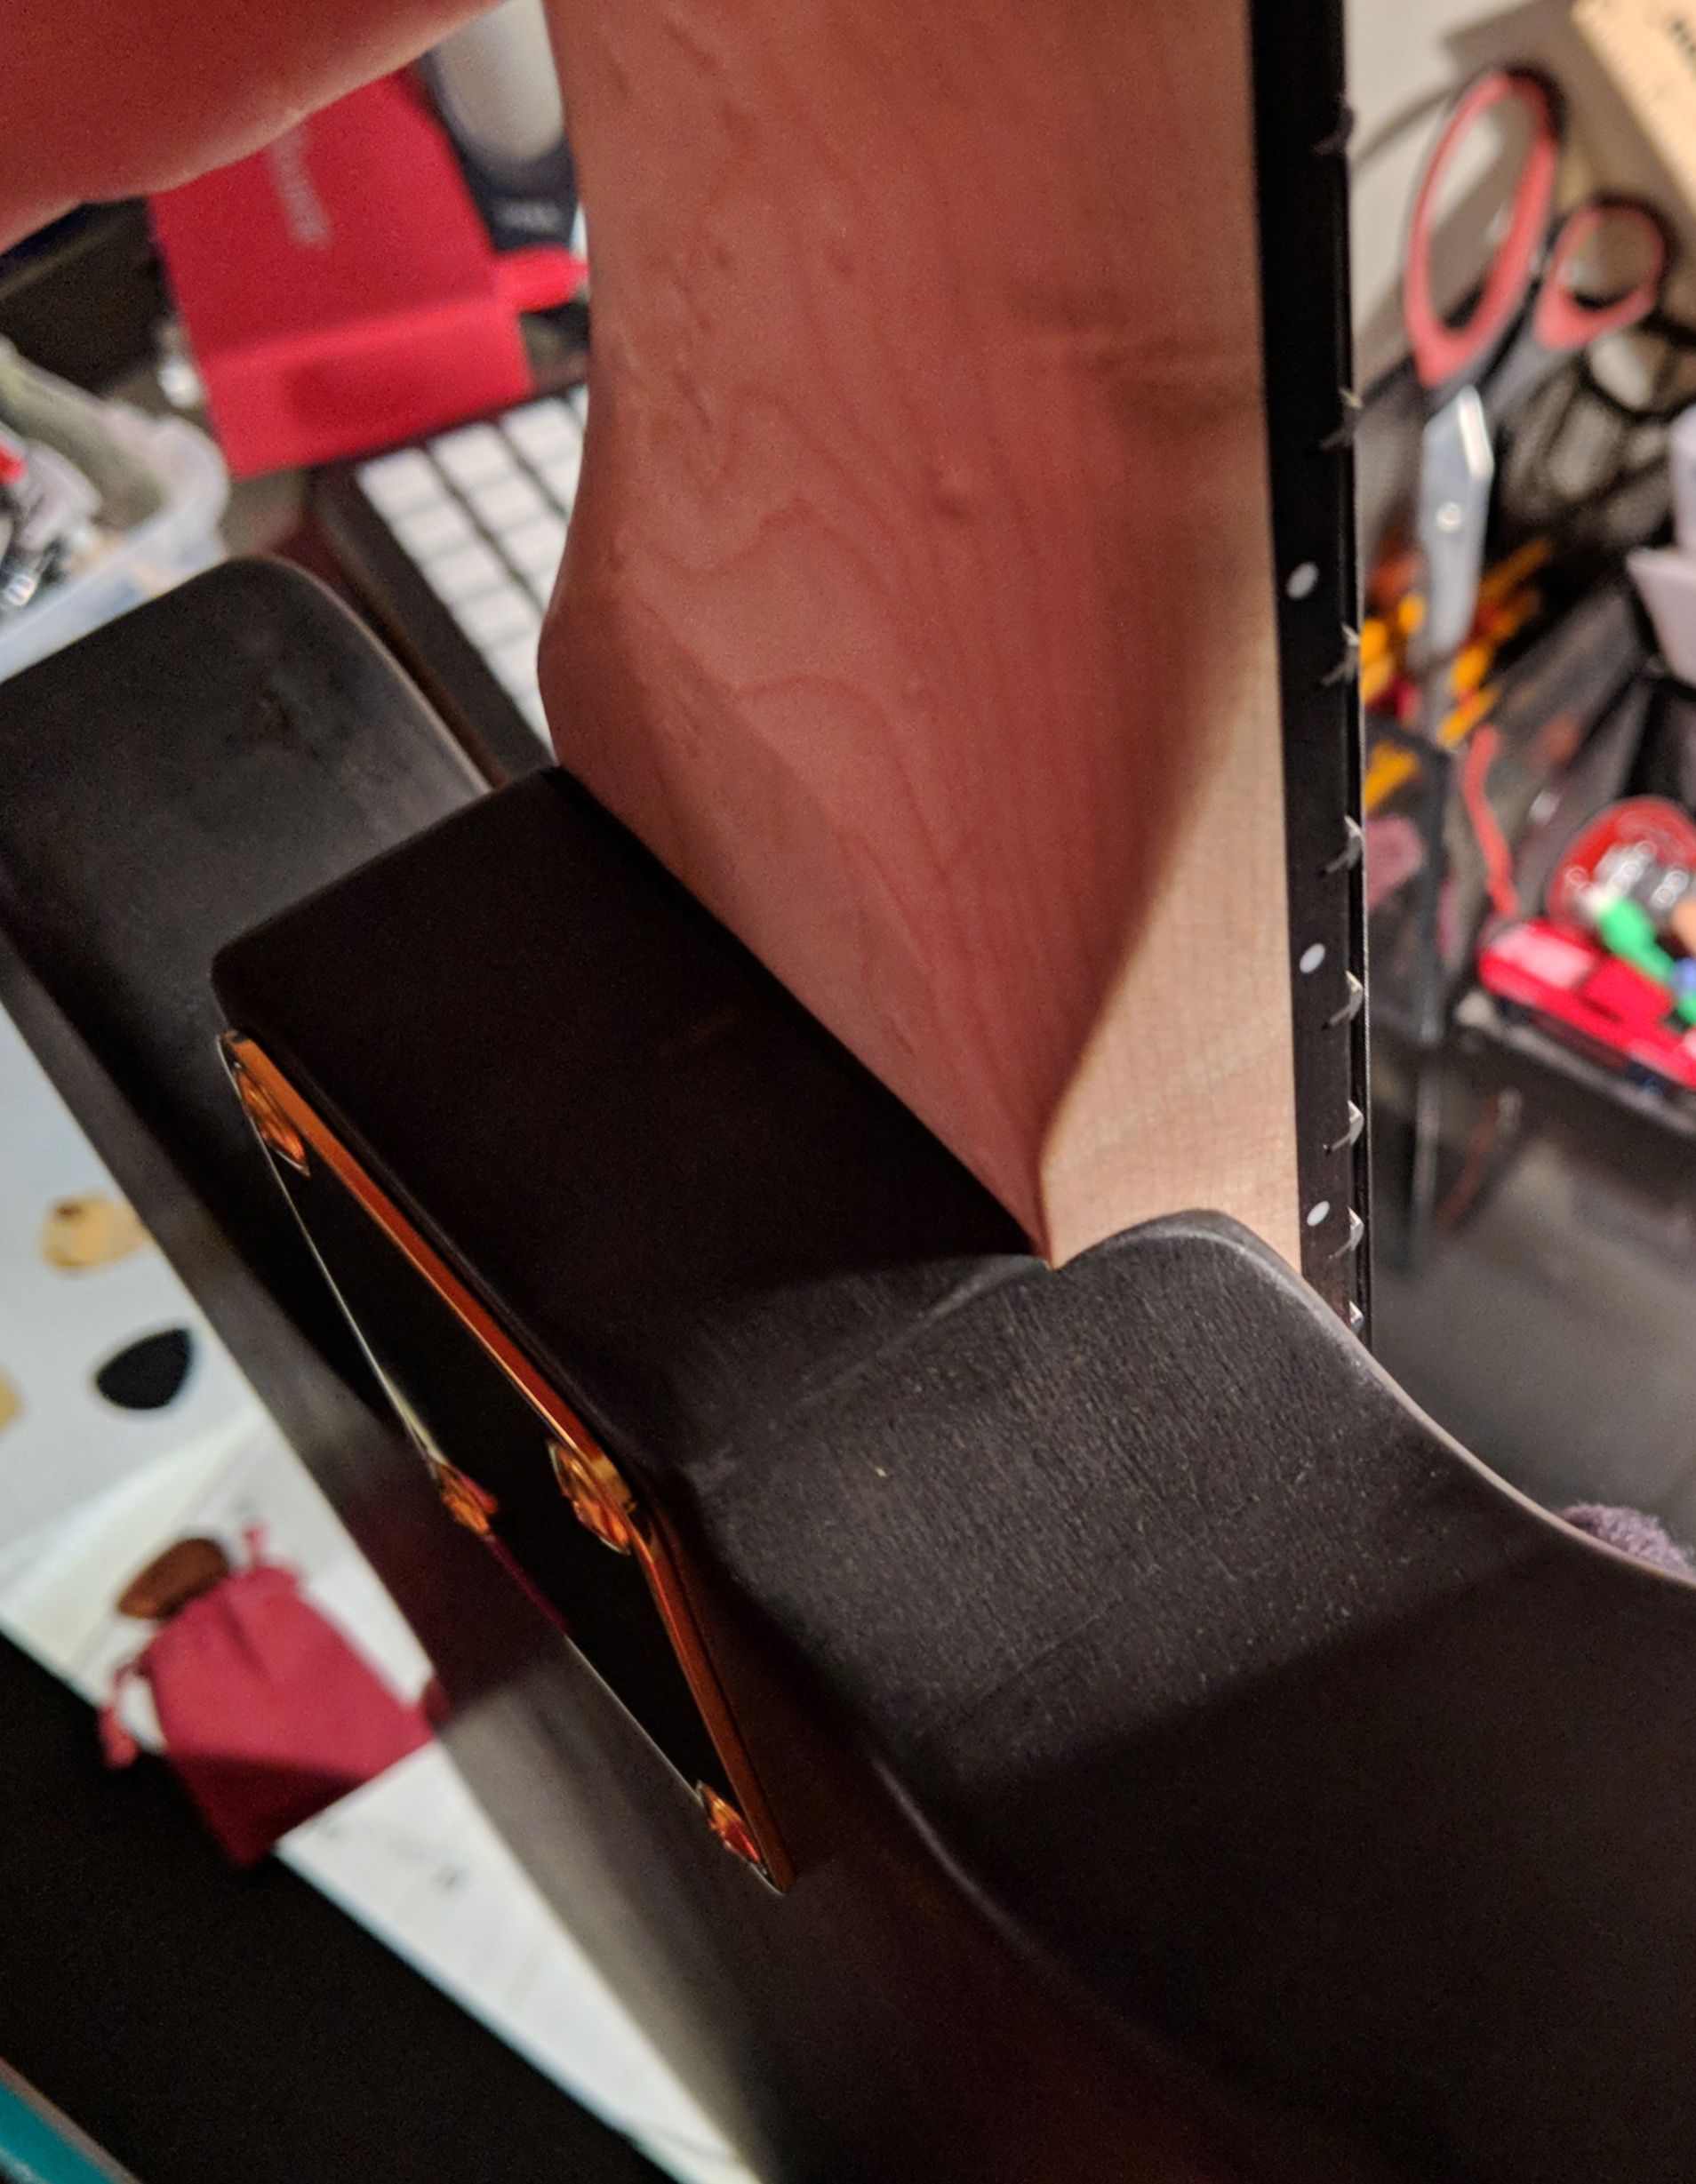
Another issue was the neck height. I had to put in a thin piece of wood to raise it due to issues regarding its positioning. It was not as big of a deal to do, but did help with string intonation and neck bowing.
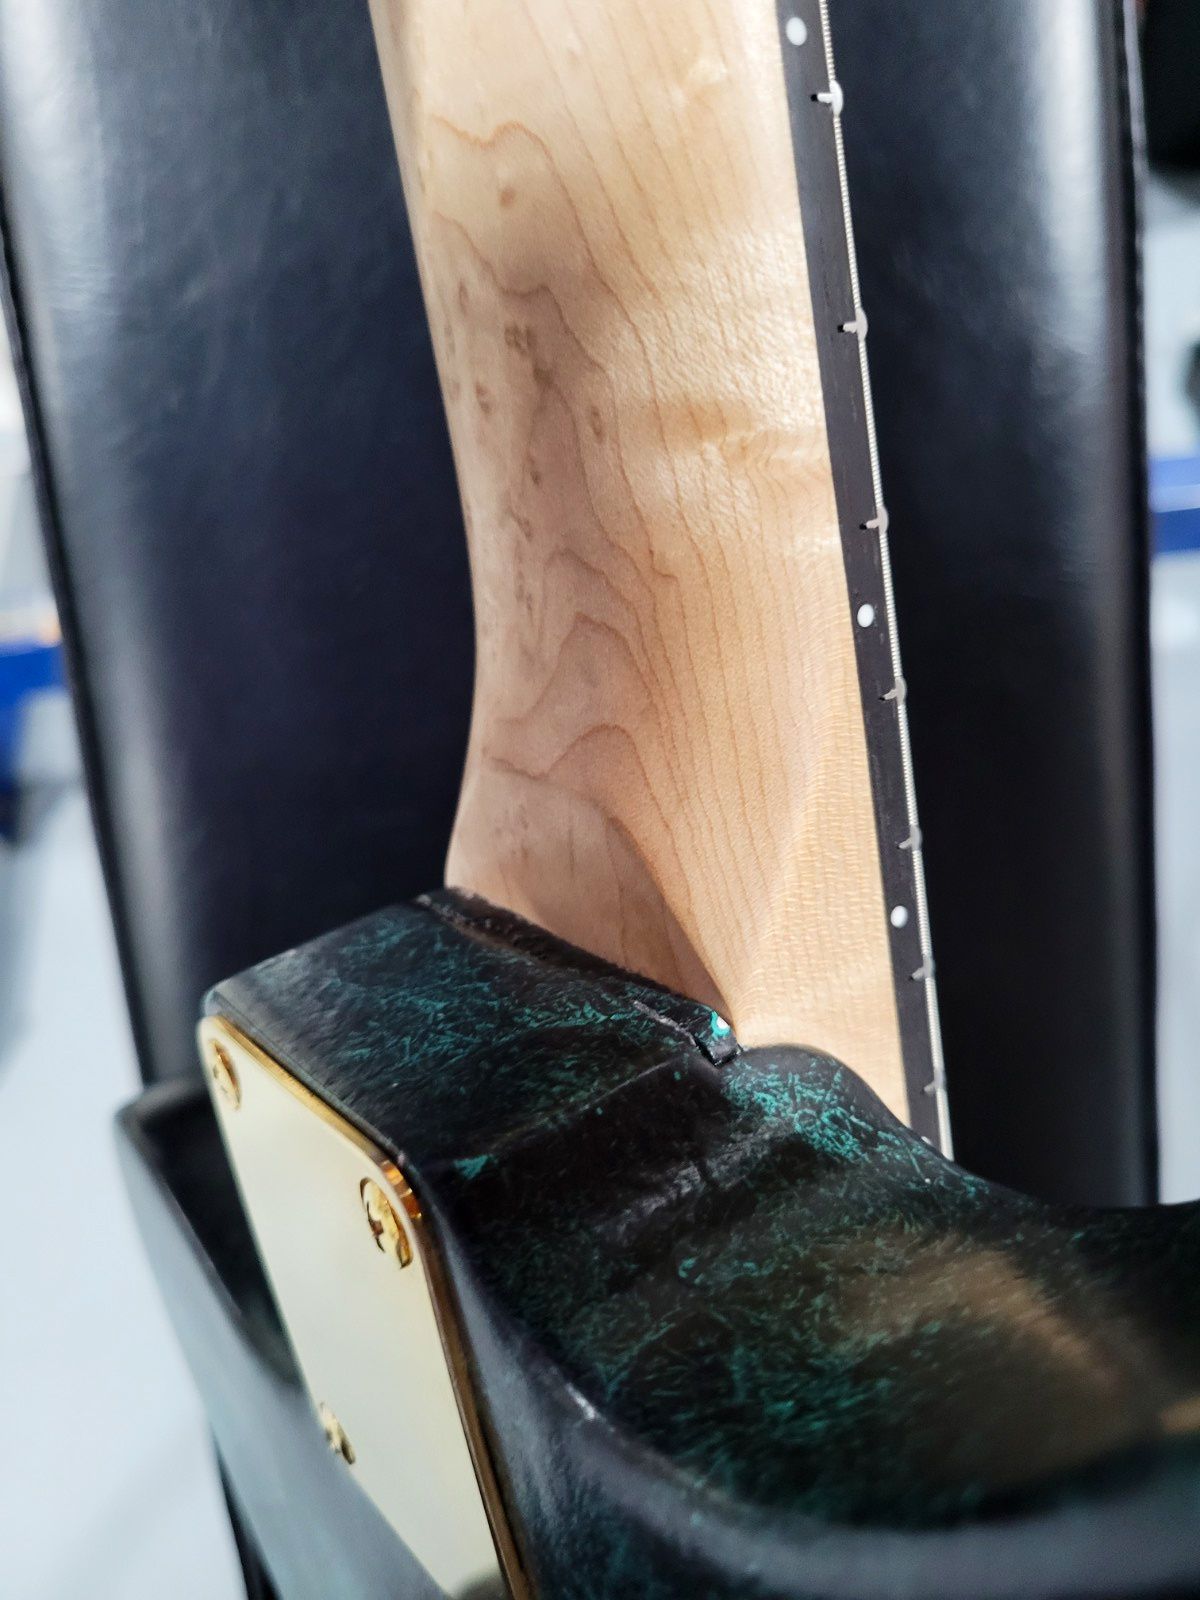
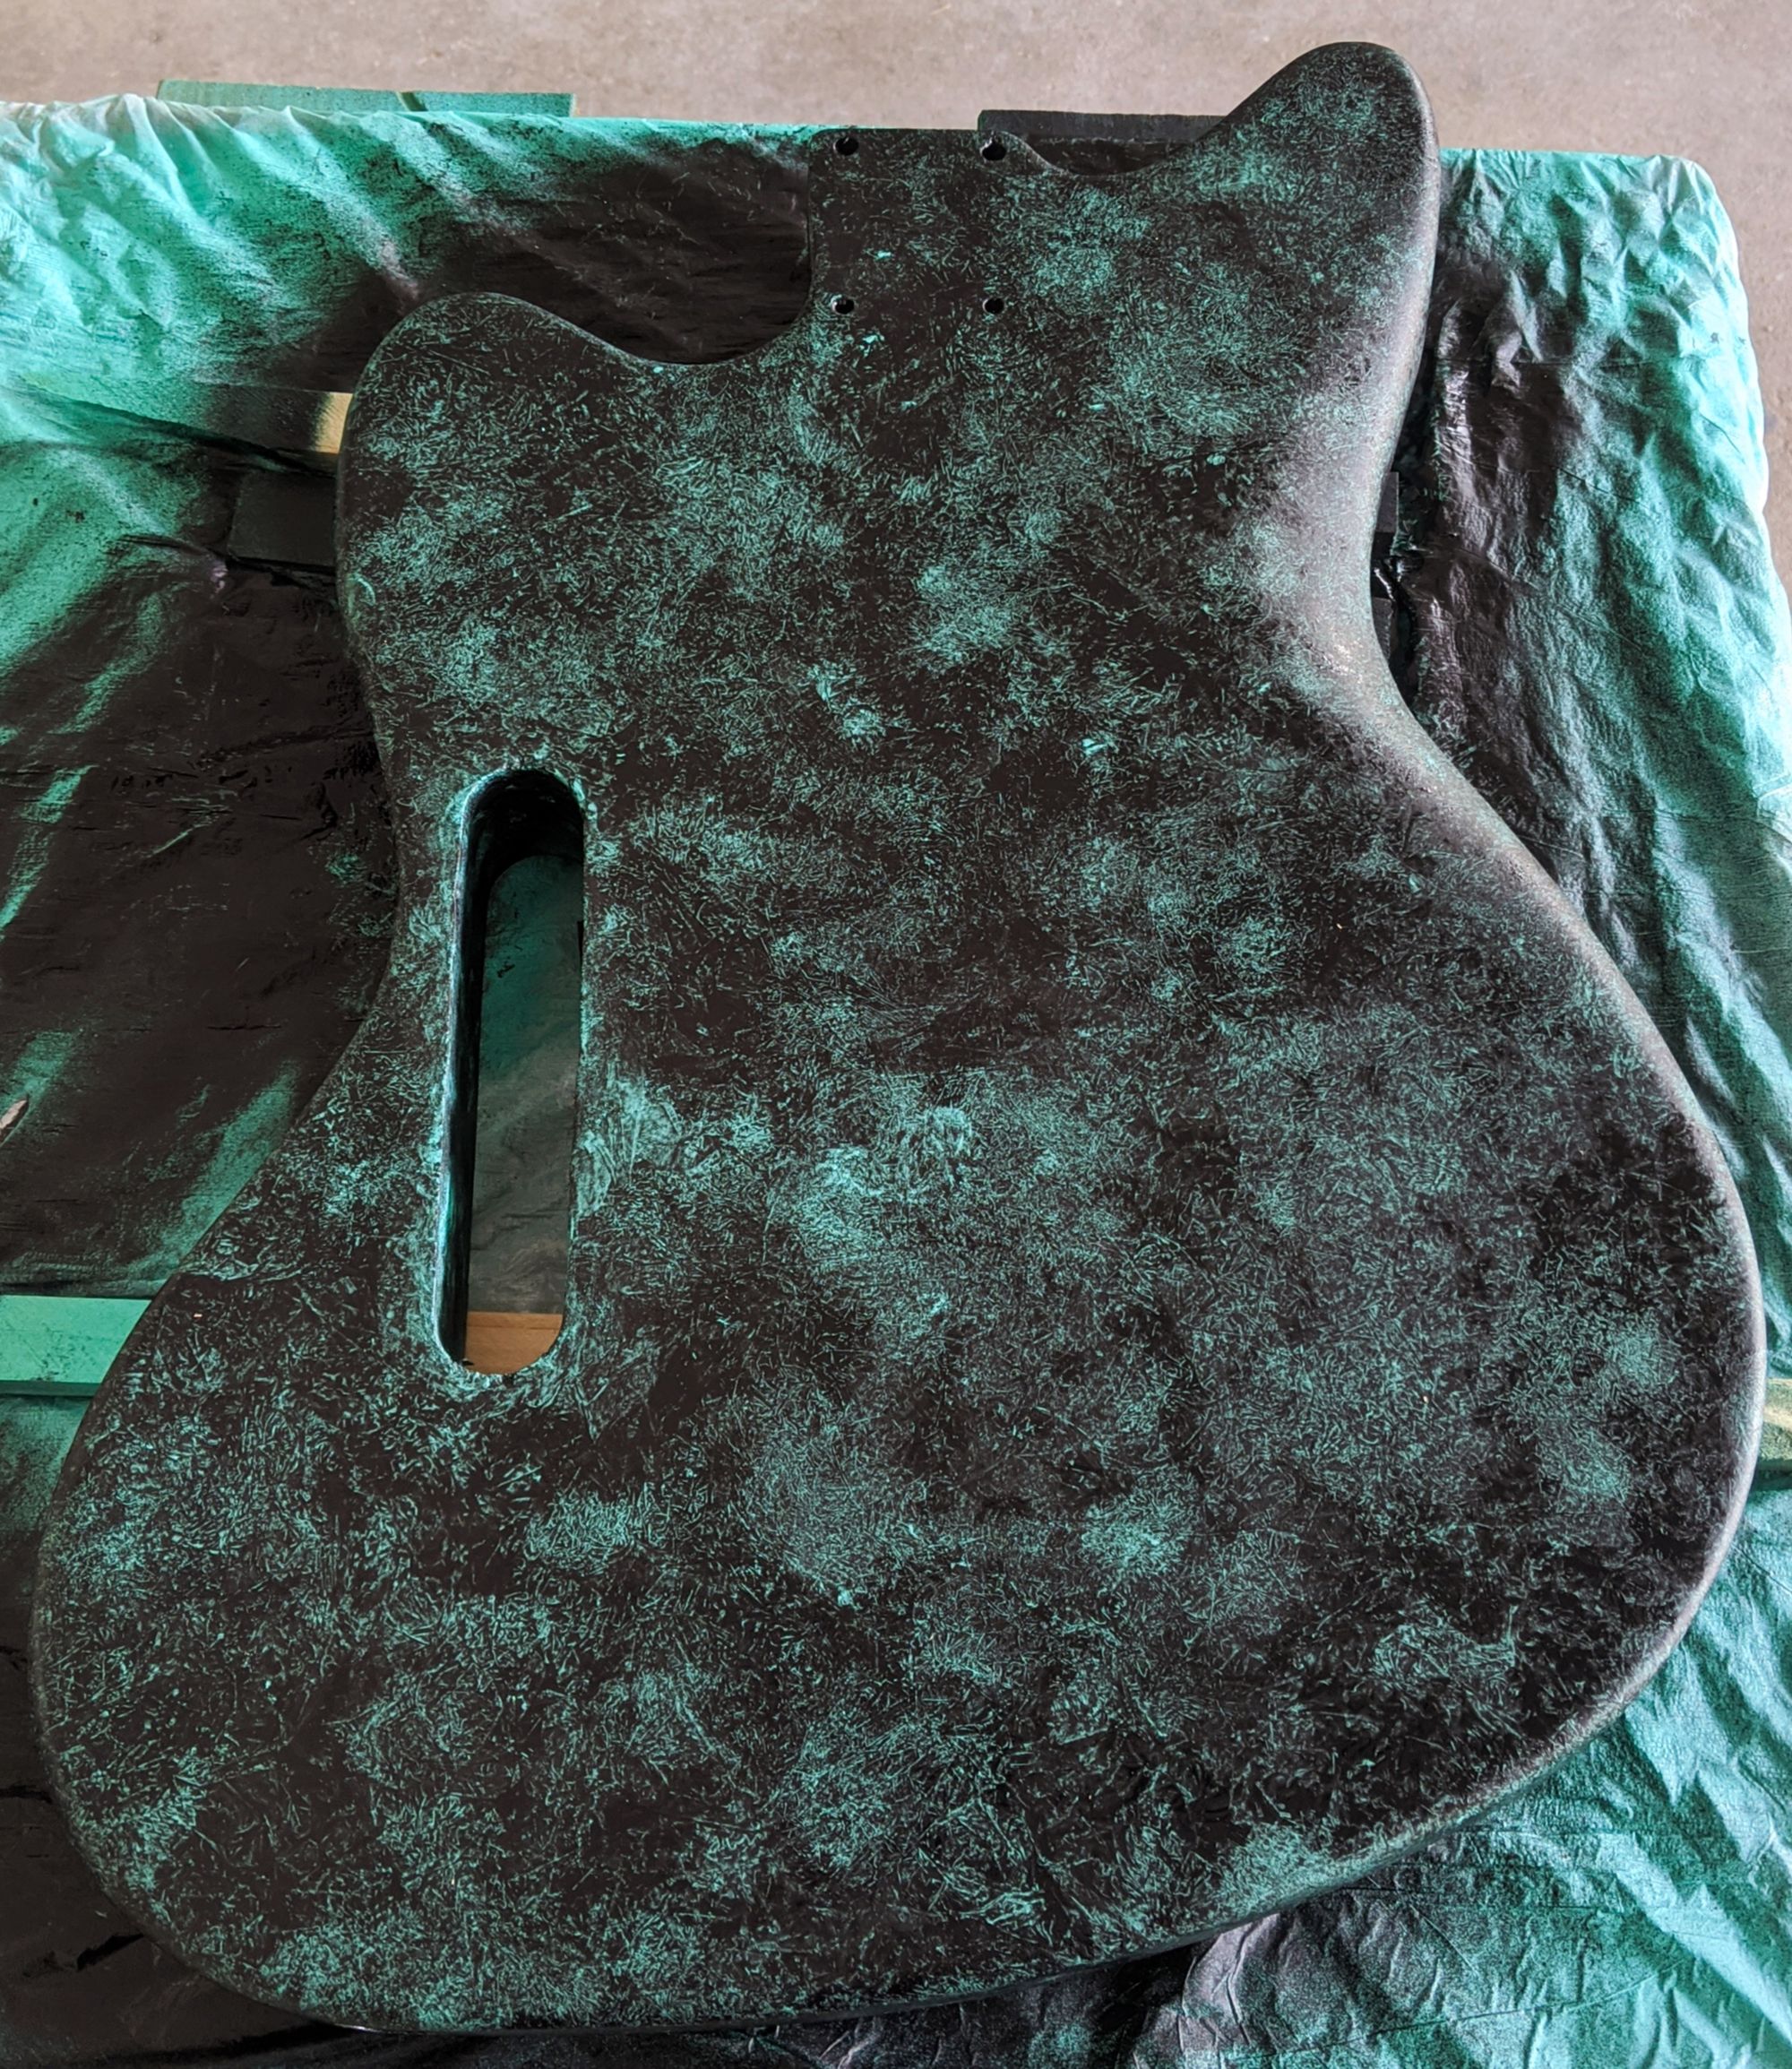
The paint job is a very unique look and texture. Guitars are generally smooth or you can feel the wood grain. I wanted something different while using spray paint. I purchased my paint from Spray Planet. To get this sort of speckled pattern, I first gave the body a good few sprays of a water based turquoise green. Then I sprayed over it with a black paint. While the black paint was still wet, I crunched up a plastic bag and pressed down on the paint all over the guitar. (specifically a large black trash bag.) This was to lift the black paint up. If I felt it wasn't lifting as much as I wanted, I just adjusted the back to a dry part and did it some more. It ended up having an incredible look and feel.
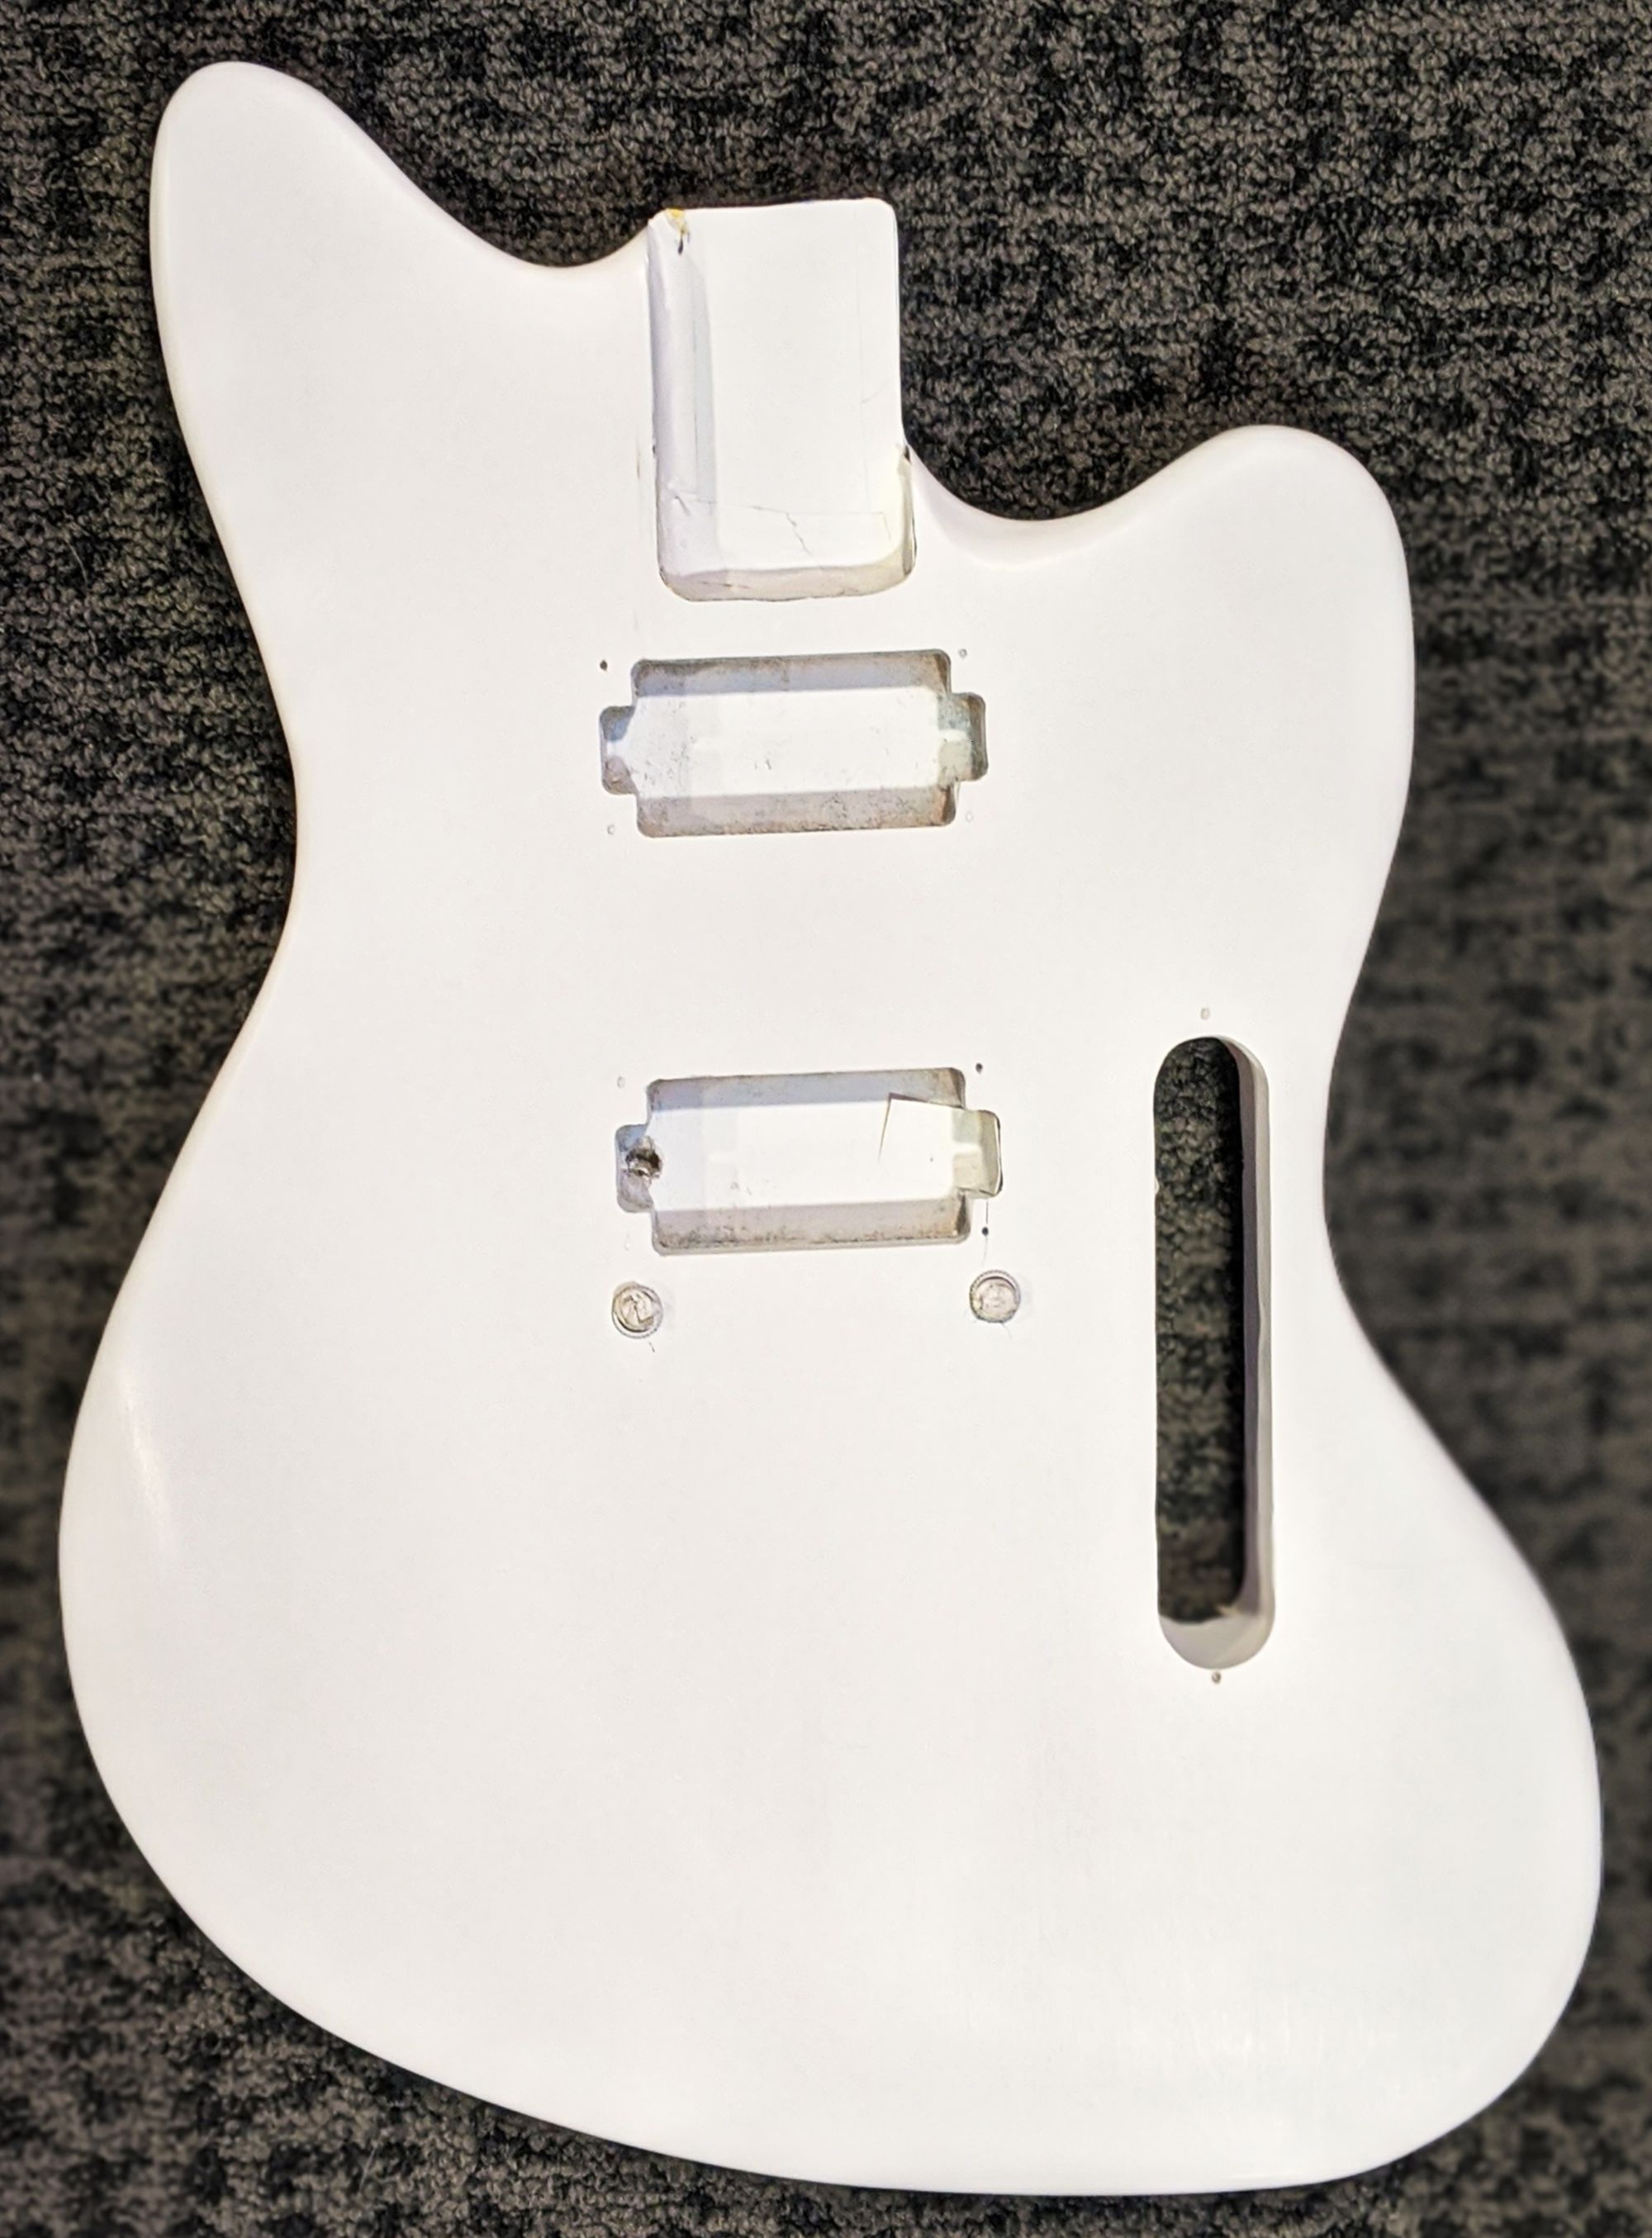
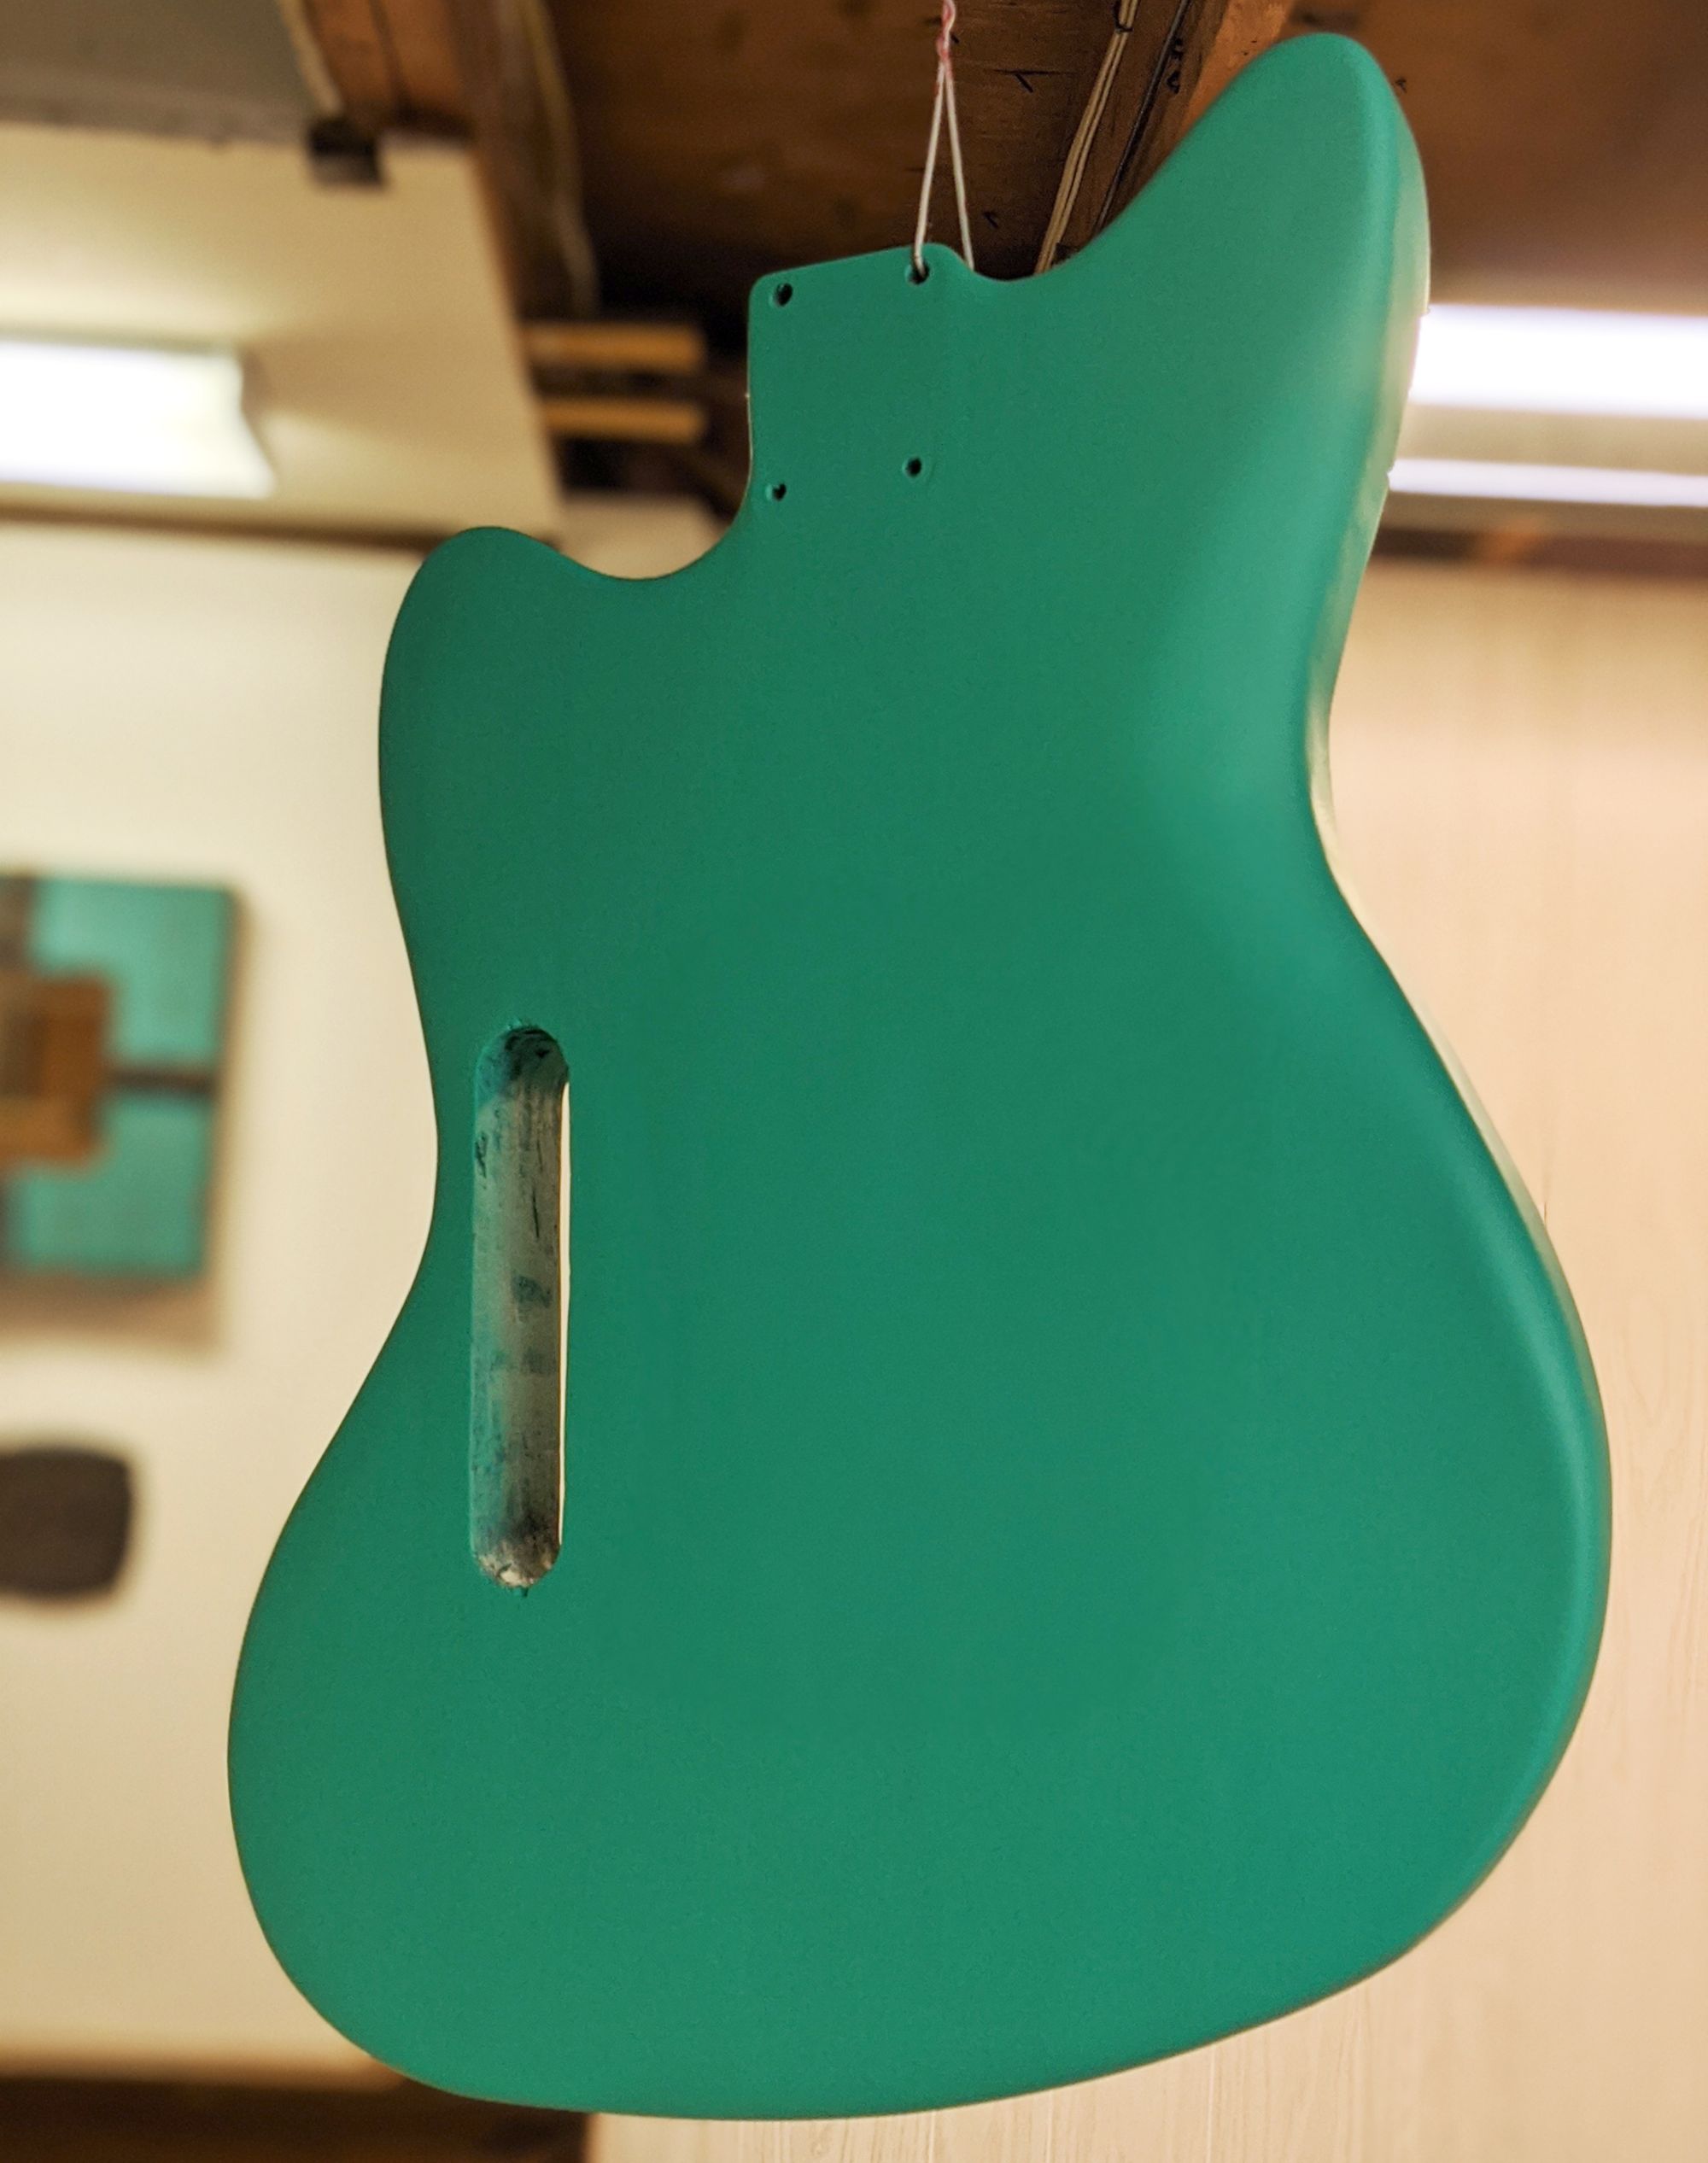
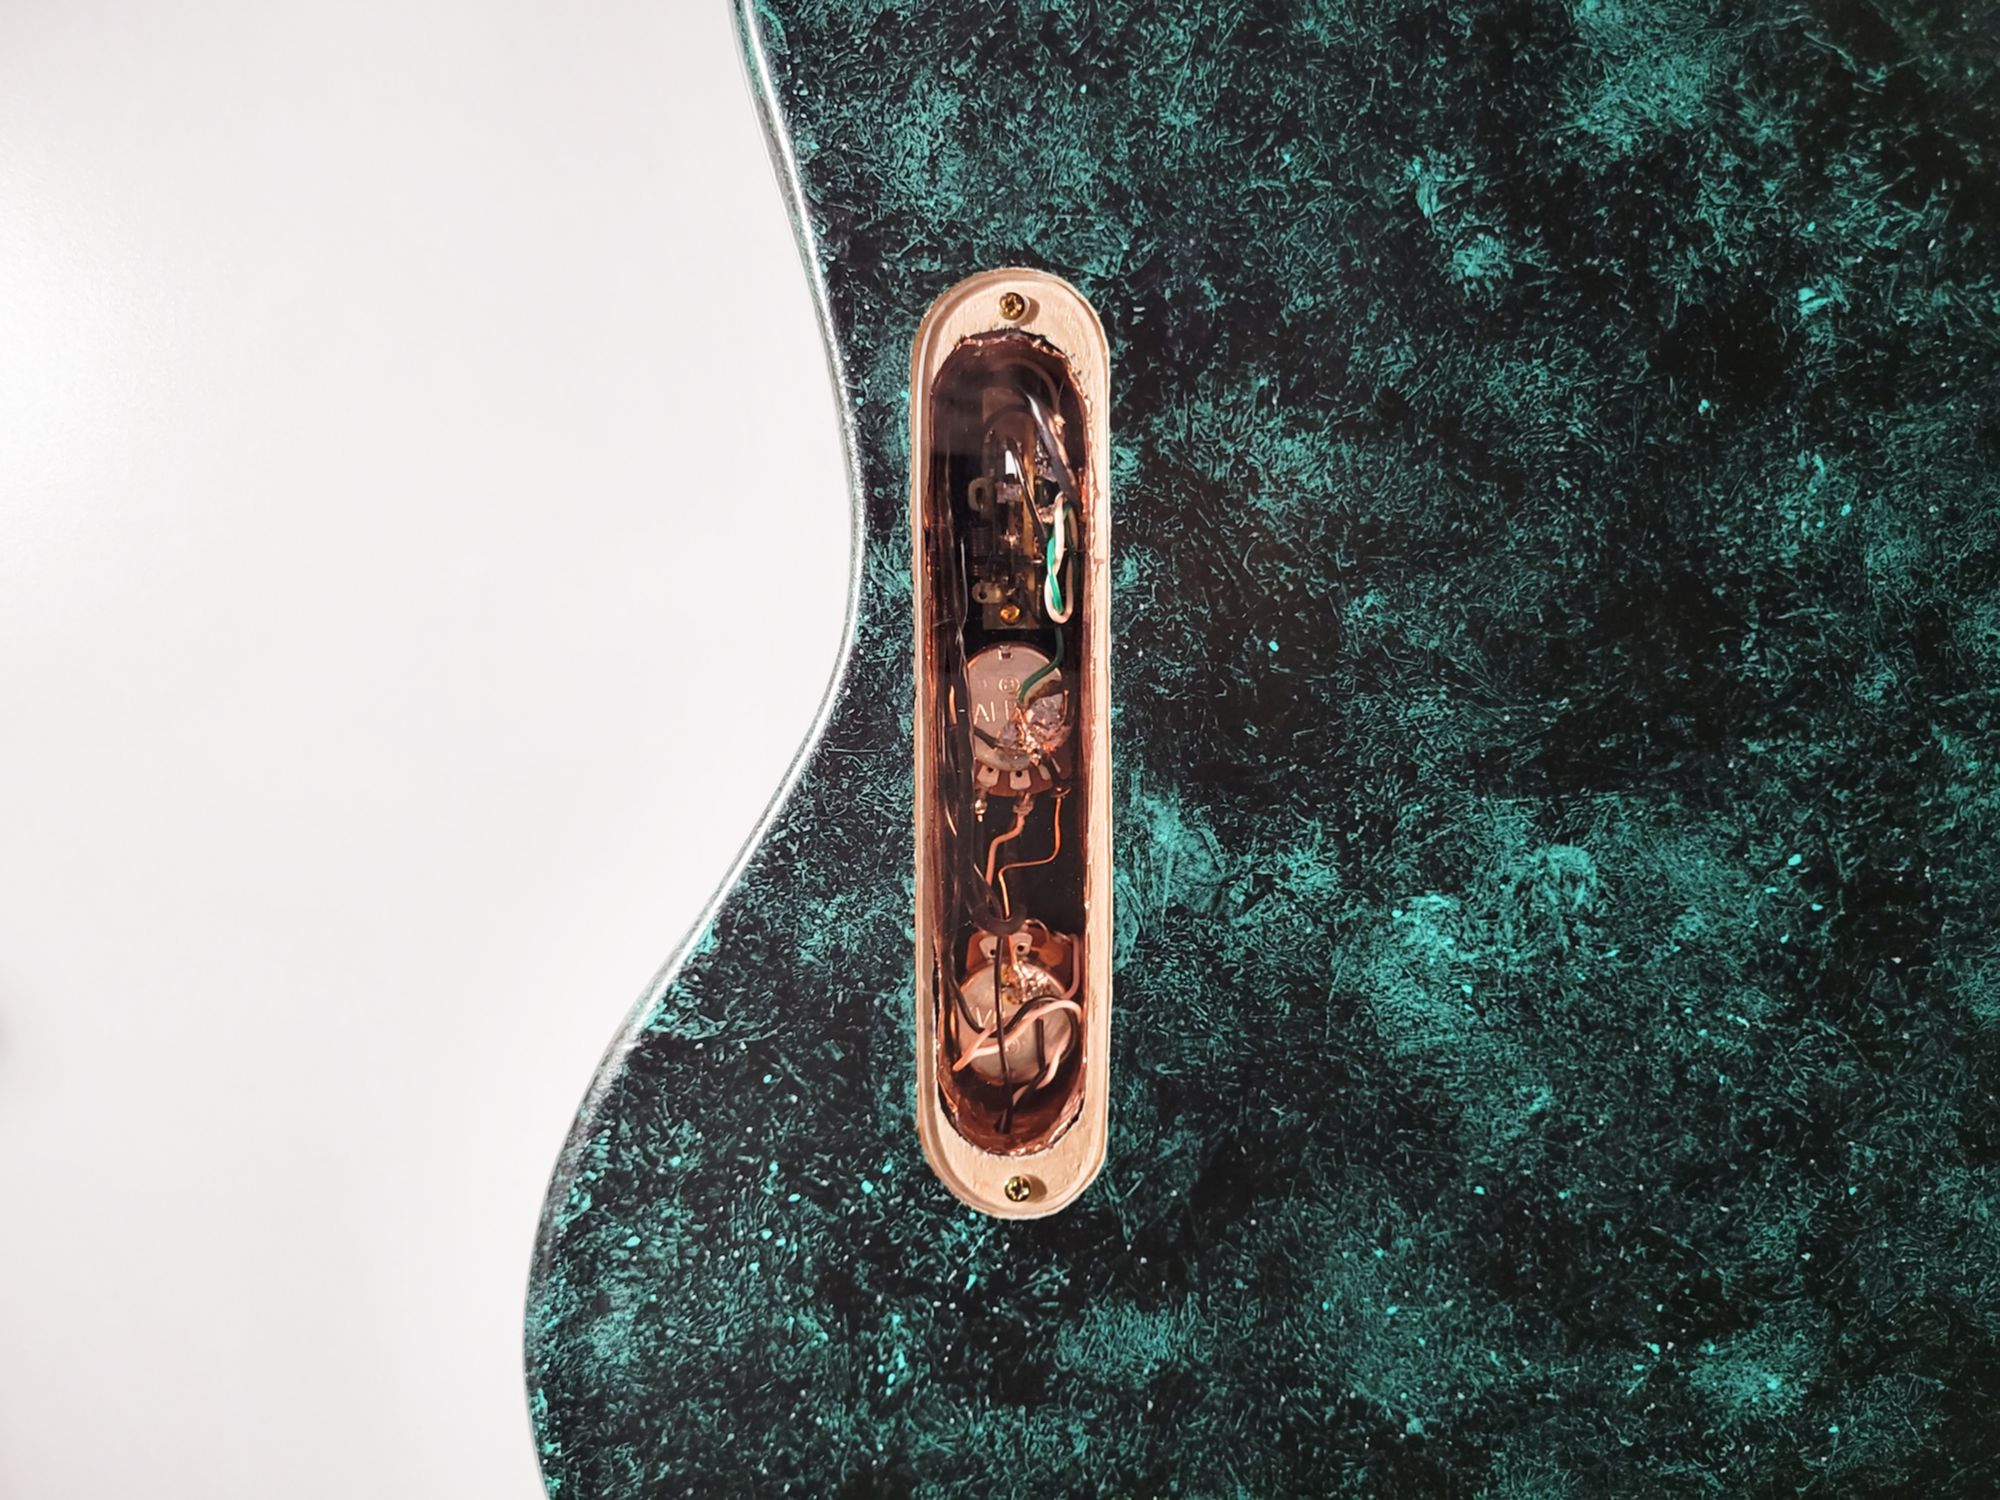
The last thing to do was drill the back of the electronic cavity to install a glass plate. While the black plate on the front stays lifted above the body, the glass is inset, for a smooth back to prevent any catching on clothing. This allows me to look inside the back of the electronics without interfering with the wiring and keeping it clean. Then I gave it a few clear coats and some interval sanding at between 1500 and 2000 grit. I was inspired to do this backplate by the minimalistic aesthetic of a company called Millimetric Instruments and their MGS2 line.
Future work to the guitar will be updated here...
